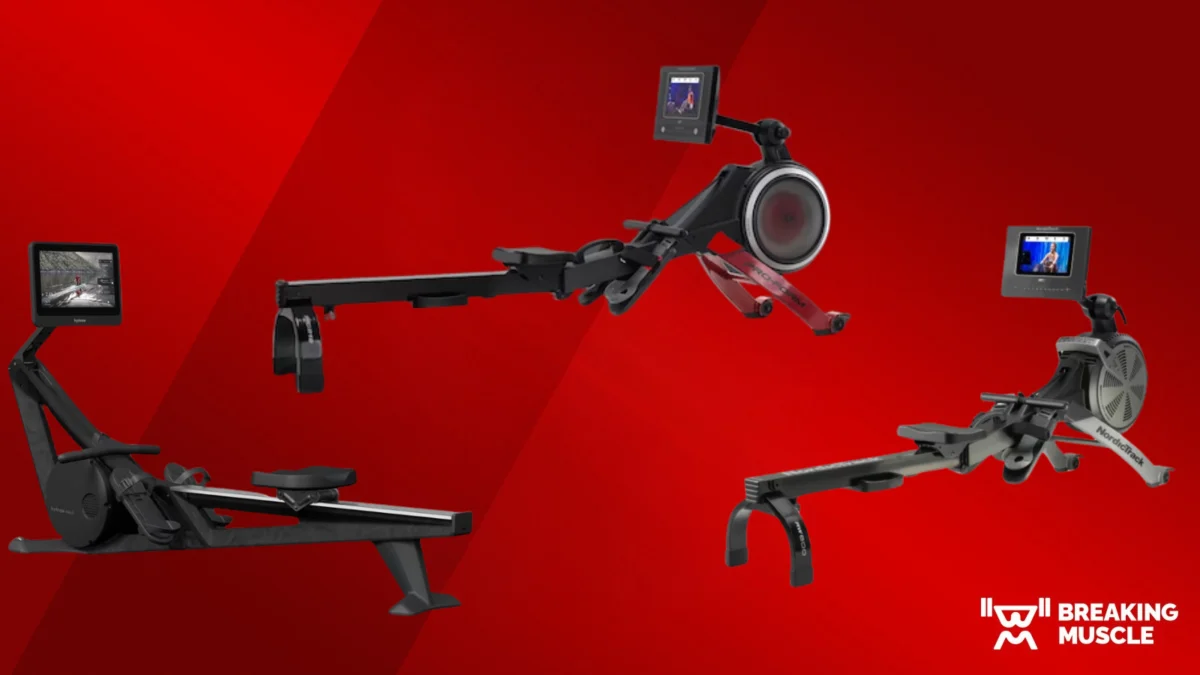
In a world increasingly demanding our time and attention, the pursuit of personal fitness often takes a backseat. Gym memberships can be costly, commutes lengthy, and crowded facilities intimidating. But what if the ultimate fitness solution wasn’t found outside your home, but within it? Imagine a dedicated space where you can safely push your limits, build formidable strength, and sculpt the body you’ve always envisioned – all on your own terms. This isn’t a distant dream; it’s the tangible reality offered by a well-equipped home gym, with the power rack as its undisputed centerpiece.
For beginners taking their first steps into the world of strength training, and for intermediate enthusiasts looking to elevate their performance, the power rack represents an unparalleled investment. It’s more than just a piece of equipment; it’s a launchpad for physical transformation, a fortress of safety, and a constant invitation to challenge your personal best. This comprehensive guide will empower you to understand, choose, and master the power rack, transforming your home into a sanctuary of strength and unlocking a lifetime of fitness potential.
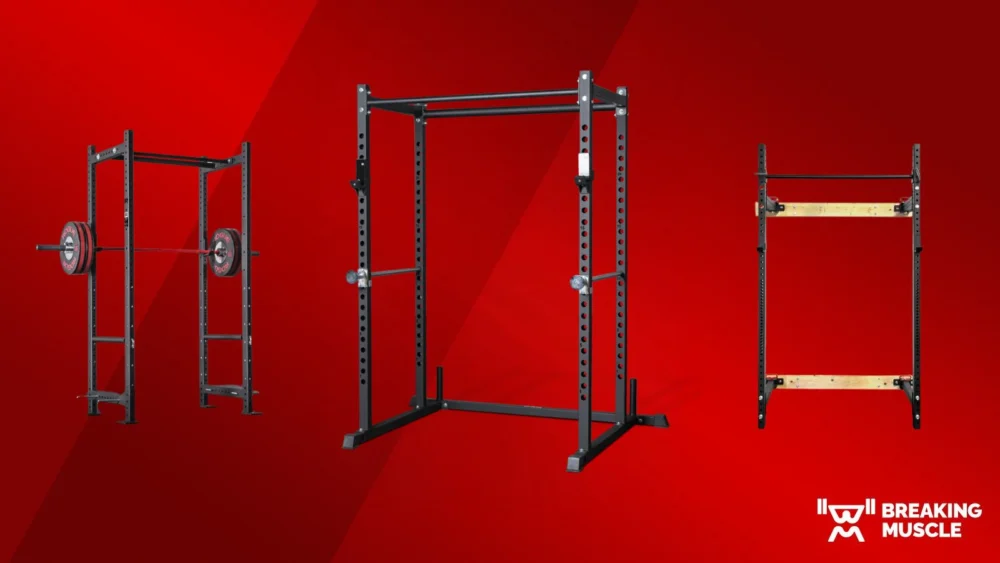
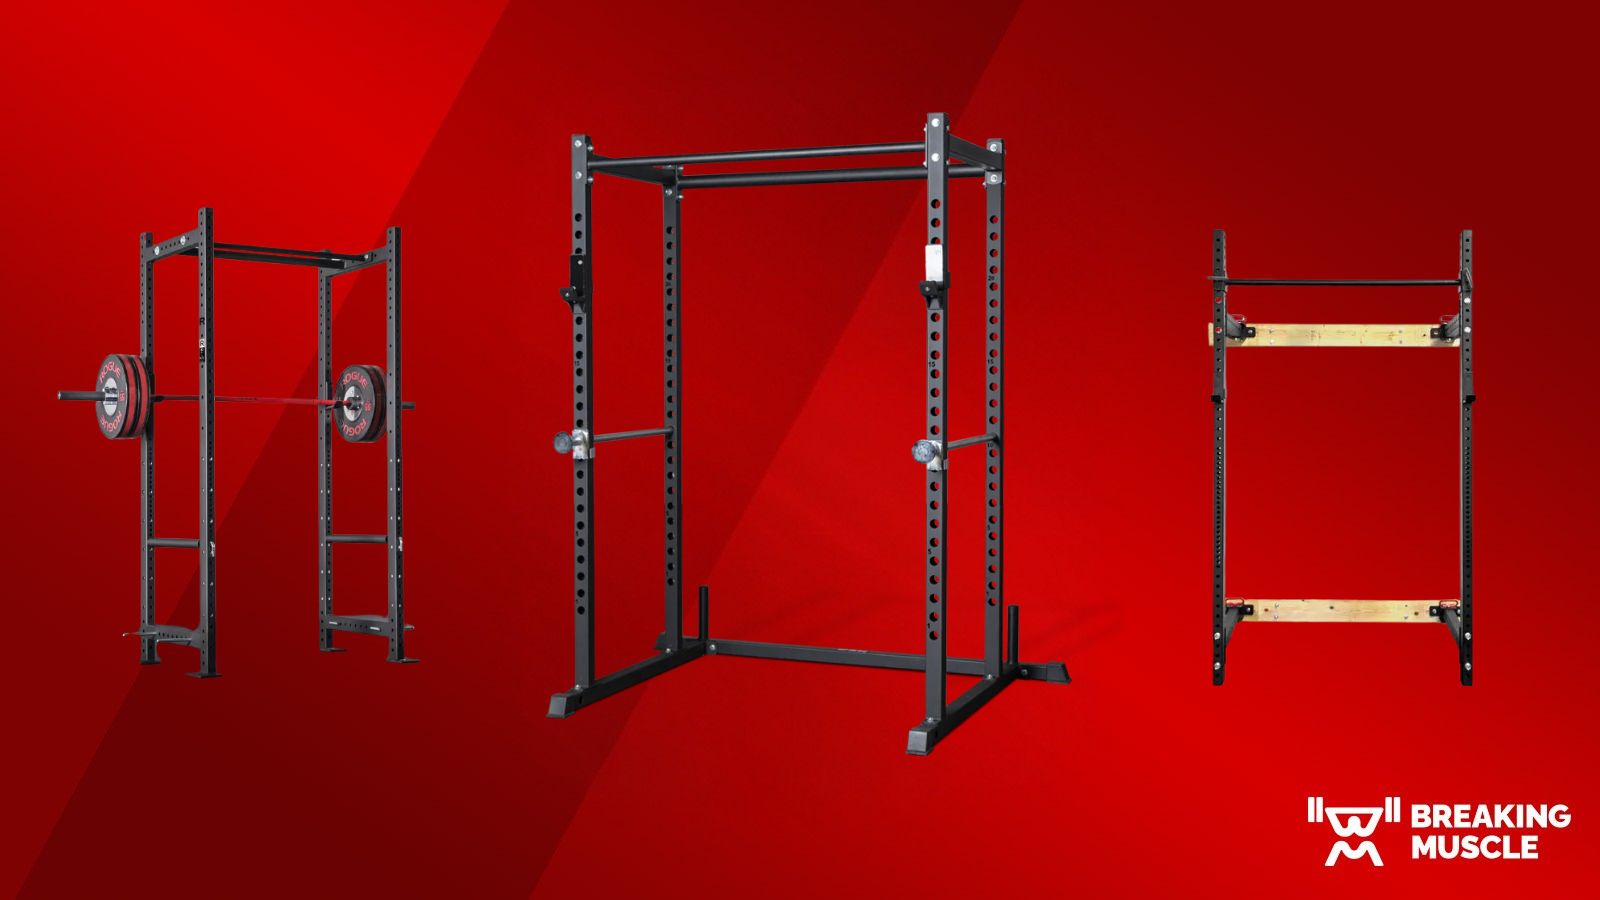
The Unrivaled Core of Your Home Gym: Why a Power Rack?
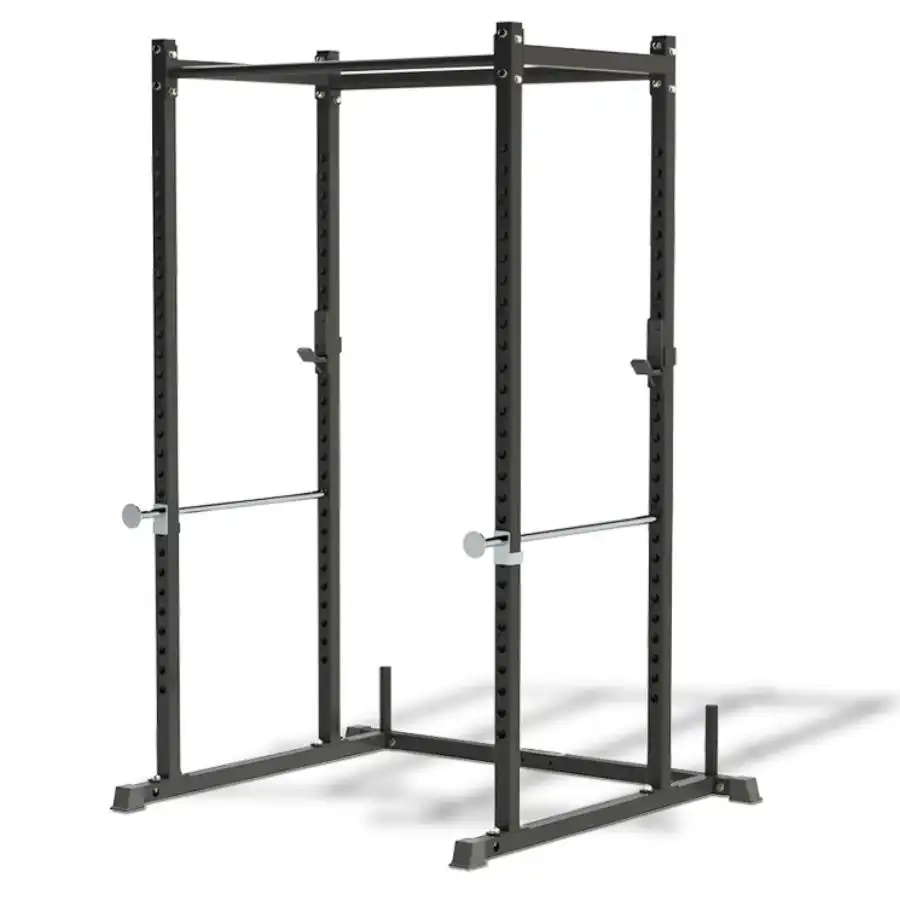
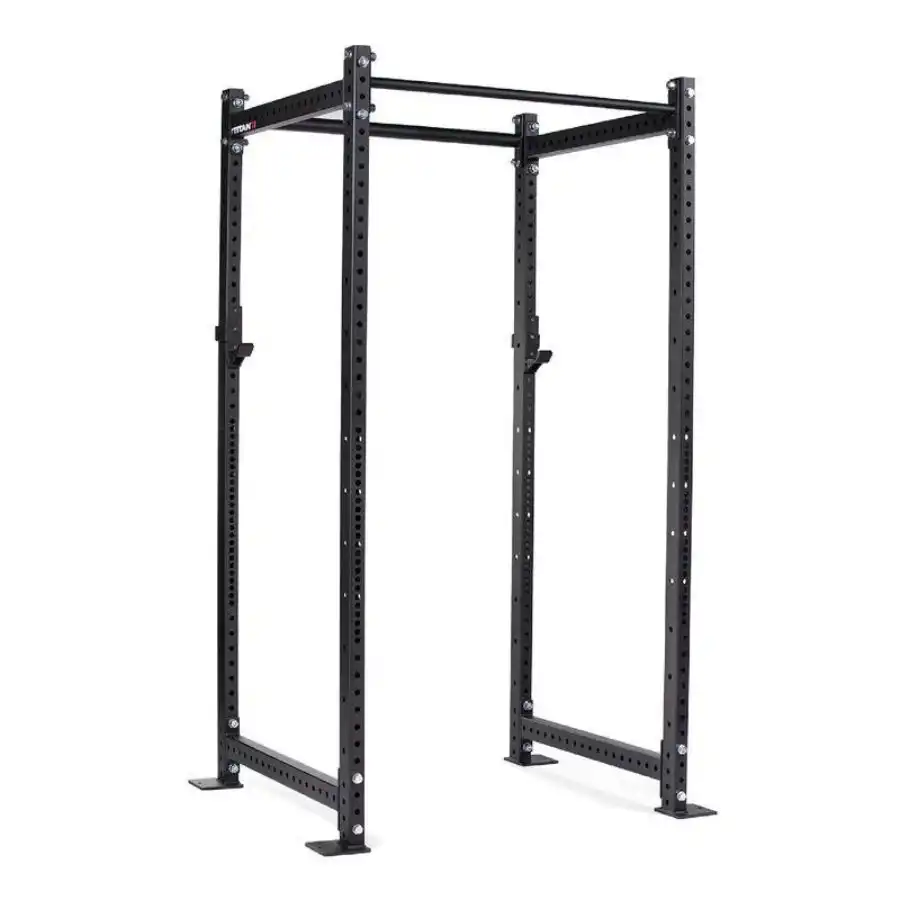
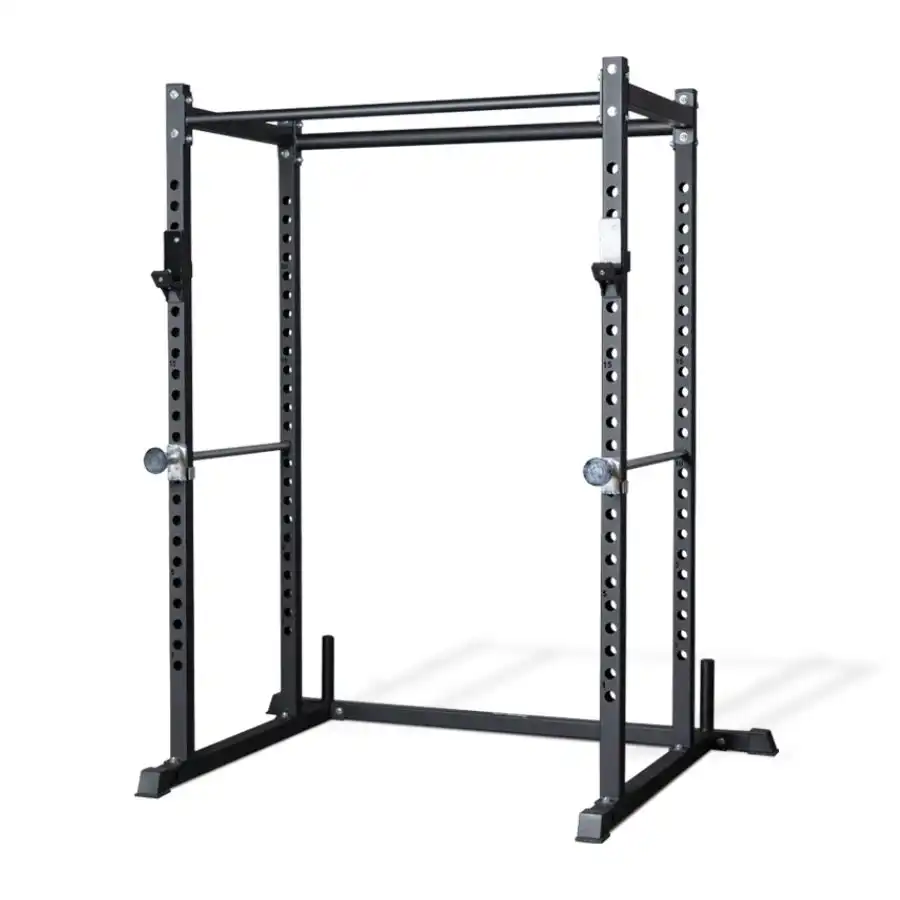
At its heart, a power rack (often interchangeably called a power cage or squat rack) is a sturdy, four-post steel frame designed to facilitate safe and effective barbell training. But its utility extends far beyond just holding a barbell. It serves as the central hub for a vast array of exercises, providing a secure environment for heavy lifting and enabling a full-body workout.
Safety First: Your Built-In Spotter
Perhaps the most compelling reason to invest in a power rack is the unparalleled safety it offers. Unlike lifting free weights in an open space, a power rack incorporates adjustable safety bars, pins, or straps. These "safeties" act as your ultimate spotter, catching the barbell if you fail a lift.
- Squats: Imagine attempting a heavy back squat. If your legs give out, the safeties prevent the barbell from crushing you.
- Bench Press: For bench press, setting the safeties just above your chest ensures that if you can’t push the weight back up, it rests safely on the bars, preventing injury.
- Overhead Press: Similarly, for overhead presses, the safeties can be set to protect you from dropping the bar on your head or shoulders.
This inherent safety feature is a game-changer, especially for those training alone. It instills confidence, allowing you to push past your comfort zone and truly test your strength without fear of serious injury.
Versatility Unleashed: More Than Just Squats
While "squat rack" is often used, it undersells the incredible versatility of a power rack. Its design allows for a comprehensive range of exercises, making it a complete strength training system in itself.
- Compound Lifts: The foundational movements of strength training – squats, bench presses, overhead presses, and rack pulls – are all performed safely and effectively within the rack.
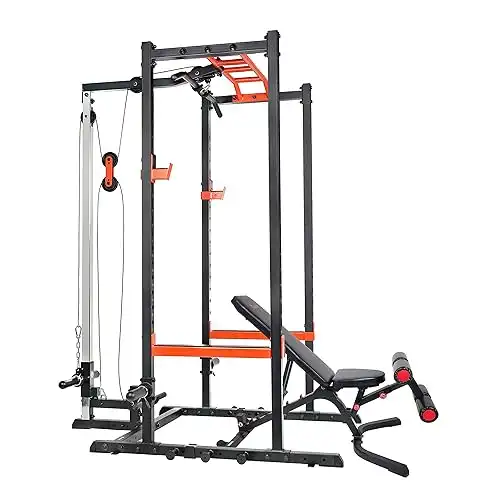
- Accessory Exercises: Many power racks come equipped with or can accommodate various attachments that expand your workout possibilities:
- Pull-up Bar: Essential for building back and bicep strength. Many racks offer multiple grip options.
- Dip Station: Attachable handles for chest, tricep, and shoulder development.
- Landmine Attachment: Allows for rotational exercises, rows, presses, and core work.
- Resistance Band Pegs: Add accommodating resistance to lifts, making them harder at the top of the movement.
- Cable Pulley Systems: Some advanced racks integrate high/low pulley systems for lat pulldowns, cable rows, triceps pushdowns, and more.
This adaptability means your power rack can evolve with your fitness journey, supporting diverse training protocols from powerlifting to bodybuilding to general strength and conditioning.
Consistency and Convenience: Training on Your Terms
Life is unpredictable, but your commitment to fitness doesn’t have to be. A home power rack removes numerous barriers to consistent training:
- No Commute: Save time and fuel by eliminating trips to the gym.
- Open 24/7: Train whenever suits your schedule – early morning, late night, during a lunch break.
- No Waiting for Equipment: Your rack is always available, meaning no more standing around during peak hours.
- Privacy: Train without self-consciousness or distractions, allowing you to focus purely on your workout.
- Customizable Environment: Control your music, temperature, and overall atmosphere to create your ideal training zone.
This unparalleled convenience fosters greater consistency, which is the bedrock of all lasting fitness progress.
Long-Term Investment in Yourself
While the initial cost of a power rack and associated weights might seem significant, consider it a long-term investment in your health, well-being, and personal growth. Over time, it can easily pay for itself by negating gym membership fees and the hidden costs of commuting. More importantly, it’s an investment in a healthier, stronger, and more confident you. The discipline, resilience, and physical capabilities you develop will extend far beyond the gym, positively impacting every aspect of your life.
Navigating the Essentials: Choosing Your Ideal Power Rack
Selecting the right power rack is a crucial decision that will shape your home gym experience. It’s not about finding the "best" rack universally, but the best rack for you, considering your space, budget, and fitness goals.
Space and Dimensions: Measure Twice, Buy Once
Before even looking at models, meticulously measure your designated workout area. Consider:
- Footprint: The base dimensions (width x depth) of the rack itself. Ensure you have enough room around the rack to load weights, move freely, and perform exercises like deadlifts if needed. A general rule is to have at least 2-3 feet of clear space on all sides.
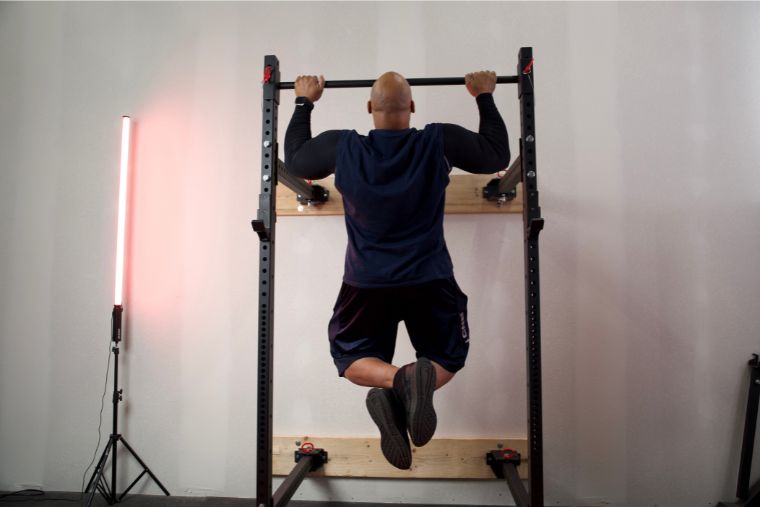
- Height: Crucial for basement or garage gyms with low ceilings. Factor in not just the rack’s height, but also your own height, especially if you plan on doing pull-ups. You’ll need enough clearance for your head to go above the pull-up bar.
- Room for Movement: Can you comfortably perform a full overhead press without hitting the ceiling? Do you have enough depth for a full squat without feeling cramped?
Practical Tip: Use painter’s tape to mark out the rack’s footprint on your floor. This visual representation can help you better understand how it will fit into your space. If space is a major constraint, consider foldable or wall-mounted racks that can be stowed away when not in use.
Structural Integrity: Gauge, Capacity, and Stability
The strength and durability of your power rack are paramount for safety and longevity.
- Steel Gauge: This refers to the thickness of the steel tubing. Lower gauge numbers indicate thicker, stronger steel.
- 11-gauge: Top-tier, heavy-duty steel, ideal for serious lifters and high weight capacities.
- 12-gauge: Excellent for most intermediate lifters, offering a great balance of strength and cost.
- 14-gauge and 16-gauge: More budget-friendly, suitable for beginners or those lifting lighter weights. While adequate, they may exhibit more sway with heavier loads.
- Weight Capacity: Every rack has a stated maximum weight capacity for both the rack structure and individual components like J-hooks and safety bars. Always choose a rack with a capacity that significantly exceeds your current and projected lifting maximums. It’s better to overestimate than to risk equipment failure.
- Stability: A stable rack won’t wobble or sway during use. Look for robust construction, wide bases, and potentially options to bolt it to the floor for maximum security (especially for folding or lighter racks).
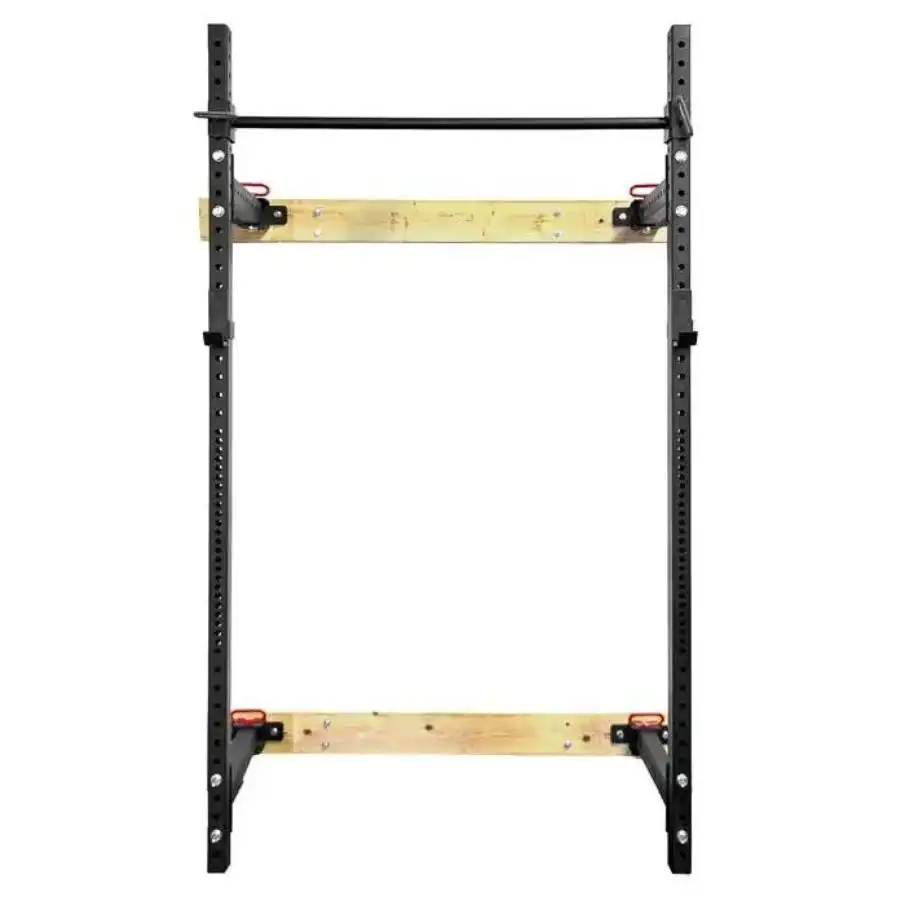
Hole Spacing and Adjustability: Precision for Progress
The holes drilled into the uprights of a power rack allow you to adjust the height of J-hooks and safety bars.
- Standard Spacing (2 inches): Common on many racks, offering sufficient adjustability for most exercises.
- Westside Hole Spacing (1 inch or 5/8 inch): Found in the bench press and clean pull zones (lower section) of some racks, this tighter spacing allows for more precise adjustments. This is particularly beneficial for bench press, where a small change in bar height can make a big difference in comfort and safety.
- Numbering: Uprights with numbered holes simplify setup and ensure consistent bar placement.
Essential Inclusions & Potential Add-ons
Consider what comes standard with the rack and what you might need to purchase separately.
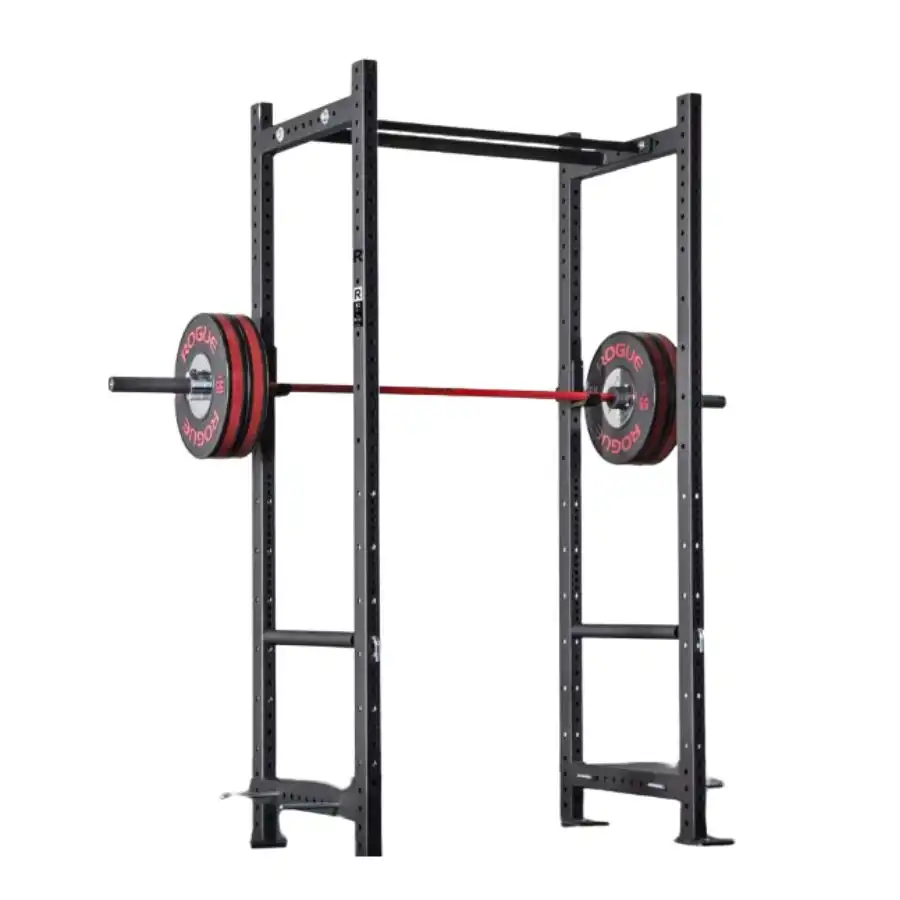
- J-Hooks: These hold the barbell. Look for J-hooks with protective plastic (UHMW) lining to prevent scratching your barbell’s knurling and preserve its grip.
- Safety Bars/Straps: Essential for safety. Pin-and-pipe safeties are robust but can be noisy. Spotter arms are convenient. Safety straps are gentler on barbells and often quieter.
- Pull-up Bar: Most racks include one. Check for different grip options (straight, multi-grip, fat bar).
- Plate Storage: Integrated weight horns on the rear uprights help keep your gym tidy and add stability to the rack.
- Dip Station/Landmine Attachment/Cable System: Decide if these are "must-haves" now or future additions. Ensure the rack is compatible with the accessories you might want later.
Budgeting for Your Strength Hub
Power racks vary widely in price, from a few hundred dollars to several thousand. Determine your budget, but prioritize safety and quality over simply the lowest price. Remember, this is a long-term investment.
- Entry-Level (under $500): Often 14-gauge steel, basic features, good for beginners.
- Mid-Range ($500-$1000): Typically 12- or 11-gauge steel, better build quality, more accessories, Westside spacing.
- High-End ($1000+): Heavy-duty 11-gauge steel, advanced features, extensive customization, commercial-grade quality.
Factor in the cost of a good barbell, weight plates, and a quality adjustable bench, as these are critical companions to your power rack.
Mastering the Rack: Safe and Effective Training Strategies
Owning a power rack is just the first step; using it effectively and safely is where the real transformation begins.
Setting Up for Success: The Golden Rules of Safety Bar Placement
Incorrect safety bar placement negates their purpose. This is arguably the most critical safety lesson for power rack users.
- For Squats:
- Load an unloaded barbell onto the J-hooks.
- Step into the rack and assume your deepest comfortable squat position.
- The safety bars should be set approximately one to two inches below this deepest point.
- The Test: Re-rack the bar, then squat down with an empty bar. If you fully bottom out and then relax, the bar should rest on the safeties without hitting your back. This ensures that if you fail a heavy squat, you can simply sit down and the bar will be caught.
- For Bench Press:
- Lie on your bench under the barbell (unloaded).
- Set the safety bars just above your chest, at the lowest point your barbell would reach during a full repetition.
- The Test: Perform a full range of motion bench press with an empty bar. The bar should not touch the safeties during a successful rep. If you fail, the bar should rest on the safeties just above your chest, allowing you to safely slide out from underneath.
Crucial Advice: Never set safeties so low that you could get pinned underneath the bar. Always practice with an empty bar until you’re confident in your setup.
Core Lifts: Building a Foundation
The power rack is your arena for the most powerful strength-building exercises.
- Barbell Back Squat: The king of lower body exercises. Focus on depth, keeping your chest up, and driving through your heels.
- Barbell Bench Press: Essential for chest, shoulders, and triceps. Maintain a stable arch, drive your feet into the floor, and control the bar’s descent.
- Barbell Overhead Press (Standing/Seated): Builds shoulder and tricep strength. Keep your core tight and press the bar directly overhead.
- Rack Pulls: A variation of the deadlift where the bar starts from pins set above the floor. Excellent for developing lockout strength and targeting the upper back and glutes.
Expanding Your Arsenal: Accessory Work
Beyond the core lifts, leverage your rack’s versatility for a well-rounded physique.
- Pull-ups/Chin-ups: Use the integrated pull-up bar. Vary your grip width and hand position to target different muscle groups.
- Dips: If you have a dip attachment, these are phenomenal for chest, triceps, and shoulders.
- Barbell Rows (Pendlay or Bent-Over): While performed outside the rack, the rack’s safeties can be used to set the starting height of the bar, ensuring consistent form.
- Landmine Rows/Presses: With a landmine attachment, you can perform effective single-arm rows, shoulder presses, and rotational core work.
- Core Work: Hang leg raises from the pull-up bar, or use the rack as an anchor for resistance band core exercises.
Progressive Overload: The Engine of Growth
To continuously get stronger, you must consistently challenge your muscles beyond their current capabilities. This is the principle of progressive overload.
- Increase Weight: The most common method. Gradually add small increments of weight to the bar.
- Increase Reps/Sets: Perform more repetitions within a set, or add an extra set.
- Improve Form: Better technique allows you to lift heavier and more safely.
- Decrease Rest Time: Shortening rest periods between sets can increase intensity.
- Increase Frequency: Train a muscle group more often.
- Time Under Tension: Slow down the eccentric (lowering) phase of an exercise.
Real-Life Example: If you can comfortably squat 100 pounds for 3 sets of 8 reps, next week try 105 pounds for 3 sets of 8 reps, or 100 pounds for 3 sets of 9 reps. Small, consistent increases lead to significant long-term gains.
The Importance of Form and Warm-up
Never sacrifice proper form for heavier weight. Poor form not only reduces the effectiveness of an exercise but dramatically increases the risk of injury.
- Watch Tutorials: Use reliable sources to learn correct technique for each exercise.
- Start Light: Begin with very light weights, or even just the empty barbell, to engrain proper movement patterns.
- Record Yourself: Video your lifts and review them to identify areas for improvement.
- Warm-up: Always dedicate 5-10 minutes to a dynamic warm-up before lifting. This prepares your muscles and joints for the work ahead, reducing injury risk. Include light cardio, dynamic stretches, and light sets of your main exercises.
Cultivating Your Strength Journey: Beyond the Barbell
While the power rack is a powerful tool, it’s part of a larger ecosystem of factors that contribute to overall strength and fitness.
Nutrition: Fueling Your Gains
You can’t build a strong house without good bricks. Similarly, you can’t build muscle and recover effectively without proper nutrition.
- Protein: Essential for muscle repair and growth. Aim for 0.7-1 gram of protein per pound of body weight.
- Carbohydrates: Your body’s primary energy source. Fuel your workouts and replenish glycogen stores.
- Healthy Fats: Crucial for hormone production and overall health.
- Hydration: Drink plenty of water throughout the day. Dehydration impairs performance and recovery.
Actionable Advice: Plan your meals in advance. Focus on whole, unprocessed foods. Don’t be afraid to track your intake initially to understand your nutritional needs.
Recovery: The Unsung Hero of Progress
Muscles aren’t built in the gym; they’re built during recovery. Adequate rest is non-negotiable for progress and injury prevention.
- Sleep: Aim for 7-9 hours of quality sleep per night. This is when your body does most of its repair work.
- Active Recovery: Light activities like walking, stretching, or foam rolling can improve blood flow and reduce muscle soreness.
- Listen to Your Body: Don’t push through sharp pain. Take deload weeks or extra rest days when needed.
Mindset: The Mental Edge of Strength Training
Strength training is as much a mental game as it is physical.
- Set Clear Goals: What do you want to achieve? (e.g., "Squat 225 lbs for 5 reps," "Do 10 pull-ups").
- Embrace the Process: Progress isn’t linear. Celebrate small victories and learn from setbacks.
- Consistency Over Intensity: Showing up consistently, even on days you don’t feel 100%, is more important than occasional heroic efforts.
- Patience and Persistence: Building strength takes time. Stay committed, and the results will follow.
Tracking Progress: Celebrating Every Victory
Keeping a workout log is a simple yet incredibly powerful tool.
- Record Everything: Exercises, sets, reps, weight, and even how you felt.
- Review Regularly: Look back at previous weeks to see your progress and plan your next session’s overload.
- Motivation: Seeing tangible evidence of your strength increasing is a huge motivator.
Real-Life Example: Instead of just vaguely remembering you benched "around 150 lbs," your log shows you consistently hit 155 lbs for 3×5 last week, prompting you to attempt 160 lbs this week.
Conclusion: Your Journey, Your Strength
The path to a stronger, healthier you is a deeply personal one, and a home power rack stands ready to be your most reliable partner on this journey. It’s more than just a piece of metal; it’s an empowering tool that provides safety, versatility, and unparalleled convenience, allowing you to train on your own terms and unlock potential you never knew you possessed.
From the first cautious squat to the triumphant mastery of heavy lifts, your power rack will witness every effort, every struggle, and every hard-won victory. It invites you to step beyond your comfort zone, to cultivate discipline, and to forge not just a resilient body, but an unshakeable spirit.
Remember, strength is not merely about how much weight you can lift; it’s about the consistency, the dedication, and the unwavering belief in your own capabilities. Embrace the process, prioritize safety, and fuel your body and mind. With your home power rack as your foundation, you have everything you need to build a lasting legacy of strength, health, and undeniable personal power. Your strength sanctuary awaits – step in, embrace the challenge, and begin forging the most powerful version of yourself.