In the dynamic world of fitness, where countless machines and methodologies vie for your attention, one piece of equipment stands as a steadfast beacon for serious strength enthusiasts: the power rack. More than just a frame of steel, it’s a foundational cornerstone for anyone committed to building genuine, functional strength, whether you’re taking your first steps into weightlifting or pushing past intermediate plateaus. For the home gym warrior, the power rack transforms a spare room or garage into a sanctuary of iron and ambition, offering a blend of safety, versatility, and efficiency unmatched by almost any other single apparatus.
This comprehensive guide is designed for beginners and intermediate lifters ready to unlock their true strength potential. We’ll delve into why the power rack is indispensable, dissect its core components, walk you through smart setup considerations, and equip you with the knowledge to execute essential exercises safely and effectively. Prepare to elevate your training, break through barriers, and forge a stronger, more resilient you, all within the secure confines of your power rack.
The Power Rack Advantage: Why It’s Your Ultimate Strength Ally
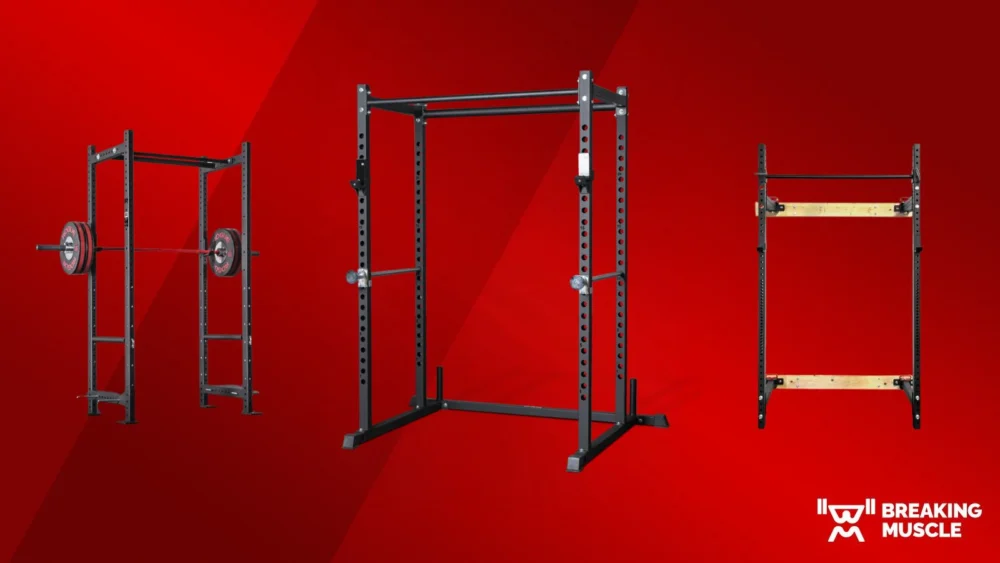
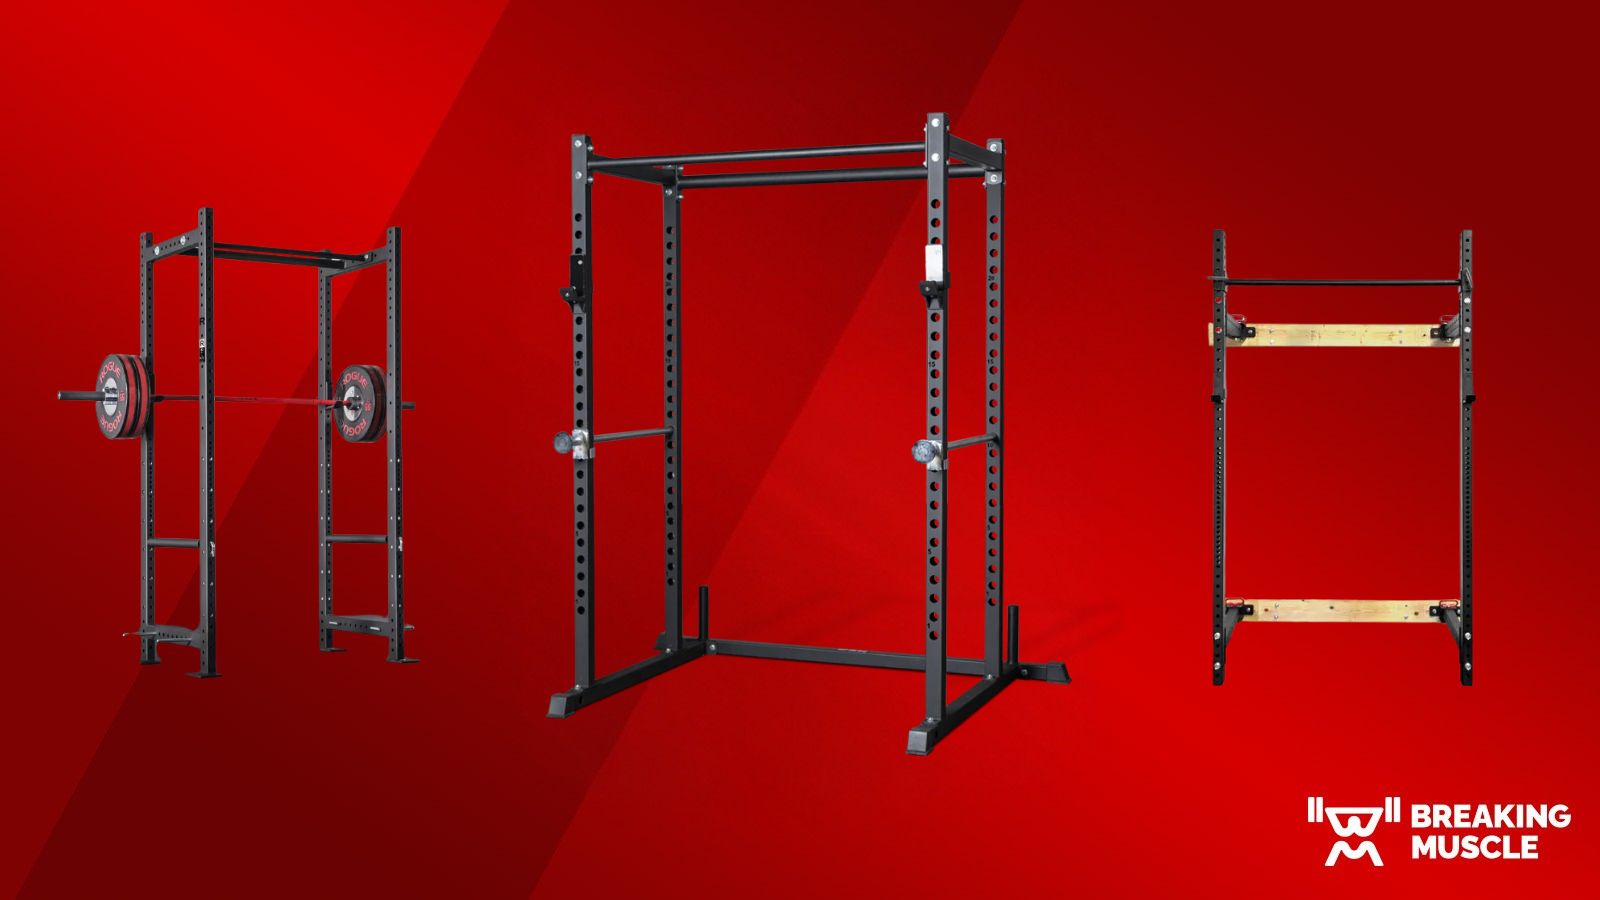
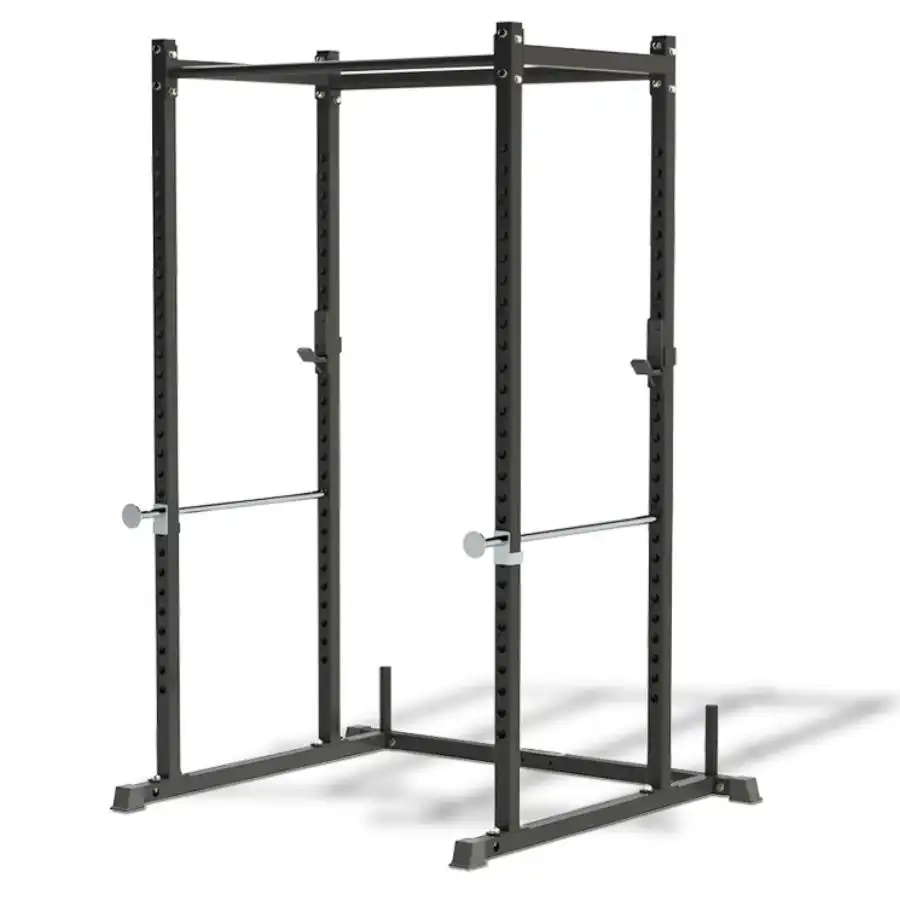
At its heart, a power rack (often interchangeably called a power cage) is a simple yet profoundly effective piece of fitness equipment. It’s a four-post (or sometimes six-post) steel cage designed to provide a secure environment for barbell exercises. But its benefits extend far beyond just holding a barbell.
Unparalleled Safety for Solo Training
Perhaps the most compelling reason to invest in a power rack is the unmatched safety it offers, particularly when training alone. For anyone pushing their limits with heavy compound movements like squats and bench presses, the fear of failure is real. A failed rep can lead to injury, but a power rack mitigates this risk significantly.
- Integrated Safety Spotter Systems: The rack features adjustable safety pins, straps, or spotter arms that can be set at any height. If you fail a lift – say, you can’t complete the upward phase of a squat or bench press – you simply lower the bar onto these safeties. This simple mechanism prevents the barbell from crushing you, allowing you to bail out safely without a human spotter.
- Confidence to Push Limits: Knowing that a safety net is in place empowers you to attempt heavier lifts or push for more repetitions, even when fatigue sets in. This psychological boost is crucial for progressive overload, a fundamental principle of strength building.
Versatility Beyond Limits
While often associated with powerlifting, a power rack is a remarkably versatile tool for a full-body workout. It serves as the central hub for a vast array of exercises, many of which can be enhanced or made possible by its structure.
- Compound Lifts: The core strength builders – barbell squats, bench presses, overhead presses – are performed safely and effectively within the rack.
- Bodyweight Mastery: Most power racks come equipped with a pull-up bar, allowing for various grip variations (wide, neutral, close) to target different back and arm muscles. Some also accommodate dip attachments for chest and triceps work.
- Accessory Work: With additional attachments, the rack can become a complete gym. Lat pulldown systems, landmine attachments, resistance band pegs, and cable crossovers can transform your rack into a multi-functional powerhouse, enabling rows, curls, triceps extensions, core work, and more.
Progressive Overload Made Easy
Progressive overload – the gradual increase in stress placed on the body during training – is the bedrock of muscle and strength gains. A power rack facilitates this principle beautifully.
- Structured Weight Progression: The stability and safety of the rack allow you to systematically increase the weight on your barbell, knowing you have a failsafe.
- Rep and Set Manipulation: You can focus on increasing reps, sets, or decreasing rest times with confidence, as the rack provides a consistent, controlled environment.
- Advanced Techniques: Techniques like partial reps (setting safeties to limit range of motion) or pin presses (pressing from the safeties) can be safely incorporated to target specific sticking points and build strength in different ranges.
Building a Home Gym Hub
For many, a home gym offers unparalleled convenience and privacy. A power rack is often the first and most critical piece of equipment purchased for such a setup.
- Convenience: No more commuting to the gym, waiting for equipment, or dealing with crowded spaces. Your workout is available on your schedule, anytime.
- Cost-Effectiveness (Long Term): While an initial investment, a power rack, barbell, and a set of plates can quickly pay for itself by eliminating gym membership fees.
- Customization: A home gym centered around a power rack allows you to tailor your training environment precisely to your needs and preferences, free from external influences.
Demystifying the Power Rack: Key Components and What They Do
Understanding the anatomy of a power rack is crucial for both safe operation and maximizing its potential. While designs vary, core components remain consistent.
The Uprights and Crossmembers
These are the foundational steel pillars and connecting bars that form the cage.
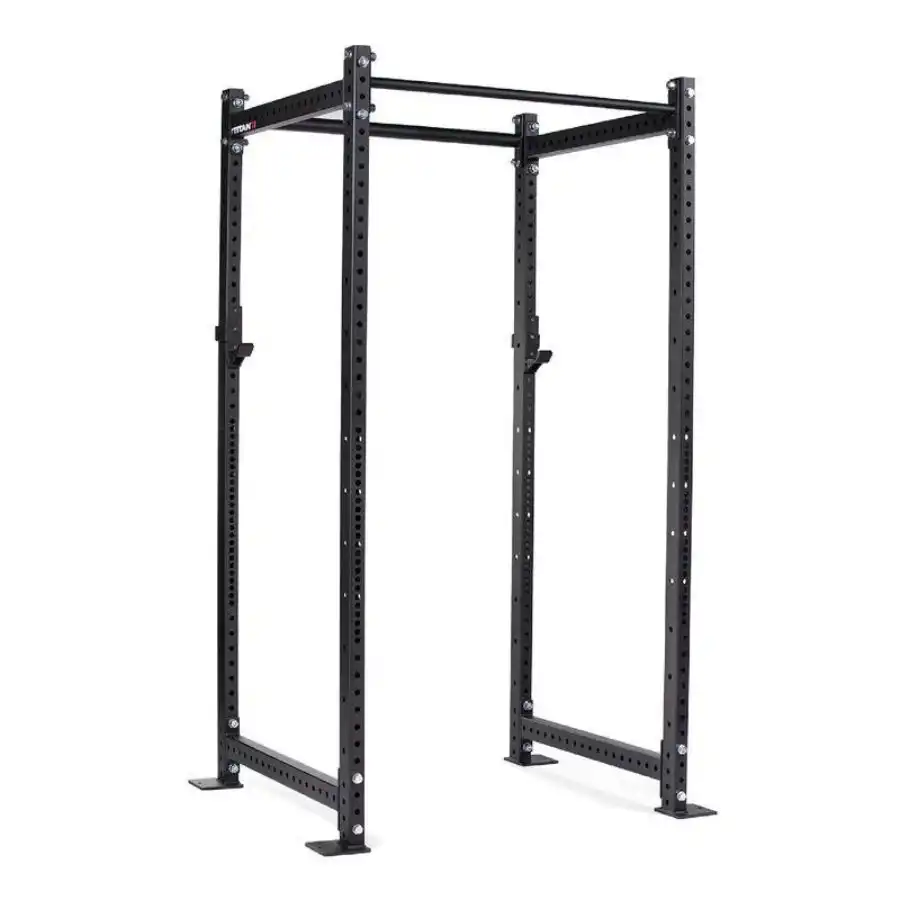
- Uprights: The vertical posts, typically four or six, that provide the main structure. They are punctuated with holes along their length.
- Crossmembers: Horizontal bars that connect the uprights, providing stability and often serving as mounting points for pull-up bars or other attachments. The quality and gauge of this steel are paramount for overall stability and weight capacity.
J-Hooks/J-Cups
These are the adjustable hooks that hold your barbell.
- Barbell Support: J-hooks are inserted into the uprights at your desired height to rack and unrack the barbell for exercises like squats, bench presses, and overhead presses.
- Barbell Protection: High-quality J-hooks often feature a plastic or UHMW (Ultra-High Molecular Weight polyethylene) lining. This protective layer prevents direct metal-on-metal contact, preserving the knurling (the textured grip) on your expensive barbell and extending its lifespan. As expert Shane Sevcik notes, "If you’re an Olympic weightlifter, that’s where my snatch grip is holding onto, and I want it to be as sharp and aggressive as possible."
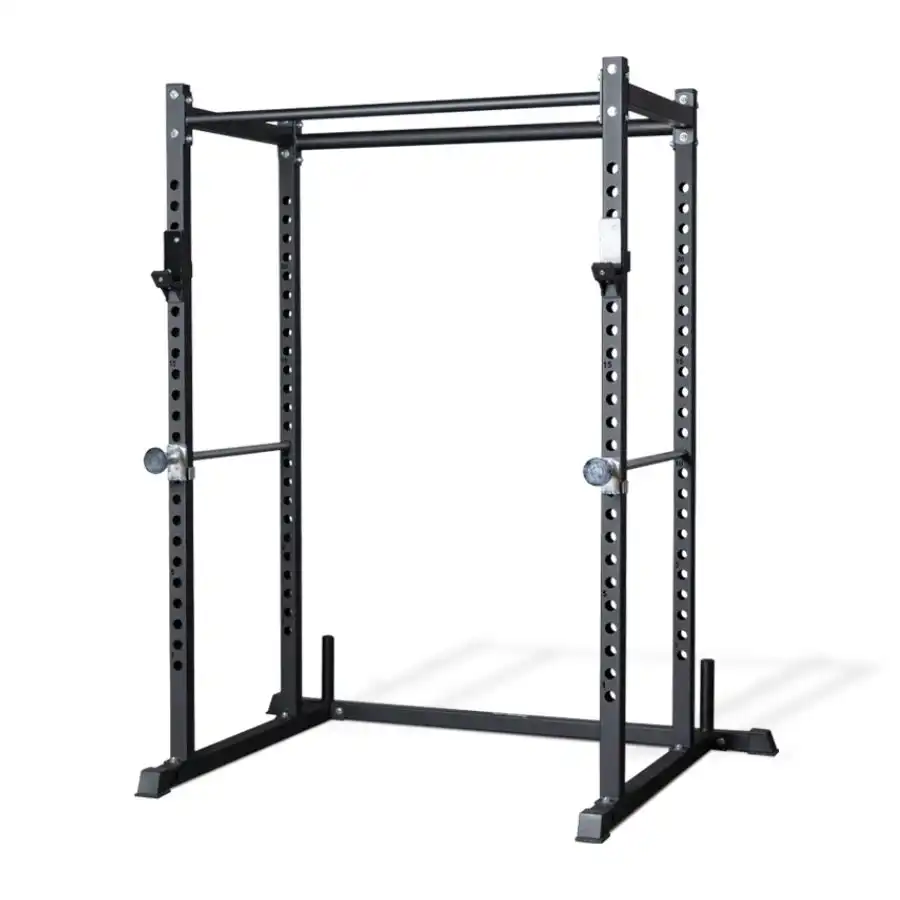
Safety Spotter Arms/Pins/Straps
These are the lifeline of your power rack, catching the barbell if you fail a lift.
- Adjustable Safety: Spotter arms (solid steel bars), pins (thinner steel rods), or heavy-duty nylon straps can be inserted into the uprights at various heights.
- Critical Placement: Correct placement is vital. For squats, set them just below your deepest comfortable squat position. For bench presses, set them just above your chest. As Sevcik wisely advises, "The purpose of those safety arms is to give you a safe way to bail out of a lift. Otherwise, you’re just using a power rack as a big immobile squat stand." Always ensure they are securely fastened and rated for the weight you intend to lift.
Integrated Pull-Up Bar
A common and highly valuable feature, the pull-up bar adds significant versatility.
- Bodyweight Training: Allows for a wide range of bodyweight exercises, including pull-ups (various grips), chin-ups, and hanging leg raises for core strength.
- Grip Strength: Different bar thicknesses (e.g., 1.25 inches vs. 2 inches) can be available, allowing you to train grip strength more effectively.
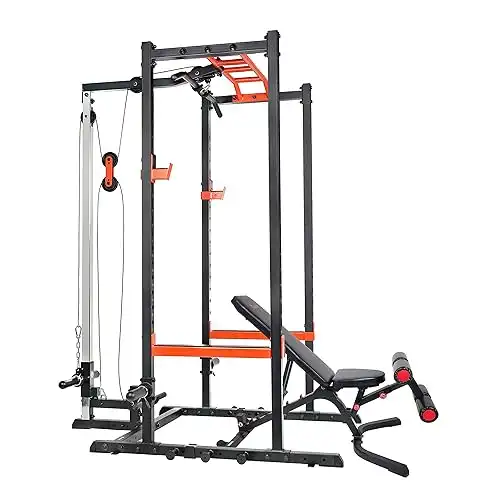
Optional Attachments for Expanded Training
Many power racks are modular, meaning you can add accessories to expand their functionality over time.
- Lat Pulldown/Cable Systems: These attachments allow for a full range of cable exercises, including lat pulldowns, seated rows, triceps pushdowns, and bicep curls, adding a new dimension to your training.
- Dip Stations: These handles attach to the rack, providing a stable platform for dips, an excellent compound exercise for chest, shoulders, and triceps.
- Landmine Attachments: A sleeve that holds one end of the barbell, allowing for rotational movements, presses, and rows from unique angles, engaging the core and stabilizers.
- Plate Storage Pegs: These keep your weight plates organized and off the floor, often contributing to the rack’s overall stability by adding weight to the base.
- Resistance Band Pegs: Small pins that attach to the base of the rack, allowing you to incorporate resistance bands for accommodating resistance (resistance increases as the lift progresses) or assisted pull-ups.
Setting Up Your Power Rack for Success: Considerations Before You Lift
Choosing and setting up your power rack isn’t a decision to take lightly. Careful consideration of your space, budget, and training goals will ensure you make the best investment.
Space Assessment: Measure Twice, Buy Once
Before even browsing racks, accurately measure your designated workout area.
- Ceiling Height: Crucial for exercises like overhead presses and pull-ups. If you have low ceilings (e.g., in a basement or garage with exposed beams), you’ll need a "short" power rack, typically around 72-84 inches tall.
- Floor Footprint: Measure the length and width of the space the rack will occupy. Don’t forget to account for the depth required for exercises (e.g., taking steps back for a squat) and for any attachments that extend beyond the main frame.
- Clearance: Leave adequate space around the rack (at least 2-3 feet on all sides) to comfortably load plates, move freely, and perform exercises like deadlifts or rows outside the cage if desired. For folding racks, ensure enough wall space for it to retract.
Gauge and Construction: Building to Last
The thickness of the steel used in a power rack’s construction directly impacts its durability, stability, and weight capacity.
- Steel Gauge: This refers to the thickness of the steel tubing. Lower numbers indicate thicker steel.
- 11-gauge steel: Considered heavy-duty and commercial-grade. Offers superior strength and stability, ideal for serious lifters pushing very heavy weights. Often features 3×3 inch uprights.
- 12-gauge steel: A good balance of strength and cost, suitable for most intermediate lifters.
- 14-gauge steel: Lighter and more budget-friendly, often sufficient for beginners or those lifting moderate weights. Typically uses 2×2 or 2×3 inch uprights.
- Tubing Size: Common sizes are 2×2, 2×3, or 3×3 inches. Thicker tubing generally translates to a sturdier rack.
Weight Capacity: Matching Your Ambition
Every power rack has a stated weight capacity, which indicates the maximum load it can safely support.
- Current vs. Future Needs: Consider not only the weight you lift now but also what you realistically aspire to lift. It’s wise to choose a rack with a capacity that exceeds your current maximums to accommodate future strength gains.
- Component Limits: Be aware that individual components like J-hooks or pull-up bars might have lower weight limits than the overall rack. Always adhere to the lowest stated capacity for any part of the setup.
- Beginner/Intermediate: A capacity of 700-1000 pounds is generally more than sufficient for most beginners and intermediate lifters.
Hole Spacing: Precision for Performance
The spacing of the holes along the uprights dictates how precisely you can adjust J-hooks and safeties.
- Standard Spacing (2-inch): Common on many racks, offering good adjustability for most exercises.
- Westside Hole Spacing (1-inch or 5/8-inch): Features closer hole spacing, particularly in the bench press and clean pull zones. This allows for much finer adjustments, which can be critical for finding the perfect rack height for bench pressing (where even an inch can make a big difference in setup and shoulder health) or for setting up precise pin presses. As Sevcik emphasizes, "I like to have the added adjustability, especially for those heavier weights."
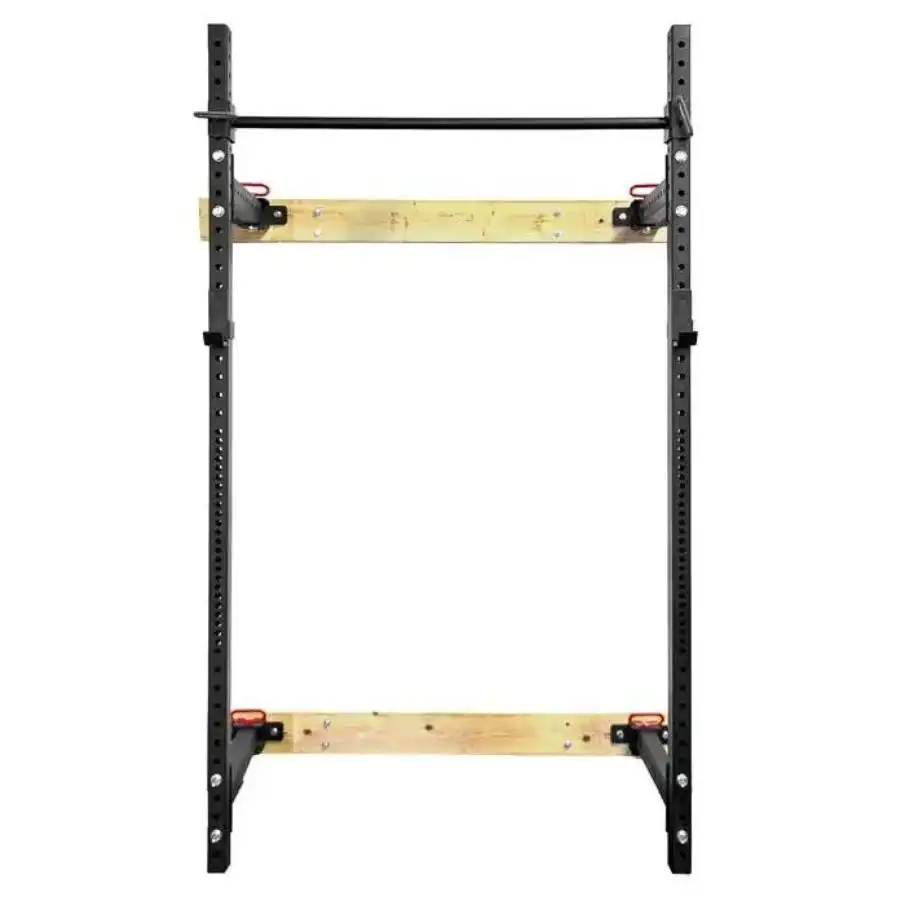
Stability: Freestanding vs. Bolted Down
Some racks are designed to be freestanding, while others offer or require bolting to the floor for maximum stability.
- Freestanding Racks: Many modern racks are designed with wide, stable bases and heavy construction to be used without bolting. If a rack feels wobbly with your working weights, adding weight plate storage to the rear uprights can often improve stability.
- Bolted-Down Racks: For ultimate stability, especially if you plan on performing dynamic movements like kipping pull-ups, or if you’re lifting exceptionally heavy, bolting the rack to a concrete floor is highly recommended. Always follow manufacturer instructions for proper anchoring.
Budgeting for Your Strength Sanctuary
Power racks vary significantly in price, influenced by materials, features, and brand reputation.
- Basic vs. Loaded: Entry-level racks might come with just J-hooks and a pull-up bar, while higher-end models include safeties, plate storage, and other integrated features.
- Accessory Costs: Remember that "optional" attachments often become "essential" as your training progresses. Factor in the potential cost of a good barbell, weight plates, a bench, and any desired attachments when setting your overall budget.
- Value Over Price: Sometimes, spending a little more upfront for thicker steel, better hole spacing, or included safeties can save you money and headaches in the long run.
Mastering the Rack: Essential Exercises and Form Tips
Once your power rack is set up, it’s time to put it to work. Here are some foundational exercises you can perform, along with critical form tips to ensure safety and effectiveness.
The Barbell Back Squat
The king of all exercises, building lower body and core strength.
- Setup: Set J-hooks slightly below shoulder height. Set safety pins/straps just below your deepest comfortable squat depth.
- Execution:
- Step under the bar, positioning it across your upper back (high bar) or slightly lower (low bar).
- Grip the bar firmly, retracting your shoulder blades to create a "shelf."
- Unrack the bar, take 2-3 small steps back, feet shoulder-width apart, toes slightly out.
- Take a deep breath, brace your core, and initiate the squat by pushing your hips back and bending your knees.
- Descend until your hip crease is below your knees (or as deep as your mobility allows without losing form).
- Drive through your heels and mid-foot to stand back up, exhaling at the top.
- Safety Tip: If you can’t complete the rep, simply lean forward and lower the bar onto the safeties.
The Barbell Bench Press
A cornerstone for chest, shoulders, and triceps development.
- Setup: Set J-hooks so the bar is easily reachable but doesn’t require a full lockout to unrack. Set safety pins/straps just above your chest at the bottom of your range of motion.
- Execution:
- Lie on the bench with your eyes under the bar.
- Grip the bar slightly wider than shoulder-width, wrists straight.
- Retract and depress your shoulder blades, creating a slight arch in your lower back.
- Unrack the bar, stabilize it over your chest.
- Inhale, control the bar down to your mid-chest.
- Pause briefly, then powerfully press the bar back up, driving your feet into the floor.
- Safety Tip: If the bar gets stuck, gently lower it onto the safeties.
Overhead Press (Shoulder Press)
Builds formidable shoulder and triceps strength.
- Setup: Set J-hooks at upper chest/shoulder height. No safeties typically needed inside the rack for this, but ensure enough clearance to press overhead.
- Execution:
- Stand with feet shoulder-width apart, core braced.
- Unrack the bar from the J-hooks, holding it across your upper chest/front deltoids.
- Take a deep breath, brace your core, and press the bar straight overhead, pushing your head slightly forward as the bar clears your face.
- Lockout your elbows at the top, ensuring your biceps are next to your ears.
- Control the bar back down to the starting position.
- Actionable Advice: Keep your core extremely tight to protect your lower back. Avoid leaning back excessively.
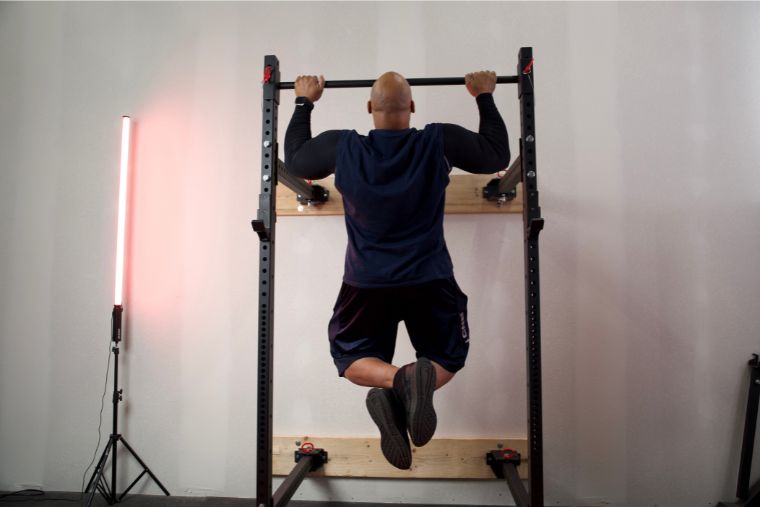
Pull-Ups/Chin-Ups
Fundamental bodyweight exercises for back and bicep strength.
- Setup: Ensure the pull-up bar is secure and at a height that allows full extension.
- Execution (Pull-up – overhand grip):
- Grab the bar with an overhand grip, hands slightly wider than shoulder-width.
- Hang with arms fully extended.
- Engage your back muscles, pull your chest towards the bar, leading with your sternum.
- Control the descent back to a full hang.
- Execution (Chin-up – underhand grip):
- Grab the bar with an underhand grip, hands shoulder-width apart.
- Hang with arms fully extended.
- Pull your chin over the bar.
- Control the descent.
- Progression Tip: If you can’t do full reps, use resistance bands for assistance or focus on negatives (slowly lowering yourself from the top position).
Rack Pulls/Partial Deadlifts
Target the upper back and improve deadlift lockout strength.
- Setup: Set the safety pins/straps inside the rack at your desired height (e.g., just below the knees or mid-shin).
- Execution:
- Load the bar onto the safeties.
- Stand with your shins close to the bar, feet hip-width apart.
- Hinge at your hips, keeping your back straight, and grip the bar.
- Engage your lats and glutes, and lift the bar off the safeties, extending your hips and knees.
- Lockout at the top, squeezing your glutes.
- Control the bar back down to the safeties.
- Form Focus: Maintain a flat back throughout the movement. This exercise allows you to overload specific parts of the deadlift.
Dips (with attachment)
Excellent for chest, triceps, and shoulders.
- Setup: Attach dip handles to the rack at a comfortable height.
- Execution:
- Grip the handles, lift yourself up, and stabilize your body.
- Lean slightly forward to emphasize chest, or stay upright for more triceps.
- Control your descent until your shoulders are below your elbows.
- Press back up to the starting position.
- Progression: Add weight with a dip belt as you get stronger.
Landmine Presses/Rows (with attachment)
Unique exercises for strength and core stability.
- Setup: Insert one end of the barbell into a landmine attachment at the base of the rack.
- Execution (Landmine Press):
- Load plates onto the free end of the bar.
- Stand facing the bar, gripping the end with one or both hands.
- Press the bar overhead in an arc, engaging your core and glutes.
- Execution (Landmine Row):
- Stand perpendicular to the bar, hinge at hips.
- Grip the bar with one or both hands.
- Pull the bar towards your hip/chest, squeezing your shoulder blades.
- Benefit: The arc motion is easier on shoulders for some and provides unique resistance.
General Form and Safety Principles:
- Warm-up: Always perform a dynamic warm-up before lifting to prepare your muscles and joints.
- Prioritize Form: Never sacrifice proper form for heavier weight. Good form prevents injury and ensures target muscles are engaged.
- Listen to Your Body: Pay attention to pain signals. It’s okay to deload or take a rest day if something feels off.
- Progressive Overload: Consistently strive to improve – more weight, more reps, more sets, better form, or shorter rest periods.
Elevating Your Training: Advanced Tips & Programming Insights
Once you’re comfortable with the basics, your power rack can become a playground for advanced training techniques and smarter programming.
Implementing Progressive Overload Strategically
Beyond simply adding weight, consider these methods to continuously challenge your muscles:
- Increase Reps/Sets: Gradually add more repetitions per set or more total sets over time.
- Decrease Rest Intervals: Shorten the time between sets to increase training density and challenge your cardiovascular system.
- Improve Form: Strive for perfect execution on every rep, which can sometimes feel harder than lifting more weight with sloppy form.
- Increase Time Under Tension: Slow down the eccentric (lowering) phase of a lift to increase muscle engagement.
- Incorporate Intensity Techniques: Techniques like drop sets, supersets (within the rack), or rest-pause sets can be safely employed.
Periodization Basics for Consistent Gains
Periodization involves strategically varying your training volume and intensity over different cycles to optimize performance and prevent plateaus or overtraining.
- Linear Periodization (Simple): Start with higher reps/lower weight (e.g., 3-4 weeks of 8-12 reps), then transition to lower reps/higher weight (e.g., 3-4 weeks of 4-6 reps), and finally peak with very low reps/very high weight (e.g., 1-3 weeks of 1-3 reps). Follow with a deload.
- Undulating Periodization (Flexible): Vary rep ranges and intensities within the same week (e.g., Monday: heavy 5×5, Wednesday: moderate 3×10, Friday: light 3×15). This can keep training fresh and prevent adaptation.
Incorporating Accessories for Weaknesses
Use your rack’s versatility to target specific muscle groups or movements where you’re lagging.
- Identify Weak Points: Are your triceps failing before your chest on bench press? Do you struggle with the top portion of a squat?
- Targeted Exercises:
- Triceps: Dips, close-grip bench press, overhead triceps extensions (with cable attachment).
- Back/Lats: Pull-ups, lat pulldowns, T-bar rows (with landmine attachment).
- Glutes/Hamstrings: Romanian deadlifts (from inside the rack), good mornings.
- Core: Hanging leg raises, landmine twists.
The Importance of Deloads and Recovery
Progress isn’t linear. Strategic rest is as crucial as hard work.
- Scheduled Deloads: Every 4-8 weeks, reduce your training volume (sets/reps) and/or intensity (weight) by 40-60% for a week. This allows your body to recover, adapt, and come back stronger.
- Adequate Sleep: Aim for 7-9 hours of quality sleep per night. This is when your body repairs and rebuilds muscle tissue.
- Active Recovery: Gentle walks, stretching, or foam rolling can aid blood flow and reduce muscle soreness.
Nutrition and Hydration: Fueling Your Gains
Your diet and water intake play a monumental role in your ability to build strength and recover.
- Protein Intake: Ensure sufficient protein to support muscle repair and growth (e.g., 0.7-1 gram per pound of bodyweight).
- Balanced Macronutrients: Don’t neglect complex carbohydrates for energy and healthy fats for hormone production.
- Hydration: Drink plenty of water throughout the day. Dehydration can severely impair performance and recovery.
The Unwavering Path to Strength: Your Power Rack Journey
The journey of strength training is one of consistent effort, calculated progression, and unwavering dedication. Your power rack is more than just a piece of equipment; it’s a testament to your commitment to self-improvement, a silent partner in every rep, every set, and every personal best. It empowers you to train safely, push your boundaries, and build a physique that reflects your inner resilience.
From the first cautious squat to the heaviest deadlift, the power rack provides the secure foundation upon which true strength is forged. Embrace the process, celebrate small victories, and never stop learning. With smart training, proper form, and the versatility of your power rack, you are equipped to not only reach your fitness goals but to surpass them, continually discovering the incredible power that lies within you. Step into your rack, grab the bar, and let the journey of a stronger you begin.