The pursuit of strength and physical excellence is a journey, not a destination. For many, this journey begins and evolves within the walls of a home gym – a personal space dedicated to pushing limits, building resilience, and achieving fitness milestones. At the heart of a truly effective and safe home gym lies a piece of equipment that is often underestimated in its transformative power: the power rack.
More than just a frame for barbells, a power rack is a commitment to your strength. It’s an investment in safety, versatility, and the consistent progression that defines true fitness growth. Whether you’re taking your first steps into serious weight training or an intermediate lifter striving for new personal bests, understanding and utilizing a power rack can unlock a new dimension of your fitness potential. This comprehensive guide will illuminate why this robust structure is indispensable, how to choose the perfect one for your space, and how to harness its full capabilities to forge an unstoppable physique and mindset.
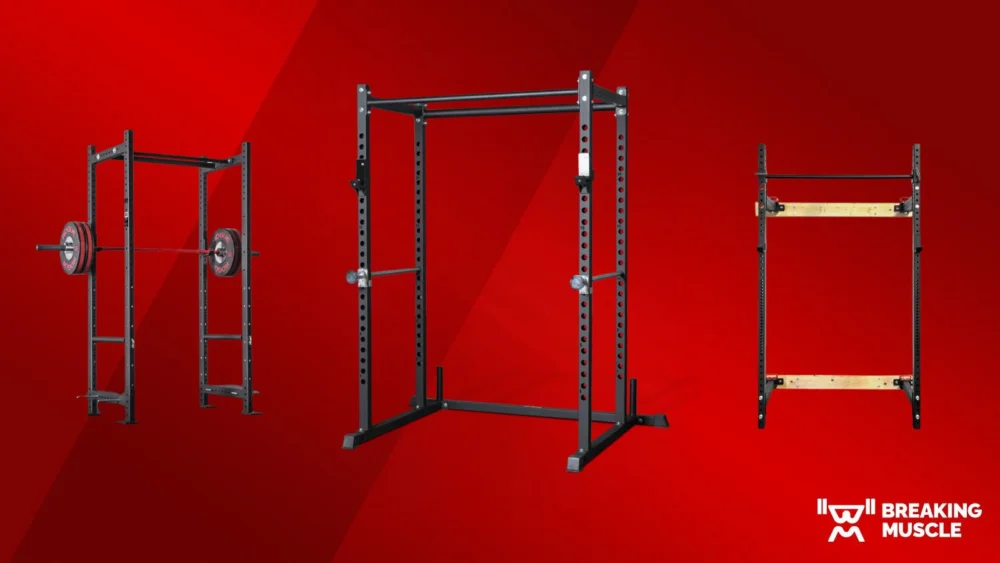
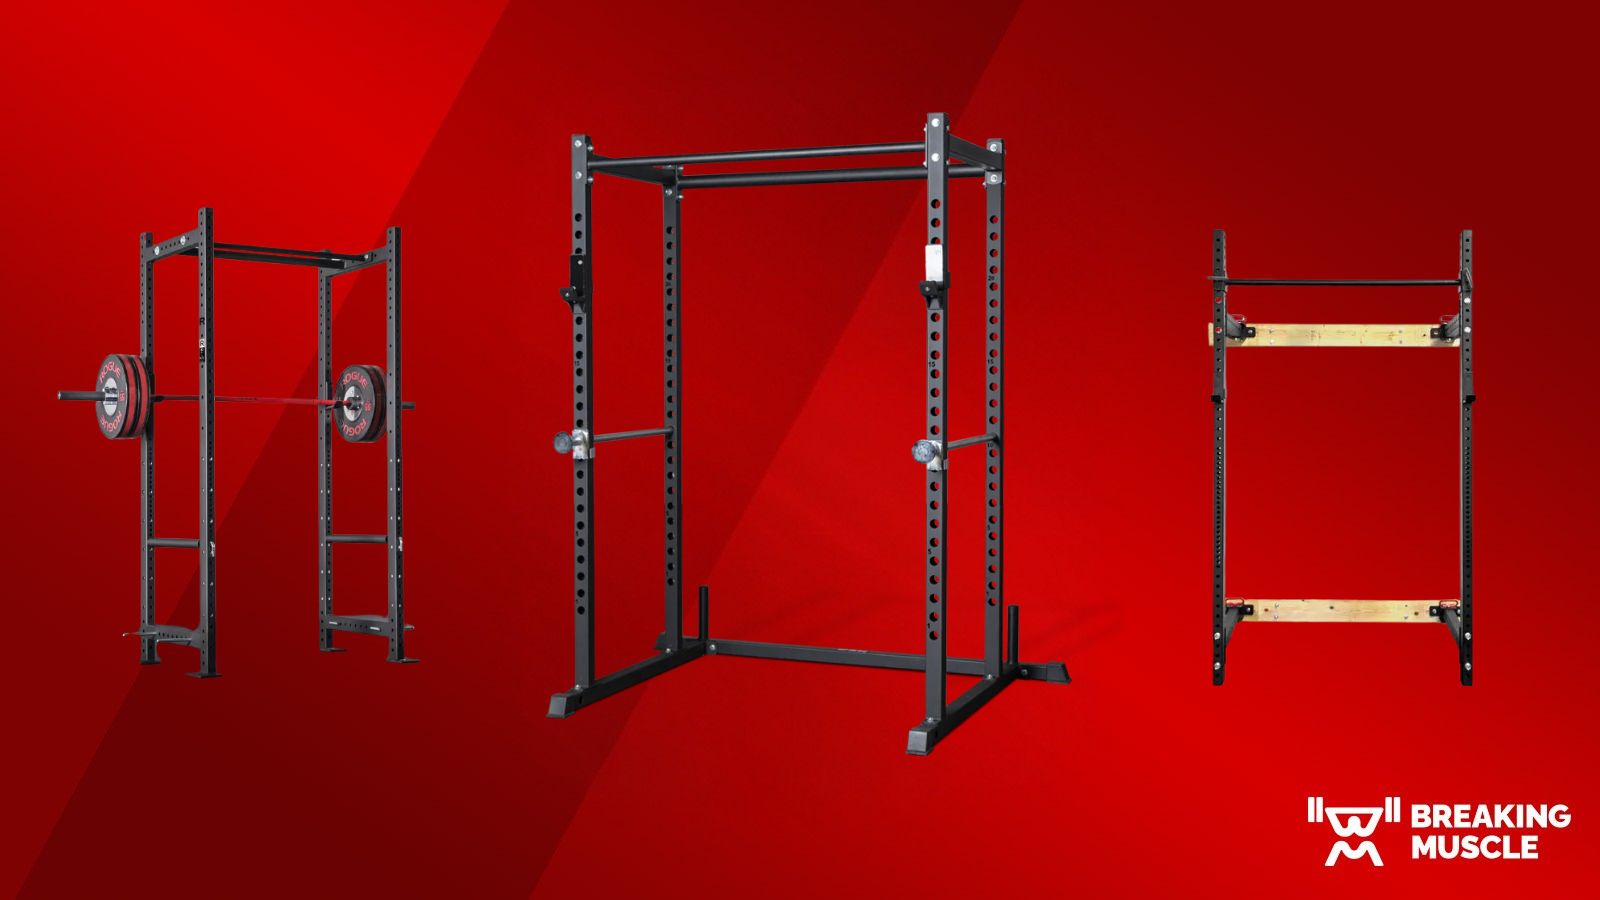
What Exactly is a Power Rack? Demystifying the "Cage"
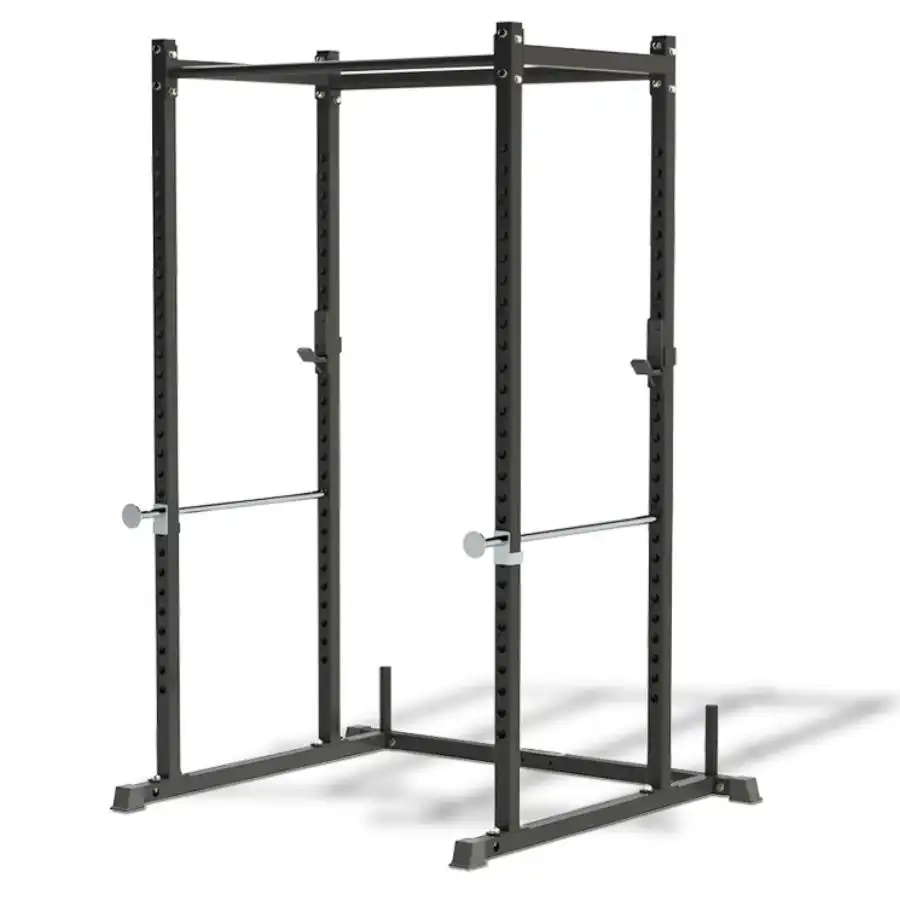
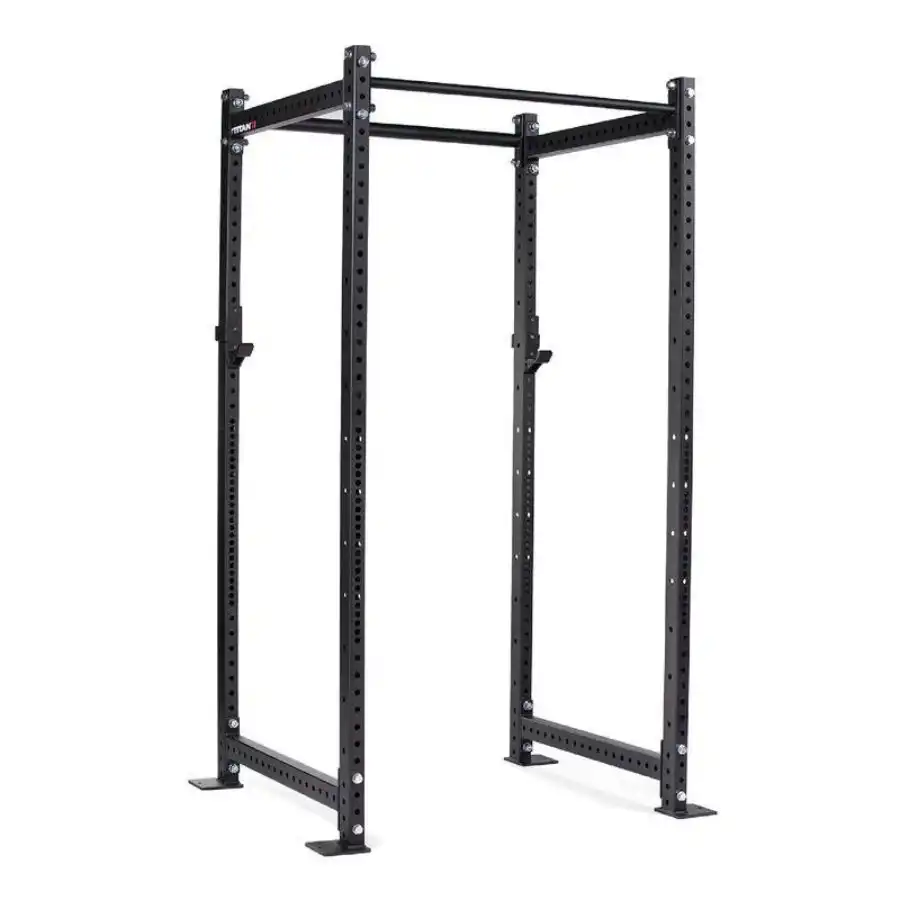
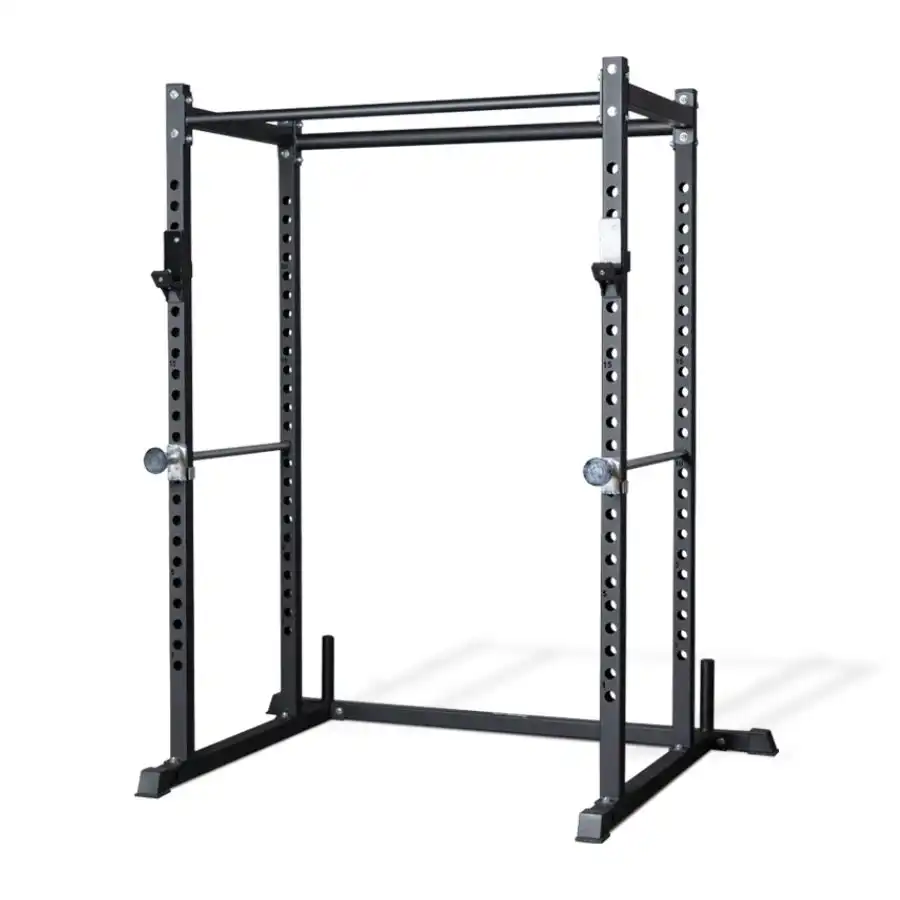
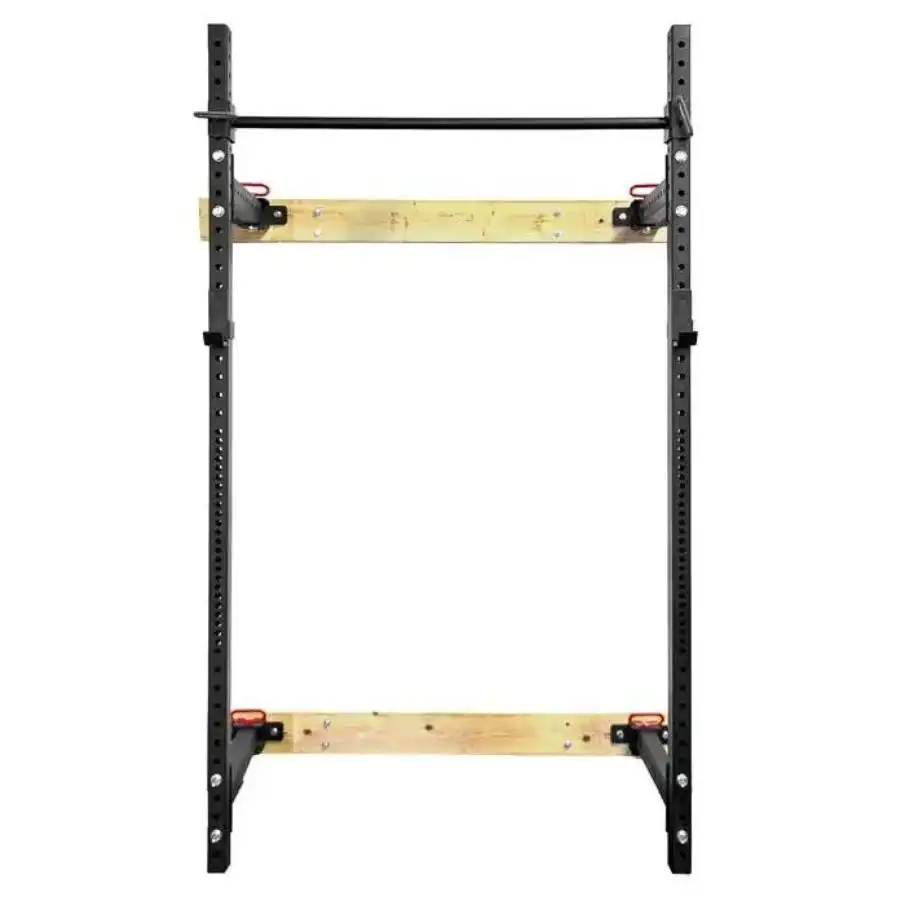
Imagine a sturdy, four-post steel structure, often resembling a large, open-sided cage. That’s essentially a power rack, also commonly referred to as a power cage or squat cage. Its fundamental design consists of four vertical uprights connected by horizontal cross members, creating an enclosed space where you can safely perform a wide array of barbell exercises.
Unlike a simple squat stand, which typically features just two uprights and minimal safety features, a power rack provides a fully contained and significantly safer environment. The defining feature of a power rack is its integrated safety system – typically adjustable horizontal pins, straps, or spotter arms that can be positioned at various heights. These safeties act as a crucial fail-safe, catching the barbell if you fail a lift, thereby preventing injury and allowing you to train with confidence, even without a spotter.
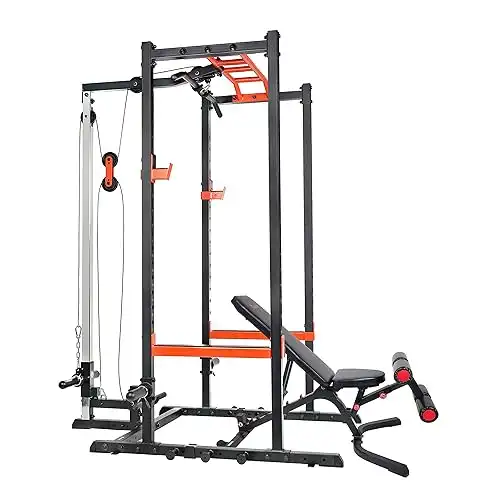
Beyond its core safety function, a power rack is a hub of versatility. Most come equipped with a pull-up bar, and many offer numerous attachment points for a wide range of accessories, transforming it into a multi-functional training station. From the most fundamental compound movements to targeted accessory work, the power rack provides the stable, secure, and adaptable platform you need to push your limits safely and effectively. It’s not just a piece of equipment; it’s the cornerstone of a serious strength training regimen, offering peace of mind and endless possibilities for growth.
The Unrivaled Benefits of Incorporating a Power Rack into Your Routine
Integrating a power rack into your home gym isn’t merely an upgrade; it’s a strategic move that amplifies every aspect of your strength training. The advantages extend far beyond simply having a place to rack your barbell.
Unparalleled Safety for Solo Lifters
This is arguably the most critical benefit. Lifting heavy weights carries inherent risks, especially when training alone. A power rack mitigates this risk dramatically through its integrated safety features. Adjustable safety pins, straps, or spotter arms can be set just below your lowest point in an exercise (like a squat or bench press).
Real-Life Scenario: Imagine you’re attempting a new personal record on the bench press. You unrack the weight, begin your descent, but halfway up, your muscles give out. Without a spotter or a power rack, this could lead to serious injury. With a power rack, you simply lower the barbell onto the safeties, roll out from underneath, and live to lift another day. This peace of mind allows you to push harder, knowing you have a reliable "bailout" option, fostering a more aggressive and ultimately more productive training approach.
Versatility Beyond Imagination
A power rack isn’t a one-trick pony. While its name suggests "power" and its primary use for heavy compound lifts, its adaptability is truly remarkable. It becomes a central station for a full-body workout.
- Compound Lifts: Squats (back squats, front squats), bench press (flat, incline, decline), overhead press, rack pulls, barbell rows.
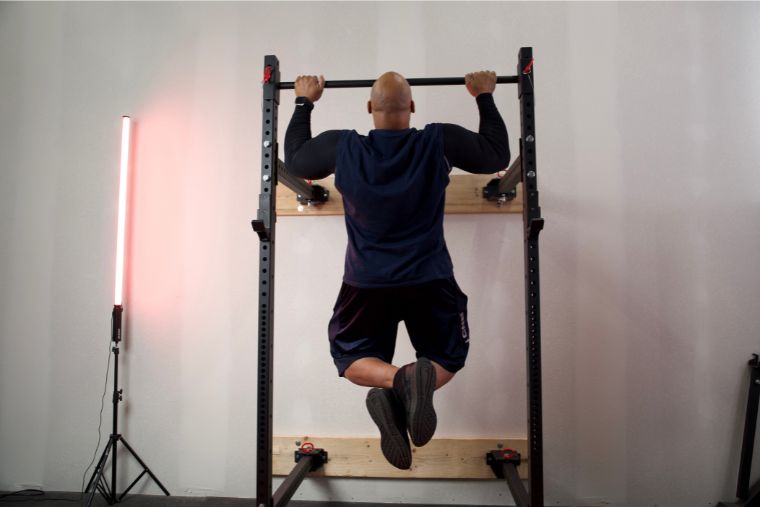
- Bodyweight Exercises: The integrated pull-up bar allows for pull-ups, chin-ups, and hanging leg raises. Many racks also accommodate dip attachments.
- Accessory Work: With various attachments, you can perform landmine exercises, cable movements (if a pulley system is added), resistance band work, and more.
This versatility means you can achieve a comprehensive strength and conditioning program with a single, central piece of equipment, making your home gym incredibly efficient.
Progressive Overload Made Simple and Safe
Progressive overload – the gradual increase of stress placed on the body during training – is the fundamental principle of muscle growth and strength development. A power rack facilitates this principle like no other.
As you get stronger, you’ll need to lift heavier weights. The power rack provides the secure environment to add those extra plates without fear. Its robust construction and safety features allow you to continually challenge your muscles, week after week, month after month. The precise hole spacing on many racks also enables micro-adjustments for j-hooks and safeties, ensuring you can always find the optimal starting and stopping points for your lifts, further enhancing your ability to progressively load your movements.
Space Efficiency and Home Gym Integration
While a power rack might seem large, it’s incredibly space-efficient for the sheer volume of exercises it enables. Instead of needing separate stations for squats, bench press, pull-ups, and more, the power rack consolidates these functions into one footprint. For those with limited space, folding power racks offer the ultimate solution, collapsing against a wall when not in use. This integrated design maximizes the utility of your available space, making a serious home gym feasible for almost anyone.
Long-Term Investment in Your Health and Fitness
A well-chosen power rack is built to last. Made from heavy-gauge steel, it can withstand years of intense training, serving as a steadfast partner in your fitness journey. Investing in a quality rack means you won’t need to replace it as you grow stronger. It’s a foundational piece of equipment that supports continuous improvement, making it a wise, long-term investment in your physical health, strength, and overall well-being. It empowers you to train on your schedule, without commute times or gym fees, making consistency a more attainable goal.
Choosing Your Ideal Power Rack: A Comprehensive Buying Guide
Selecting the right power rack is a crucial decision that will impact your training for years to come. It’s not just about picking the first one you see; it’s about aligning the equipment with your space, your goals, and your budget.
Assessing Your Space: Dimensions and Ceiling Height
Before you even begin looking at features, measure your available space meticulously. This is the single most important factor.
- Footprint: Measure the length and width of the area where the rack will sit. Remember to account for space around the rack for loading plates, performing exercises like deadlifts, and allowing for movement. A good rule of thumb is to leave at least 2-3 feet of clearance on all sides where you’ll be actively moving.
- Ceiling Height: This is often overlooked. Standard power racks are typically 80-90 inches tall. If you have a basement gym or a room with a low ceiling, you’ll need to seek out "short" power racks (often around 72 inches) or "folding" designs that might have specific height requirements for installation. Don’t forget to account for your own height if you plan to do pull-ups – you need enough vertical clearance to hang freely without hitting your head.
Understanding Construction and Material Quality
The quality of construction directly correlates with the rack’s durability, stability, and weight capacity.
- Steel Gauge: This refers to the thickness of the steel tubing. Lower numbers indicate thicker, stronger steel.
- 11-gauge steel: The gold standard for commercial gyms and serious home lifters. Extremely strong and durable, offering maximum stability.
- 12-gauge steel: A very good option for most home gym users, providing excellent strength and durability.
- 14-gauge steel: More common in budget-friendly racks. Suitable for beginners or those not lifting extremely heavy weights, but may exhibit more flex or sway under heavy loads.
- Upright Size: The dimensions of the vertical posts (e.g., 2×2 inches, 2×3 inches, 3×3 inches). Thicker uprights generally mean more stability and a higher weight capacity. However, they also dictate compatibility with attachments – ensure any accessories you buy match your upright size.
- Welds and Finish: Inspect product images or descriptions for clean, consistent welds. A high-quality powder-coat finish protects the steel from rust and wear, contributing to longevity and aesthetics.
Weight Capacity: Matching the Rack to Your Ambition
Every power rack has a stated weight capacity for the rack itself and often for individual components like j-hooks and pull-up bars.
- Rack Capacity: Ranges widely, from 500 lbs for entry-level models to 1,500+ lbs for heavy-duty setups.
- Your Needs: Beginners to intermediate lifters will likely find racks with capacities of 700-1000 lbs more than sufficient. However, if you have aspirations of becoming a competitive powerlifter or are already very strong, opt for a higher capacity rack (1000 lbs+) to ensure it can handle your progressive overload journey. Always consider your current maximum lifts and project where you want to be in a few years.
Hole Spacing: Precision for Optimal Performance
The spacing of the holes on the uprights is crucial for precise adjustments of j-hooks and safeties.
- Standard Spacing (2 inches): Common on many racks, offering good adjustability for most exercises.
- Westside Hole Spacing (1-inch or 1.5-inch spacing): Often found in the bench press and clean pull zones. This finer spacing allows for extremely precise bar placement, which is critical for dialing in the perfect setup for bench pressing (where even an inch can make a difference) or for partial range of motion exercises like pin presses. For serious lifters, Westside spacing is a highly desirable feature.
Essential and Desirable Features (Beyond the Core)
Consider these components that enhance safety, comfort, and versatility:
- Safety Mechanisms:
- Pin-and-Pipe Safeties: Simple, robust, and reliable. Can be noisy.
- Strap Safeties: Quieter, protect barbells better, and offer a gentler catch. Often more expensive.
- Spotter Arms: Extend out from the rack, useful for exercises outside the cage, but generally less secure than full internal safeties.
- J-Cups/J-Hooks: These hold the barbell. Look for J-cups with UHMW (Ultra High Molecular Weight) plastic lining. This protective layer prevents scratches and wear on your barbell’s knurling, preserving its grip and appearance.
- Pull-Up Bar: Most racks include one. Look for options with:
- Multi-grip capability: Allows for wide, narrow, neutral, and pronated grips.
- Different diameters: Thicker bars challenge grip strength more.
- Adjustable height: Useful for different users or for accommodating lower ceilings.
- Weight Storage: Integrated plate horns on the back of the rack serve two purposes:
- Convenience: Keeps weight plates organized and easily accessible.
- Stability: Adds significant weight to the base of the rack, making it even more stable during heavy lifts or dynamic movements.
- Optional Attachments: A good rack should be expandable. Consider what attachments you might want now or in the future:
- Dip stations
- Landmine attachments
- Lat pulldown/low row cable systems
- Band pegs for accommodating resistance
- Storage for barbells, resistance bands, etc.
Budgeting for Your Investment
Power racks range widely in price, typically from $300 to $1500+.
- Entry-Level ($300-$500): Often 14-gauge steel, simpler designs, fewer included attachments. Good for beginners or those with strict budgets.
- Mid-Range ($500-$900): Usually 12-gauge or 11-gauge steel, better finishes, more included features (like multi-grip pull-up bars, lined J-cups), and better attachment compatibility. This is the sweet spot for most intermediate home gym users.
- High-End ($900+): Heavy-duty 11-gauge steel, premium finishes, extensive attachment ecosystems, often customizable colors/sizes, and specialized features like Westside spacing throughout. Designed for serious lifters who demand the best.
Remember to factor in the cost of shipping (which can be substantial for heavy items) and any essential accessories not included (like safeties for some budget models). View it as a long-term investment; a slightly higher initial cost for better quality often pays dividends in durability, safety, and training satisfaction.
Mastering Your Power Rack: Techniques for Effective and Safe Training
Possessing a power rack is only half the battle; knowing how to use it effectively and safely is paramount. It’s about leveraging its capabilities to maximize your gains while minimizing risk.
Setting Up Your Safeties Correctly (The Golden Rule)
This cannot be stressed enough. Incorrectly set safeties negate the primary safety benefit of a power rack.
- For Squats:
- Place an unloaded barbell on your back (or simulate the bar path if you’re experienced).
- Descend into your deepest comfortable squat position.
- Set the safety pins/straps approximately 1-2 inches below this lowest point.
- The goal is that if you fail, you can simply sit down with the barbell onto the safeties, avoiding being pinned or having to dump the weight.
- For Bench Press:
- Lie on the bench with the unloaded barbell in your normal pressing position.
- Lower the bar to your chest.
- Set the safety pins/straps approximately 1-2 inches above your chest.
- If you fail, the bar will land on the safeties before it crushes you. You should be able to slide out from under the bar.
- Crucial Tip: Never set safeties so low that you would have to significantly change your body position to reach them during a failed lift. They should be there to meet the bar at your lowest safe point.
Fundamental Exercises to Master
The power rack is a versatile tool for building foundational strength. Focus on mastering these core movements:
- Barbell Back Squats: The king of leg exercises. Use the rack to position the bar safely on your back and for security during heavy sets.
- Barbell Front Squats: Excellent for core strength and quad development. Rack the bar in the front-rack position.
- Barbell Bench Press: The definitive upper-body pressing movement. Use the rack’s j-hooks for unracking and safeties for protection.
- Barbell Overhead Press (Standing or Seated): Builds shoulder and core strength. The rack ensures safe unracking and reracking.
- Rack Pulls: A partial deadlift performed from safeties set at various heights. Great for building back strength and lockout power without excessive lower back strain.
- Barbell Rows: Target your back muscles. Can be performed with the bar starting from the floor or from safeties for a more controlled setup.
- Pull-Ups/Chin-Ups: Utilize the integrated pull-up bar for various grip strengths and back development.
- Dips (with attachment): Fantastic for chest, triceps, and shoulders.
Actionable Advice: Always prioritize proper form over heavy weight. Watch instructional videos, consider hiring a coach for initial sessions, and practice with lighter weights until your movement patterns are perfect. A power rack enhances safety, but it doesn’t replace good technique.
Progressive Overload: The Engine of Growth
To continuously get stronger, you must consistently challenge your muscles. Here’s how to apply progressive overload with your rack:
- Increase Weight: The most common method. When you can comfortably complete your target reps for all sets with good form, add a small amount of weight (e.g., 2.5-5 lbs).
- Increase Reps/Sets: Maintain the same weight but aim for an extra rep or an additional set.
- Decrease Rest Time: Shorten the rest periods between sets to increase training density.
- Improve Form: While not directly adding "load," refining your technique allows you to lift more efficiently and often with more weight in the long run.
- Increase Frequency: Train a muscle group more often (e.g., twice a week instead of once).
- Time Under Tension: Slow down the eccentric (lowering) phase of an exercise.
The power rack’s robust nature allows you to confidently implement these strategies, knowing you have the structural support and safety nets in place.
Beyond the Basics: Advanced Applications
Once you’ve mastered the fundamentals, your power rack opens doors to more advanced training techniques:
- Partial Reps: By setting the safeties to limit the range of motion, you can train specific sticking points or lift supra-maximal weights to build strength in a particular range (e.g., pin squats, board presses).
- Accommodating Resistance: Attach resistance bands to the rack and the barbell. This makes the lift harder at the top (where you’re strongest) and easier at the bottom (where you’re weakest), providing a unique strength curve.
- Isometric Holds: Hold a heavy weight against the safeties for time to build static strength.
Maintenance and Longevity
To ensure your power rack remains a safe and reliable asset, regular maintenance is key:
- Inspect Regularly: Check all bolts, nuts, and welds for tightness or signs of wear. Tighten any loose fasteners.
- Cleanliness: Wipe down the rack periodically to remove chalk dust, sweat, and grime.
- Lubrication: If your rack has moving parts (like a lat pulldown system), ensure they are lubricated as per manufacturer instructions.
- Protect Your Barbell: Always use j-hooks with protective lining. Avoid dropping barbells directly onto unlined steel safeties excessively, as this can damage both the bar and the rack.
Common Pitfalls and How to Avoid Them
Even with the best equipment, mistakes can happen. Being aware of common pitfalls can save you from frustration or injury.
- Neglecting Safety Setup: As emphasized, this is critical. Always double-check your safety pin/strap placement before starting a set, especially with heavy weights. Never assume they’re in the right spot from a previous exercise.
- Underestimating Space Requirements: Buying a rack that’s too big for your space or doesn’t allow enough room around it will severely limit your training options and potentially create safety hazards. Measure twice, buy once.
- Buying a Rack That Doesn’t Match Your Goals: An ultra-heavy-duty rack might be overkill (and overpriced) for a casual lifter, while a flimsy, low-capacity rack will quickly become a limitation for someone serious about strength progression. Be honest about your current and future needs.
- Ignoring Maintenance: A neglected rack can develop loose bolts, rust, or other issues that compromise its stability and safety over time. A few minutes of periodic inspection and cleaning can add years to its lifespan.
- Poor Form Leading to Injury: While the rack provides safety from failed lifts, it doesn’t protect against injuries caused by poor technique. Prioritize learning and practicing correct form for every exercise. Don’t let the confidence of having safeties encourage sloppy lifting.
- Over-reliance on Attachments without Mastering Basics: While attachments are great, ensure your core strength and foundational movements are solid before diving into too many specialized exercises. The rack’s primary purpose is to facilitate heavy, compound lifting.
Real-Life Success Stories and Motivational Insights
The true power of a home gym, centered around a power rack, lies in the stories of transformation it enables.
Consider Sarah, a busy professional and mother of two. Her demanding schedule made regular gym visits impossible. After investing in a power rack, she carved out a small corner in her garage. Now, she consistently trains 3-4 times a week, fitting powerful squat, bench, and deadlift sessions into her lunch breaks or after the kids are asleep. Sarah has not only regained her pre-pregnancy strength but surpassed it, feeling more energetic, confident, and empowered than ever before. Her power rack isn’t just equipment; it’s her personal sanctuary where she recharges and rebuilds.
Then there’s Mark, an aspiring powerlifter who initially felt intimidated by commercial gyms. His power rack allowed him to learn proper form for the big three lifts (squat, bench, deadlift) at his own pace, without judgment. The safety pins gave him the confidence to push his limits on every set. Over two years, Mark has added hundreds of pounds to his lifts, eventually stepping into a local powerlifting meet with a strong foundation built entirely within his home gym. His rack was the training partner that never missed a session.
These stories highlight a common thread: consistency. A power rack removes barriers to consistent training, allowing you to train when it suits you, in an environment you control. It fosters discipline, builds mental toughness, and proves that monumental strength can be forged one safe, deliberate rep at a time. It’s about taking ownership of your fitness journey and having the tools to navigate it successfully.
Conclusion: Forge Your Strength, Own Your Journey
The journey to greater strength and fitness is deeply personal, requiring dedication, discipline, and the right tools. For beginners embarking on this path and intermediate enthusiasts pushing their boundaries, a power rack stands as the ultimate ally. It is more than just a steel frame; it is the unwavering foundation of a potent home gym, a bastion of safety, and a catalyst for relentless progress.
By providing an unparalleled level of security, enabling comprehensive full-body workouts, and facilitating the essential principle of progressive overload, a power rack empowers you to train harder, smarter, and with greater confidence. It transforms your available space into a dedicated strength sanctuary, a place where excuses fade, and personal records are relentlessly pursued.
Choosing the right power rack is an investment in your physical future. It’s a decision to prioritize safety, embrace versatility, and commit to consistent, challenging workouts. When you step into that "cage," you’re not just lifting weights; you’re forging resilience, building an unbreakable physique, and proving to yourself what you’re truly capable of.
Embrace the power of the rack. Dedicate yourself to the process. Your strength journey awaits, and with this essential piece of equipment, you are perfectly positioned to conquer it, one powerful lift at a time. Go forth, lift heavy, lift safely, and forge the strongest version of yourself.