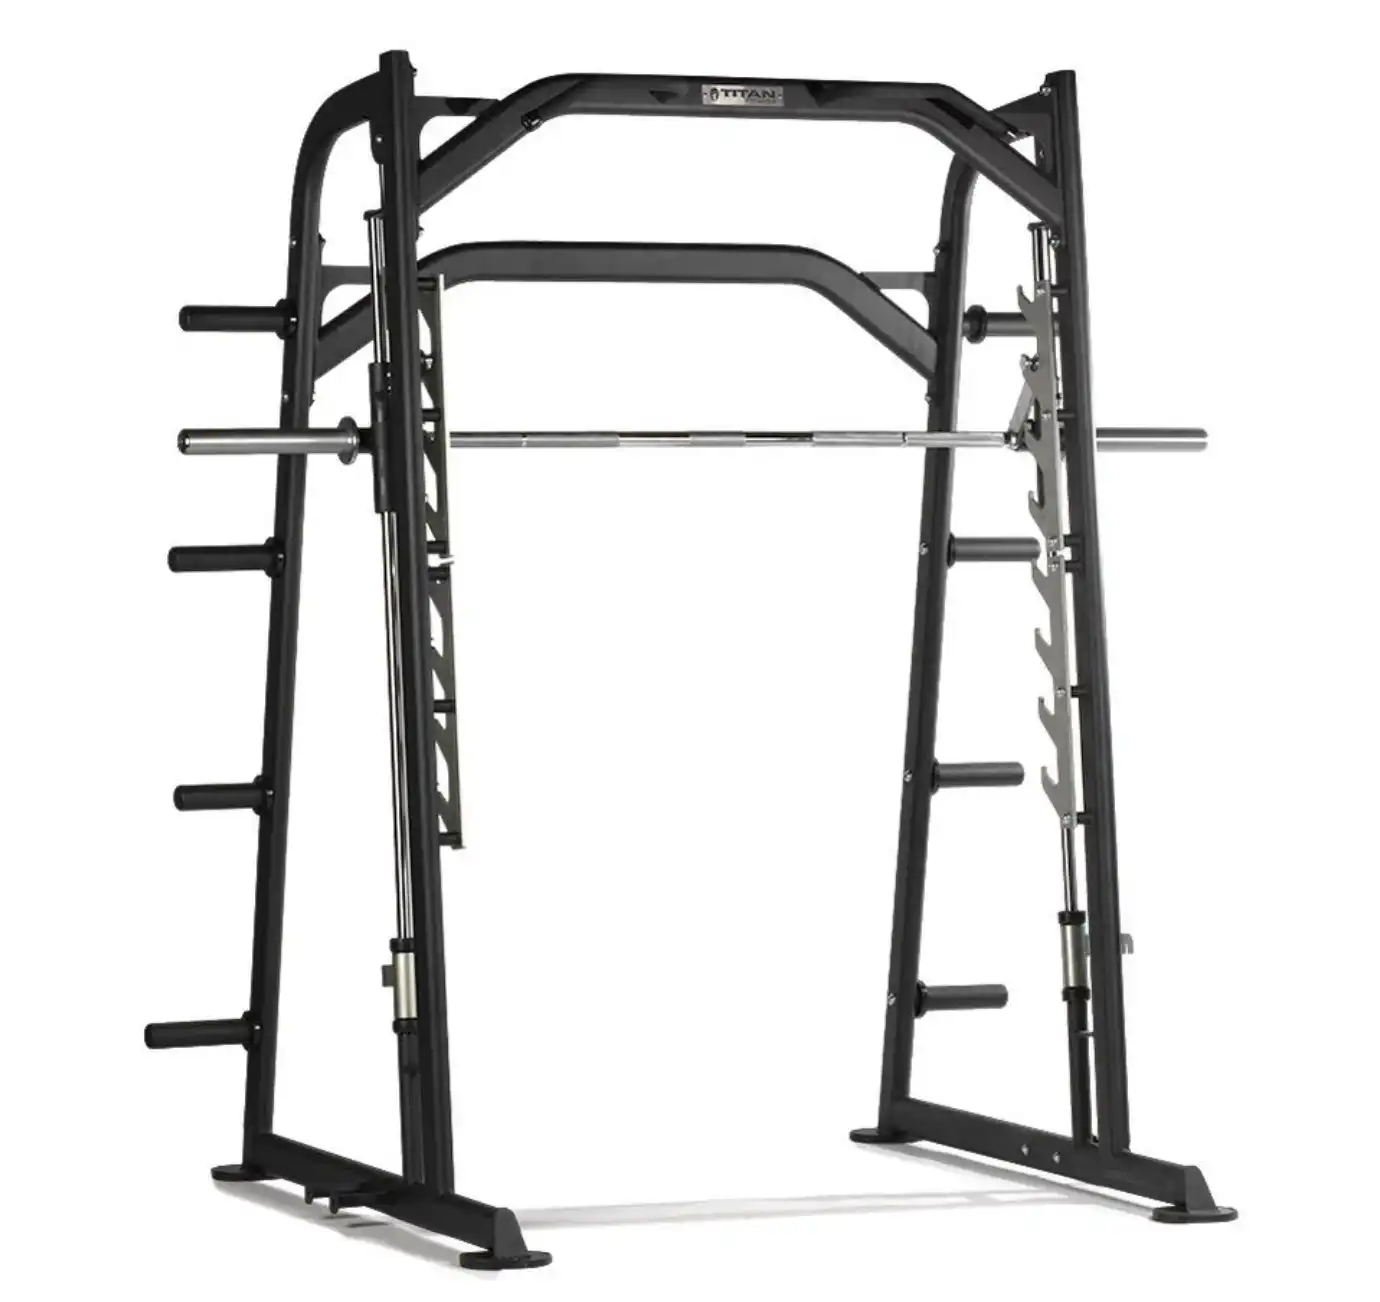
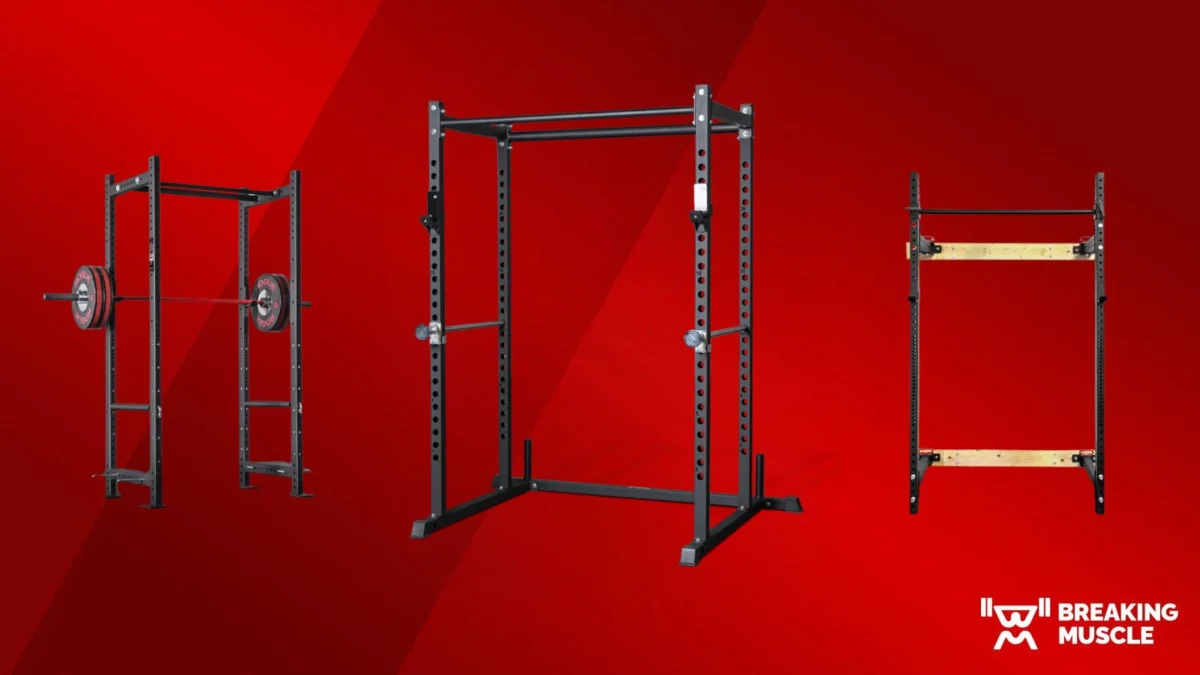
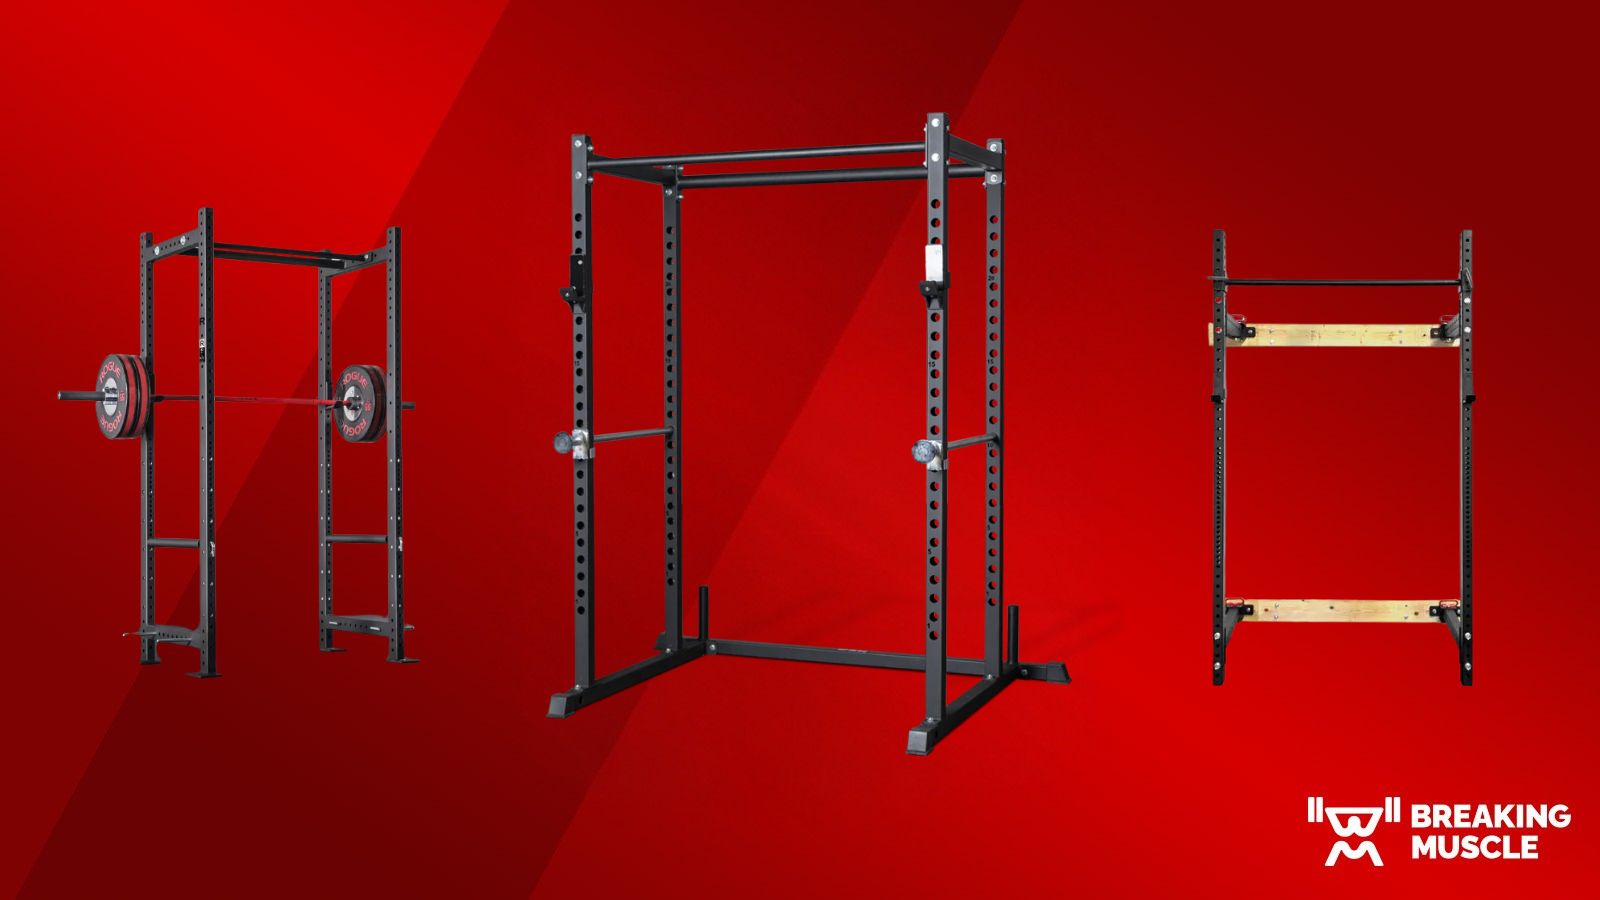
The pursuit of strength is a timeless human endeavor, a journey that builds not just muscle but also resilience, discipline, and unwavering confidence. For many, this journey begins or finds its home within the confines of a power rack – a true cornerstone of any serious strength training regimen, particularly for those building their personal fitness sanctuary. Far more than just a piece of equipment, a power rack is an investment in your physical potential, a silent spotter, and a versatile platform from which you can sculpt a stronger, more capable you.
Whether you’re just beginning to explore the world of barbells or you’re an intermediate lifter striving to shatter new personal records, understanding how to effectively and safely utilize a power rack is paramount. It transforms your training space into a high-performance arena, allowing you to challenge your limits with confidence, experiment with new movements, and consistently progress towards your fitness aspirations.
This comprehensive guide will unlock the full potential of the power rack, walking you through its fundamental benefits, essential components, and a diverse array of exercises. We’ll delve into smart programming strategies, crucial safety protocols, and practical tips to ensure your strength journey is both effective and injury-free. Prepare to elevate your training, break through plateaus, and truly forge your strength.
The Unrivaled Benefits of Incorporating a Power Rack
A power rack isn’t merely a luxury; it’s a strategic asset for anyone committed to serious strength training. Its design and functionality offer a host of advantages that can profoundly impact your progress and overall training experience.
Safety First: Your Personal Spotter
This is, without a doubt, the most significant advantage of a power rack. When pushing heavy weights, especially during compound movements like squats and bench presses, the risk of failure is real. A power rack mitigates this risk through its integrated safety features.
- Adjustable Safety Bars or Straps: These are the rack’s primary safety net. Set just below your lowest intended range of motion for a given lift, they catch the barbell if you fail a repetition. This allows you to train to muscular failure without fear of being crushed or trapped, a liberation that can dramatically boost your confidence and willingness to push harder.
- Confidence in Solo Training: For individuals training at home or without a dedicated spotter, the power rack provides an indispensable layer of security. You can load up the bar, knowing that if things go south, the rack has your back.
Versatility Unleashed: More Than Just Squats
While often synonymous with squats, a power rack is a multi-functional training station. Its robust frame and adaptable design open up a vast repertoire of exercises, making it a complete gym in a compact footprint.
- Compound Lifts: Safely perform barbell squats, bench presses, overhead presses, and rack pulls.
- Bodyweight Exercises: Most racks feature an integrated pull-up bar, allowing for pull-ups, chin-ups, and hanging leg raises.
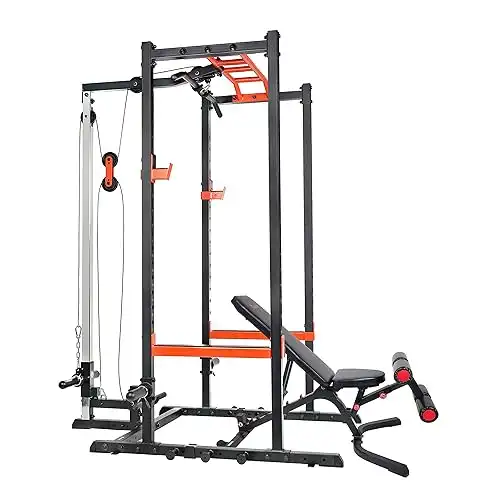
- Accessory Movements: With additional attachments, you can perform lat pulldowns, cable rows, dips, landmine exercises, and various banded movements.
Progressive Overload Facilitation: The Key to Consistent Gains
Progressive overload – the principle of gradually increasing the stress placed on the musculoskeletal system – is the fundamental driver of strength and muscle growth. A power rack is perfectly engineered to support this principle.
- Incremental Weight Increases: The secure nature of the rack allows you to confidently add small increments of weight to the bar, ensuring continuous challenge.
- Higher Intensity Training: Knowing you have a safety net, you’re more likely to attempt that extra rep or push for a new personal best, facilitating greater muscular adaptation.
- Specific Overload Techniques: The adjustable safeties enable techniques like pin squats or pin presses, where you start the lift from a specific sticking point, helping to overcome weaknesses and build strength in particular ranges of motion.
Space Efficiency (for a Dedicated Piece): Consolidating Your Gym
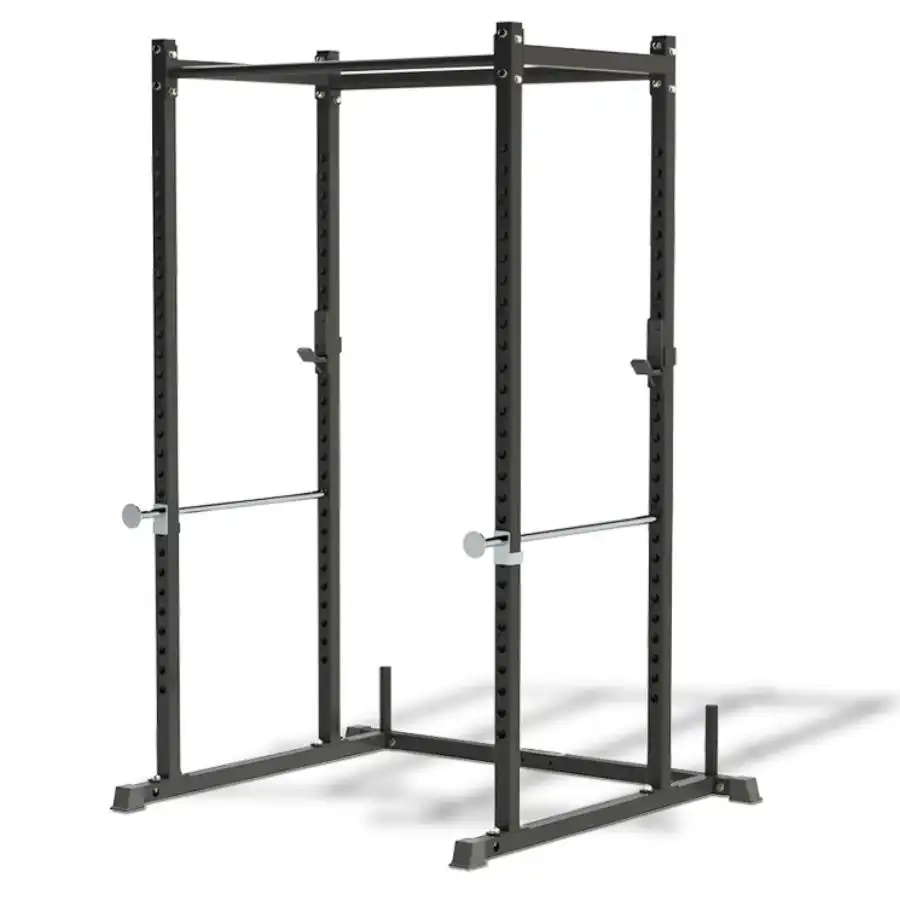
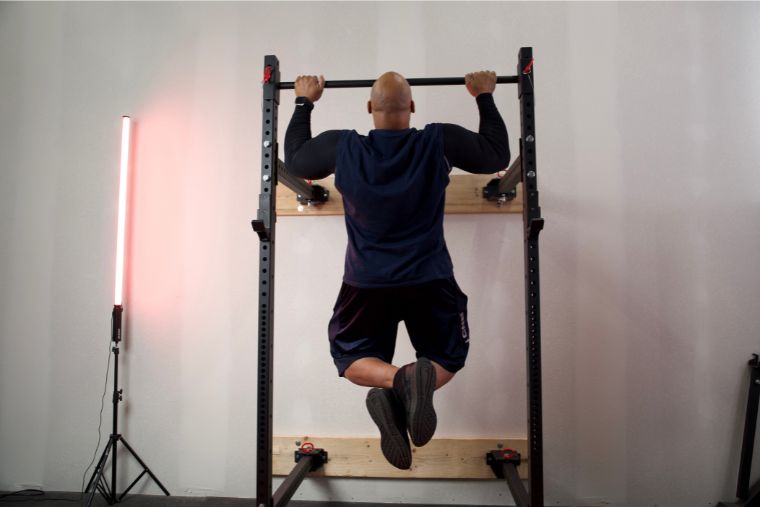
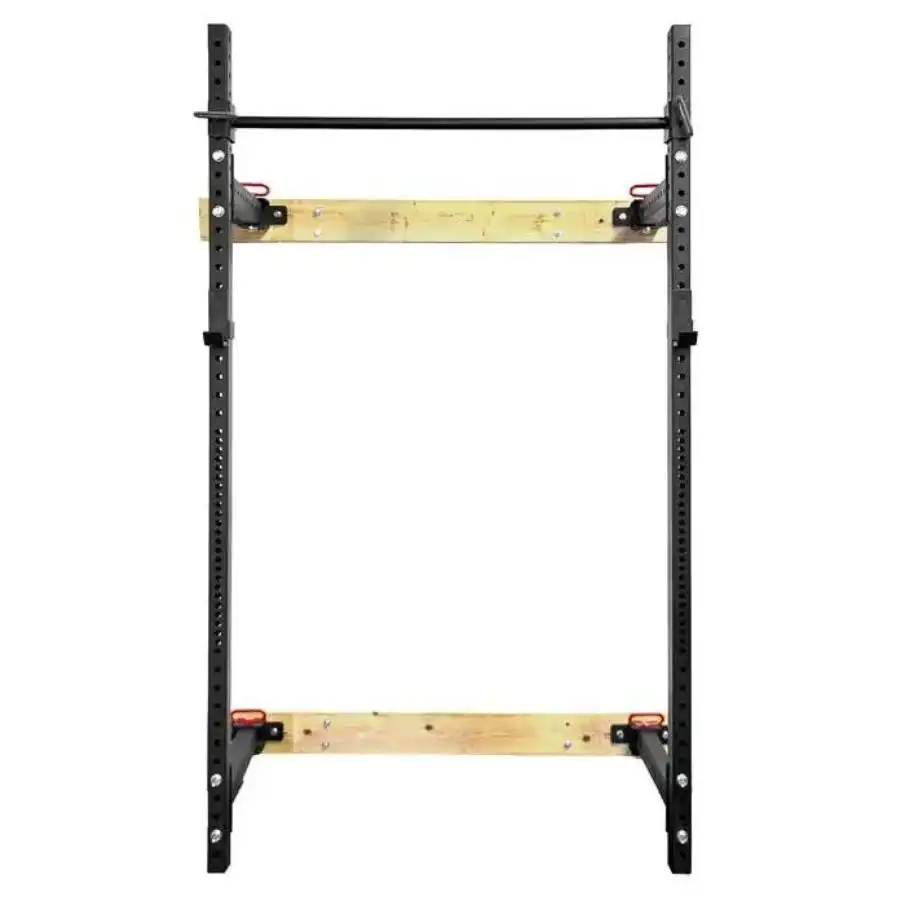
While a power rack itself isn’t tiny, it consolidates the functionality of multiple pieces of equipment. Instead of needing separate stations for squats, benching, pull-ups, and more, the rack centralizes these operations. For a home gym, this means maximizing your training options within a contained area. Some modern designs even offer folding or wall-mounted options for ultimate space-saving.
Mental Fortitude: Building Confidence and Resilience
Beyond the physical benefits, training with a power rack cultivates significant mental strength. The ability to load a heavy barbell, approach it with focus, and execute a challenging lift – knowing you’re pushing your boundaries in a safe environment – builds immense confidence. Successfully navigating tough sets and even failed reps (safely caught by the rack) teaches resilience and reinforces the power of consistent effort.
Demystifying the Power Rack: Key Components and Their Purpose
To maximize your power rack’s utility and ensure your safety, it’s crucial to understand its core components and how they function.
The Frame and Uprights: Your Foundation of Stability
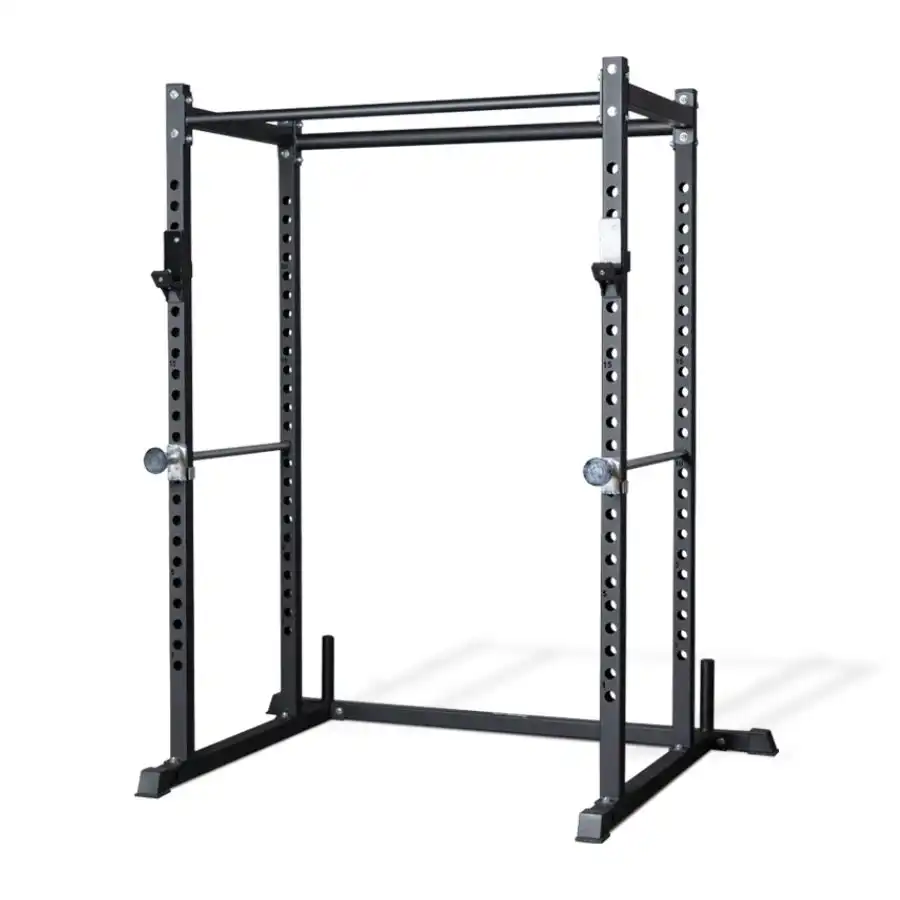
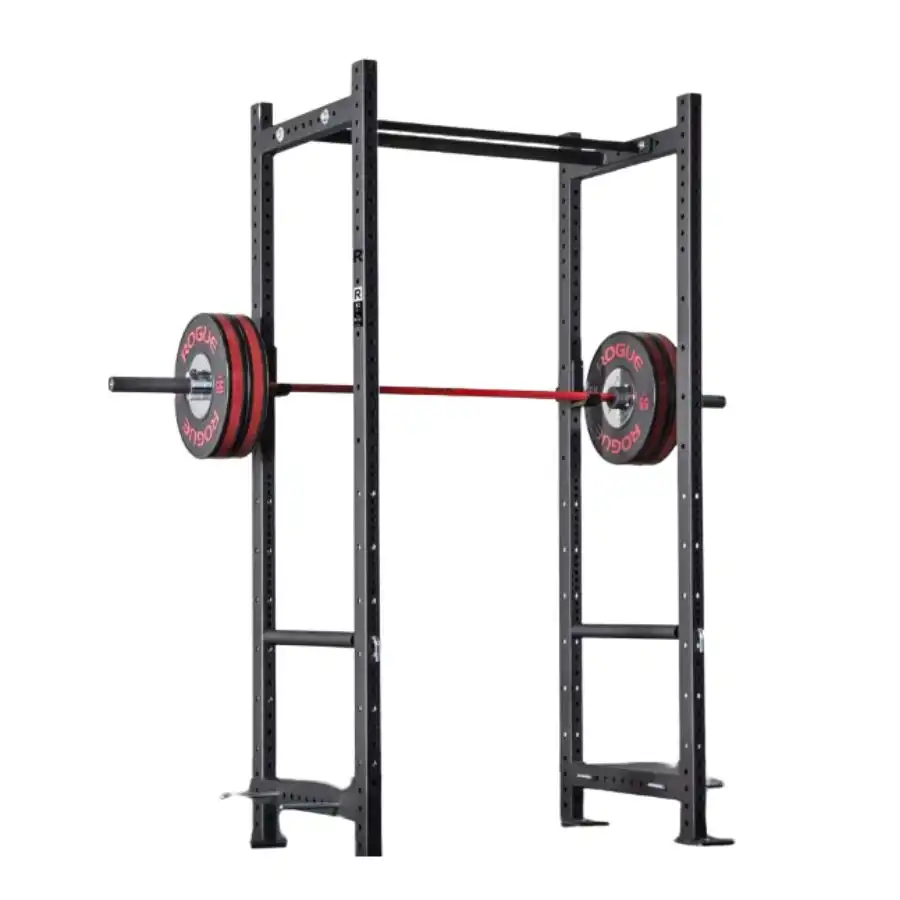
The frame consists of four (or sometimes six) vertical steel posts, known as uprights, connected by horizontal crossmembers.
- Material and Gauge: Look for heavy-duty steel, typically 11-gauge or 12-gauge. A lower gauge number indicates thicker steel, providing superior strength and stability. Thicker steel reduces sway and increases the rack’s overall weight capacity.
- Hole Spacing: The uprights are peppered with holes for adjusting attachments. Standard spacing is usually 2 inches, but some racks offer "Westside spacing" (1-inch increments) in the bench press and squat zones for more precise bar height adjustments.
J-Hooks/Bar Catches: Your Barbell’s Resting Place
These are the primary hooks that hold your barbell when it’s racked.
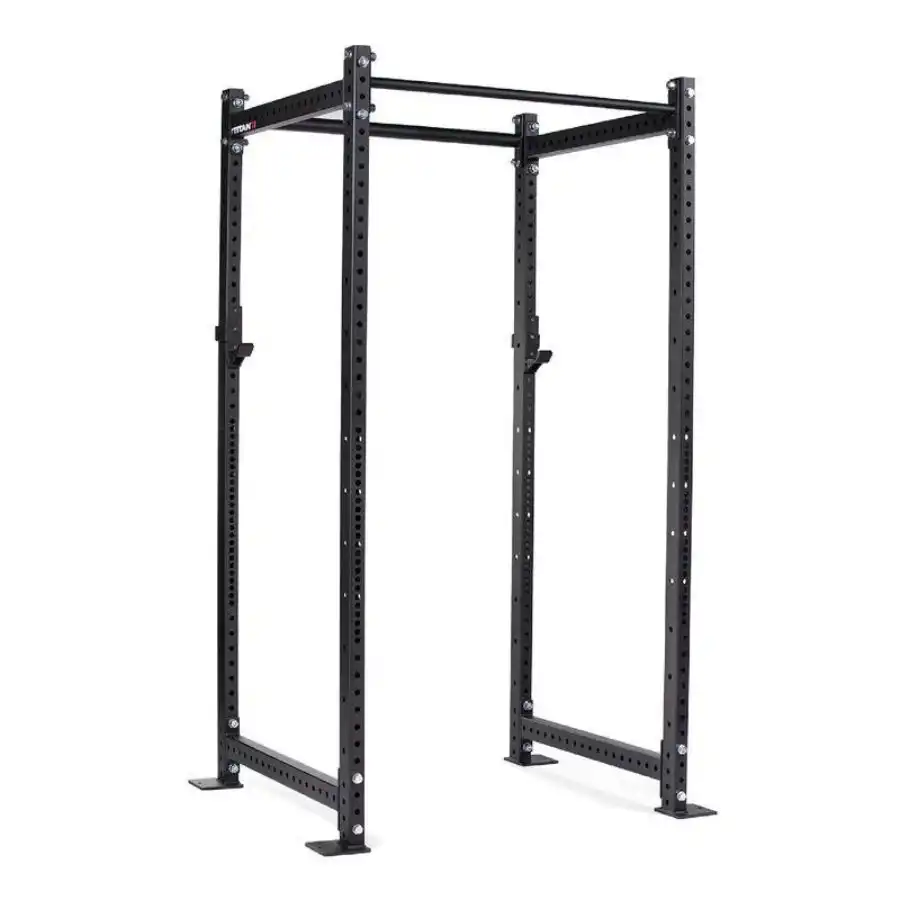
- Function: They allow you to safely unrack and re-rack the barbell for exercises like squats, bench presses, and overhead presses.
- Protection: High-quality J-hooks often feature a protective lining (e.g., UHMW plastic) on their inner surface. This prevents metal-on-metal contact, safeguarding your barbell’s knurling (the textured grip) and finish from scratches and wear.
Safety Bars/Straps: The Ultimate Safeguard
The most critical safety feature, these horizontal bars or heavy-duty nylon straps run between the uprights.
- Function: Set just below your maximum range of motion for a lift, they will catch the barbell if you fail to complete a repetition. This prevents the bar from falling on you or the floor.
- Types:
- Pin-and-Pipe Safeties: Traditional, robust, but can be noisy and less forgiving.
- Strap Safeties: Newer, often preferred for their ability to absorb impact more quietly and gently, reducing wear on your barbell.
- Spotter Arms: Extend outwards from the front of the rack, offering external safeties for exercises performed outside the cage.
- Correct Height Setting: This is non-negotiable. For squats, set them just below your deepest squat. For bench press, set them slightly above your chest when lying flat. Never set them too low, or they defeat their purpose.
Pull-Up Bar: Integrated Bodyweight Training
Most power racks include a horizontal bar integrated into the top crossmembers.
- Function: Enables a wide range of bodyweight exercises, including pull-ups, chin-ups, muscle-ups, and hanging core exercises.
- Grip Variations: Some offer multiple grip options (wide, narrow, neutral) to target different muscle groups.
Optional Attachments: Expanding Your Training Arsenal
The modular design of power racks allows for a vast array of add-ons, significantly expanding their utility.
- Lat Pulldown/Cable Row Attachment: A cable pulley system for back, arm, and core exercises.
- Dip Station/Handles: Attaches to the uprights for bodyweight dips.
- Landmine Attachment: A pivot point for a barbell, enabling rotational core work, rows, presses, and squats.
- Plate Storage Pegs: Keeps your weight plates organized and can add stability to the rack.
- Band Pegs: Allows you to attach resistance bands to the rack for accommodating resistance or assistance.
Setting Up for Success: Your Power Rack Environment
Optimizing your power rack setup is about more than just assembly; it’s about creating an efficient, safe, and motivating training environment.
Space Considerations: Measure Twice, Train Once
Before you even unbox your rack, meticulous measurement is key.
- Footprint: Measure the length and width of the rack’s base.
- Height: Crucial for low ceilings (basements, garages). Remember to account for overhead clearance for pull-ups, especially if you’re tall.
- Clearance: Leave at least 2-3 feet of clear space around the rack (front, back, and sides) for safe movement, loading plates, and performing exercises like deadlifts or rows outside the cage. This also allows room for an adjustable bench.
Flooring: Protection and Stability
Your floor choice is important for both safety and equipment longevity.
- Rubber Matting: Highly recommended. Protects your floor from dropped weights and provides a stable, non-slip surface. Interlocking gym tiles or thicker stall mats work well.
- Plywood Base: If bolting down isn’t an option and you need extra stability, a plywood platform can help distribute weight and reduce movement.
- Bolting Down (Optional but Recommended): Many racks, especially lighter ones or those used for dynamic movements, benefit from being bolted to the floor for maximum stability. Follow manufacturer instructions meticulously.
Essential Accessories: Building Your Core Arsenal
Once your rack is set up, you’ll need the tools to use it.
- Barbell: A good quality Olympic barbell (20kg/45lb for men, 15kg/33lb for women, or a lighter training bar) is fundamental.
- Weight Plates: A range of Olympic plates (rubberized bumper plates or iron plates) to allow for progressive loading.
- Adjustable Bench: Crucial for bench presses, incline presses, step-ups, and other accessory work. Ensure it fits comfortably within the rack.
- Barbell Collars: Essential for securing weights on the barbell, preventing them from shifting or falling off.
- Resistance Bands: Versatile for warm-ups, stretching, or adding accommodating resistance to lifts.
Maintenance Tips: Keeping Your Rack in Top Condition
Regular upkeep ensures your rack remains safe and functional for years to come.
- Clean Regularly: Wipe down the frame and attachments to remove chalk, sweat, and dust.
- Check Bolts and Fasteners: Periodically inspect and tighten all bolts, nuts, and pins to ensure structural integrity.
- Lubricate Moving Parts: If your rack has a cable system, lubricate pulleys and cables as recommended by the manufacturer.
- Inspect J-Hooks and Safeties: Check for any damage, wear, or excessive play. Replace worn protective linings as needed.
Mastering the Movements: Core Exercises within Your Power Rack
The power rack is your stage for building foundational strength. Here’s how to perform key exercises safely and effectively within its embrace.
The Big Lifts: Building Foundational Strength with Safety
These compound movements are the bedrock of any strength program. The power rack ensures you can push your limits safely.
- Barbell Back Squat: The king of lower body exercises.
- Setup: Set J-hooks to shoulder height. Load the bar. Step under the bar, positioning it on your upper traps (high bar) or rear deltoids (low bar). Grip firmly, walk out, and take 1-2 steps back.
- Safeties: Set the safety bars or straps just below your deepest squat depth. If you fail, simply sit down onto the safeties, letting the bar rest there.
- Execution: Brace your core, initiate with hips back, squat down keeping your chest up and knees tracking over toes. Drive through your heels to stand up.
- Barbell Bench Press: The ultimate upper body pushing exercise.
- Setup: Lie on an adjustable bench centered in the rack. Set J-hooks so you can comfortably unrack the bar with a slight bend in your elbows.
- Grip: Overhand grip, slightly wider than shoulder-width, wrists straight.
- Safeties: Set safety bars/straps slightly above your chest, just below your full range of motion. This prevents the bar from pinning you.
- Execution: Unrack the bar, lower it slowly and controlled to your mid-chest, keeping elbows tucked slightly. Drive the bar back up, pressing through your feet.
- Overhead Press (Standing/Seated): Develops powerful shoulders and core stability.
- Setup: Set J-hooks to chest height. Load the bar. Stand facing the bar, unrack it onto your front deltoids.
- Execution: Brace your core, glutes tight. Press the bar directly overhead, pushing your head slightly forward as the bar clears your face. Lower with control.
- Safeties: While less critical than for squats/bench, setting safeties at head height can be a precaution, especially for seated presses.
Beyond the Big Three: Expanding Your Arsenal
The power rack’s versatility extends far beyond the main lifts.
- Rack Pulls: A partial deadlift variation emphasizing back strength and lockout power.
- Setup: Set the safety bars to a height that places the barbell anywhere from just below your knees to mid-thigh.
- Execution: Stand with feet hip-width apart, hinge at your hips, keeping a flat back. Grip the bar with an overhand or mixed grip. Drive through your heels, pulling the bar up to full hip extension. Control the descent back to the safeties.
- Pin Presses/Squats: Excellent for overcoming sticking points and building strength in specific ranges.
- Setup: Set the safety bars at the exact height where you typically struggle in a full squat or bench press.
- Execution: Perform the lift starting from a dead stop on the pins. This eliminates the stretch reflex, forcing your muscles to work harder from the bottom.
- Pull-ups/Chin-ups: Fundamental bodyweight exercises for back and biceps.
- Setup: Grip the pull-up bar (overhand for pull-ups, underhand for chin-ups).
- Progression for Beginners: Use resistance bands looped over the bar and under your feet for assistance. Gradually reduce band tension as you get stronger.
- Dips (if attachment available): Excellent for chest, triceps, and shoulders.
- Setup: Use a dip attachment or parallel bars within the rack.
- Execution: Lower your body until your shoulders are below your elbows, keeping your chest up. Push back up to the starting position.
- Progression: Add weight with a dip belt as you get stronger.
- Inverted Rows: A bodyweight back exercise, great for beginners.
- Setup: Set a barbell on the J-hooks at waist height. Lie on your back underneath, gripping the bar with an overhand grip.
- Execution: Pull your chest towards the bar, keeping your body straight. Lower with control.
- Progression: Lower the bar height or elevate your feet to increase difficulty.
- Banded Exercises: Add dynamic resistance.
- Setup: Loop resistance bands around the rack’s base or pegs and then over your barbell for accommodating resistance (resistance increases as you move through the lift).
- Uses: Can be used to make lifts harder at the top (banded squats, bench) or to assist with difficult movements like pull-ups.
Crafting Your Power Rack Workout Program: Beginner to Intermediate Focus
A power rack is only as good as the program you follow. Consistency and intelligent progression are key.
Principles of Training: Your Guiding Stars
- Progressive Overload: Always strive to do a little more over time – more weight, more reps, more sets, or shorter rest periods.
- Consistency: Show up, even on days you don’t feel like it. Regularity trumps intensity for long-term results.
- Recovery: Crucial for muscle growth and injury prevention. Ensure adequate sleep, nutrition, and rest days.
- Proper Form: Never sacrifice technique for weight. Good form ensures muscles are effectively targeted and minimizes injury risk.
Sample Weekly Split: A Starting Point
This is a common and effective split for beginners to intermediate lifters, offering a balance of work and recovery.
- Day 1: Lower Body Focus
- Barbell Back Squats: 3-4 sets of 5-8 reps
- Romanian Deadlifts (RDLs): 3 sets of 8-12 reps
- Lunges (dumbbell or bodyweight): 3 sets of 10-12 reps per leg
- Calf Raises (bodyweight or holding dumbbells): 3 sets of 15-20 reps
- Day 2: Upper Body Push & Core
- Barbell Bench Press: 3-4 sets of 5-8 reps
- Overhead Press (Standing): 3 sets of 6-10 reps
- Dips (or Close-Grip Push-ups): 3 sets of 8-12 reps
- Plank: 3 sets, hold for 30-60 seconds
- Leg Raises (hanging or floor): 3 sets of 12-15 reps
- Day 3: Upper Body Pull & Core
- Rack Pulls (or Barbell Rows): 3-4 sets of 5-8 reps
- Pull-ups (or Lat Pulldowns if attachment available): 3 sets to failure (or 6-10 reps)
- Inverted Rows: 3 sets of 10-15 reps
- Face Pulls (if cable attachment available or resistance band): 3 sets of 15-20 reps
- Wood Chops (resistance band or cable): 3 sets of 10-12 reps per side
- Day 4: Full Body or Active Recovery
- Option 1 (Full Body): Choose 1-2 exercises from each category (squat, bench, pull) for 2-3 sets each, lighter weight, higher reps.
- Option 2 (Active Recovery): Light cardio, stretching, foam rolling, walking.
- Rest Days: Incorporate 2-3 rest days throughout the week for optimal recovery.
Structuring a Workout: Your Session Blueprint
Each workout session should follow a logical flow.
- Warm-up (5-10 minutes): Light cardio (jumping jacks, rowing) followed by dynamic stretches and movement-specific warm-up sets with light weight.
- Main Lifts: Focus on 1-2 primary compound exercises, performing your working sets.
- Accessory Work: Follow up with 2-4 exercises targeting supporting muscle groups or addressing weaknesses.
- Cool-down (5-10 minutes): Static stretching, holding each stretch for 20-30 seconds.
Rep Ranges and Sets: Tailoring Your Goals
- Strength: Typically 1-5 reps per set, focusing on heavy weights.
- Hypertrophy (Muscle Growth): Typically 6-12 reps per set, with moderate to heavy weights.
- Endurance: Typically 12+ reps per set, with lighter weights.
As a beginner/intermediate, a mix of 5-12 reps will build both strength and muscle.
Progression Strategies: Keep Moving Forward
- Increase Weight: The most common method. When you can hit the top end of your rep range for all sets with good form, increase the weight by the smallest increment possible (e.g., 2.5kg/5lb).
- Increase Reps: Stay at the same weight but add 1-2 reps to each set.
- Increase Sets: Add an extra set to an exercise.
- Decrease Rest Time: Gradually reduce the rest between sets (e.g., from 90 seconds to 60 seconds).
- Improve Form: Focus on making your technique more efficient and controlled.
Safety First: Non-Negotiable Rules for Power Rack Training
No matter your experience level, safety must always be your top priority. The power rack provides the tools; you must use them wisely.
- Always Use Safeties: This cannot be stressed enough. Whether it’s pin-and-pipe or strap safeties, ensure they are correctly set for every working set of squats, bench presses, and any other exercise where failure could lead to injury. They are there for a reason – use them!
- Prioritize Proper Form Over Weight: Ego lifting is the fastest route to injury and stalled progress. Always use a weight that allows you to maintain excellent form throughout the entire range of motion. If your form breaks down, lighten the load.
- Warm-Up Adequately: A proper warm-up prepares your muscles, joints, and nervous system for the work ahead. Never jump straight into heavy working sets. Start with light cardio, dynamic stretches, and several progressively heavier warm-up sets for your main lifts.
- Know Your Limits (and Respect Them): Understand your current strength levels. While it’s good to challenge yourself, don’t attempt weights that are significantly beyond your capabilities. Incremental progress is sustainable progress.
- Listen to Your Body: Differentiate between muscle soreness and sharp, persistent pain. If something feels wrong, stop the exercise. Pushing through pain often leads to more serious injuries.
- Master Bail-Out Techniques:
- Squats: If you fail, simply sit down into the safeties, letting the bar rest across them. Keep your chest up and hands on the bar until it’s stable.
- Bench Press: If you fail, gently lower the bar onto the safeties, then slide out from under it.
- Overhead Press: If you fail, push the bar forward and let it drop onto the safeties or the floor (if using bumper plates and a safe area).
- Keep Your Training Area Clear: Ensure the area around your power rack is free of clutter, tripping hazards, and anything that could obstruct your movement or the path of a dropped barbell.
Real-Life Applications & Overcoming Challenges
The journey of strength is unique for everyone, but the power rack offers a consistent foundation.
Example 1: John’s Journey from Bodyweight to Barbell
John, a 35-year-old father of two, wanted to get stronger but was intimidated by commercial gyms. He invested in a power rack for his garage. Starting with bodyweight squats and inverted rows, he gradually progressed to an empty barbell for squats and bench presses. By diligently following a progressive program and always using the safeties, he built confidence. Within six months, he was comfortably squatting his body weight and pressing half his body weight, feeling stronger and more energetic than ever before. His power rack became his personal sanctuary for consistent progress.
Example 2: Sarah Breaking a Plateau with Pin Presses
Sarah, an intermediate lifter, found her bench press progress stalled. She could hit 70kg for reps, but 75kg felt impossible. She incorporated pin presses into her routine, setting the safeties just 3 inches above her chest. By focusing on exploding the weight off the pins, she strengthened her sticking point. After a month of this specialized training, she returned to full range bench presses and successfully hit 75kg for multiple reps, shattering her plateau and reigniting her motivation.
Common Challenges & Solutions
- Limited Space:
- Solution: Consider a folding power rack or a wall-mounted squat rack that can be tucked away. Optimize your space with wall-mounted plate storage and a folding bench.
- Lack of Motivation:
- Solution: Set small, achievable goals (e.g., add 2.5kg to your squat each week, do one more pull-up). Track your progress diligently in a logbook or app to see how far you’ve come. Find an online community or training partner for accountability.
- Fear of Injury:
- Solution: This is why the safeties are there! Start with very light weights, even just the barbell, to master perfect form. Record yourself to review technique. Don’t be afraid to deload (reduce weight) if your form starts to suffer. Confidence builds with competence and consistent safe practice.
- Noise Concerns (for home gyms):
- Solution: Invest in thick rubber flooring or stall mats to dampen sound. Use strap safeties instead of pin-and-pipe if noise is a major issue, as they absorb impact more quietly. Avoid dropping weights unless using bumper plates on a dedicated platform.
Conclusion
The power rack stands as a testament to efficient, effective, and safe strength training. It’s more than just a collection of steel; it’s a launchpad for your personal fitness evolution. From the fundamental safety it provides, allowing you to push your boundaries without fear, to the unparalleled versatility that transforms your training space into a comprehensive gym, its value is immeasurable.
By understanding its components, mastering essential movements, and committing to a structured, progressive program, you unlock a realm of strength previously unimaginable. Remember, consistency is your most powerful tool, proper form your greatest protection, and the courage to challenge yourself your most valuable asset.
Embrace the journey. Step into your power rack, feel the weight of the barbell, and know that with every rep, every set, and every disciplined effort, you are not just lifting iron – you are forging resilience, sculpting a stronger physique, and building an unshakeable belief in your own capabilities. Your ultimate strength sanctuary awaits; go forth and conquer.