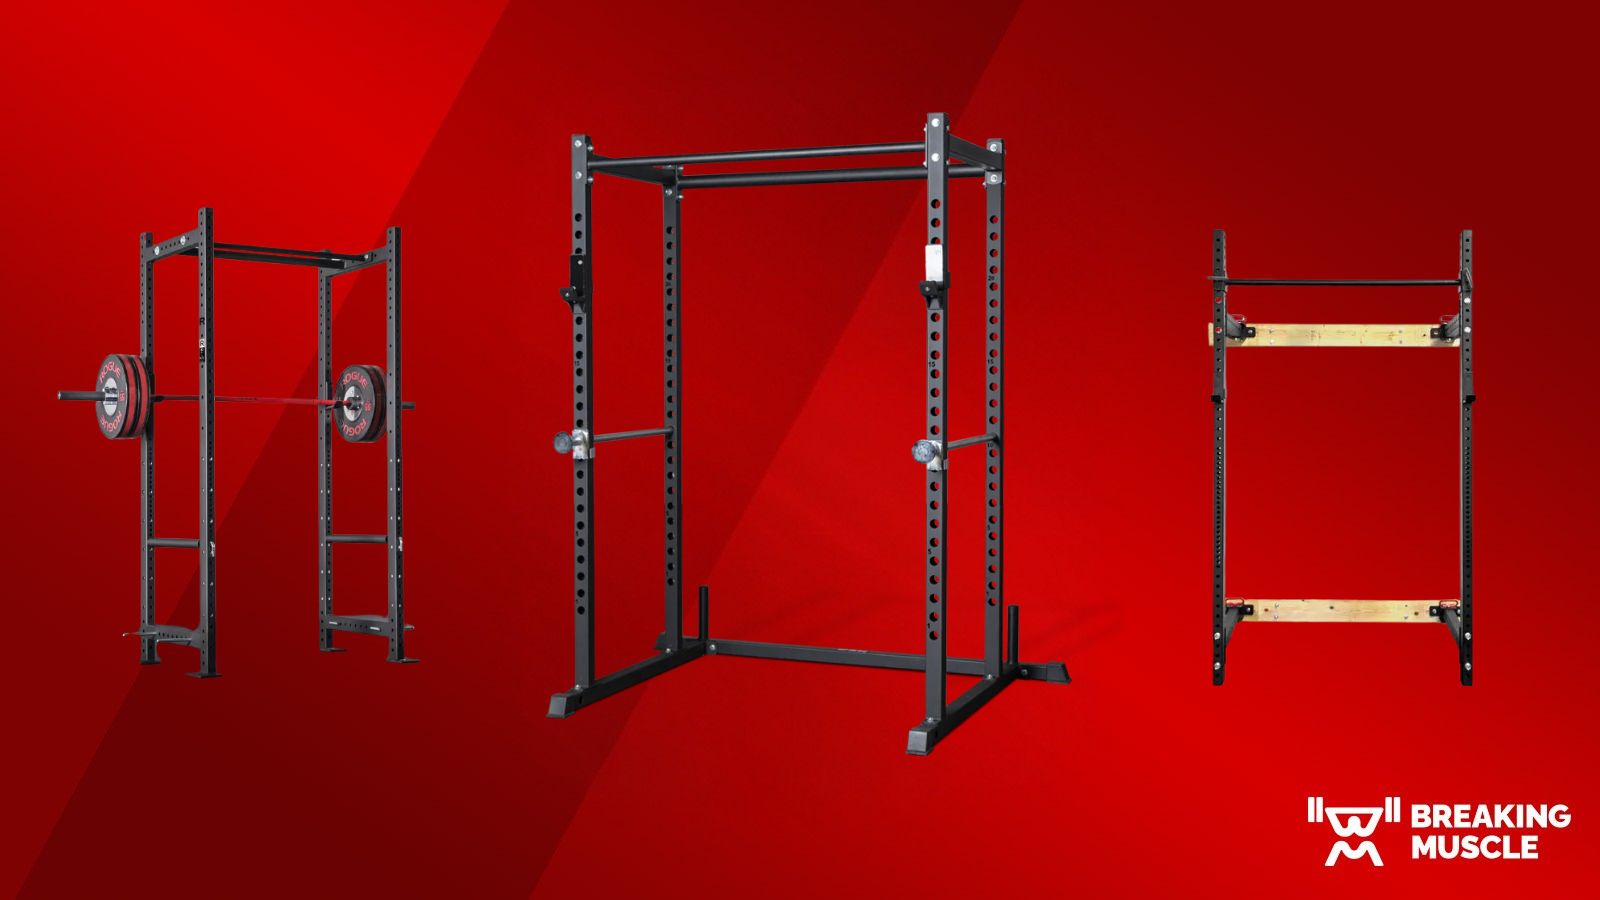
The pursuit of strength is a fundamental human endeavor, a journey that transforms not just our bodies but our minds. For beginners embarking on this path and intermediate enthusiasts looking to shatter plateaus, the right tools are paramount. Among the pantheon of fitness equipment, one piece stands out as a true cornerstone for safe, effective, and progressive strength training: the power rack.
Often overlooked or misunderstood, a power rack is far more than just a frame for holding a barbell. It’s a dedicated strength sanctuary, a robust guardian that allows you to push your limits with confidence, even when training alone. Whether you dream of a personal best squat, a stronger bench press, or simply building a more resilient, capable physique, understanding and utilizing a power rack effectively can revolutionize your fitness journey.
This comprehensive guide will demystify the power rack, exploring its multifaceted benefits, guiding you through its safe and optimal use, and empowering you to integrate it into a powerful, progressive training regimen. Prepare to unlock new levels of strength, safety, and self-assurance, transforming your fitness aspirations into tangible achievements.
Why a Power Rack is Your Ultimate Strength Ally
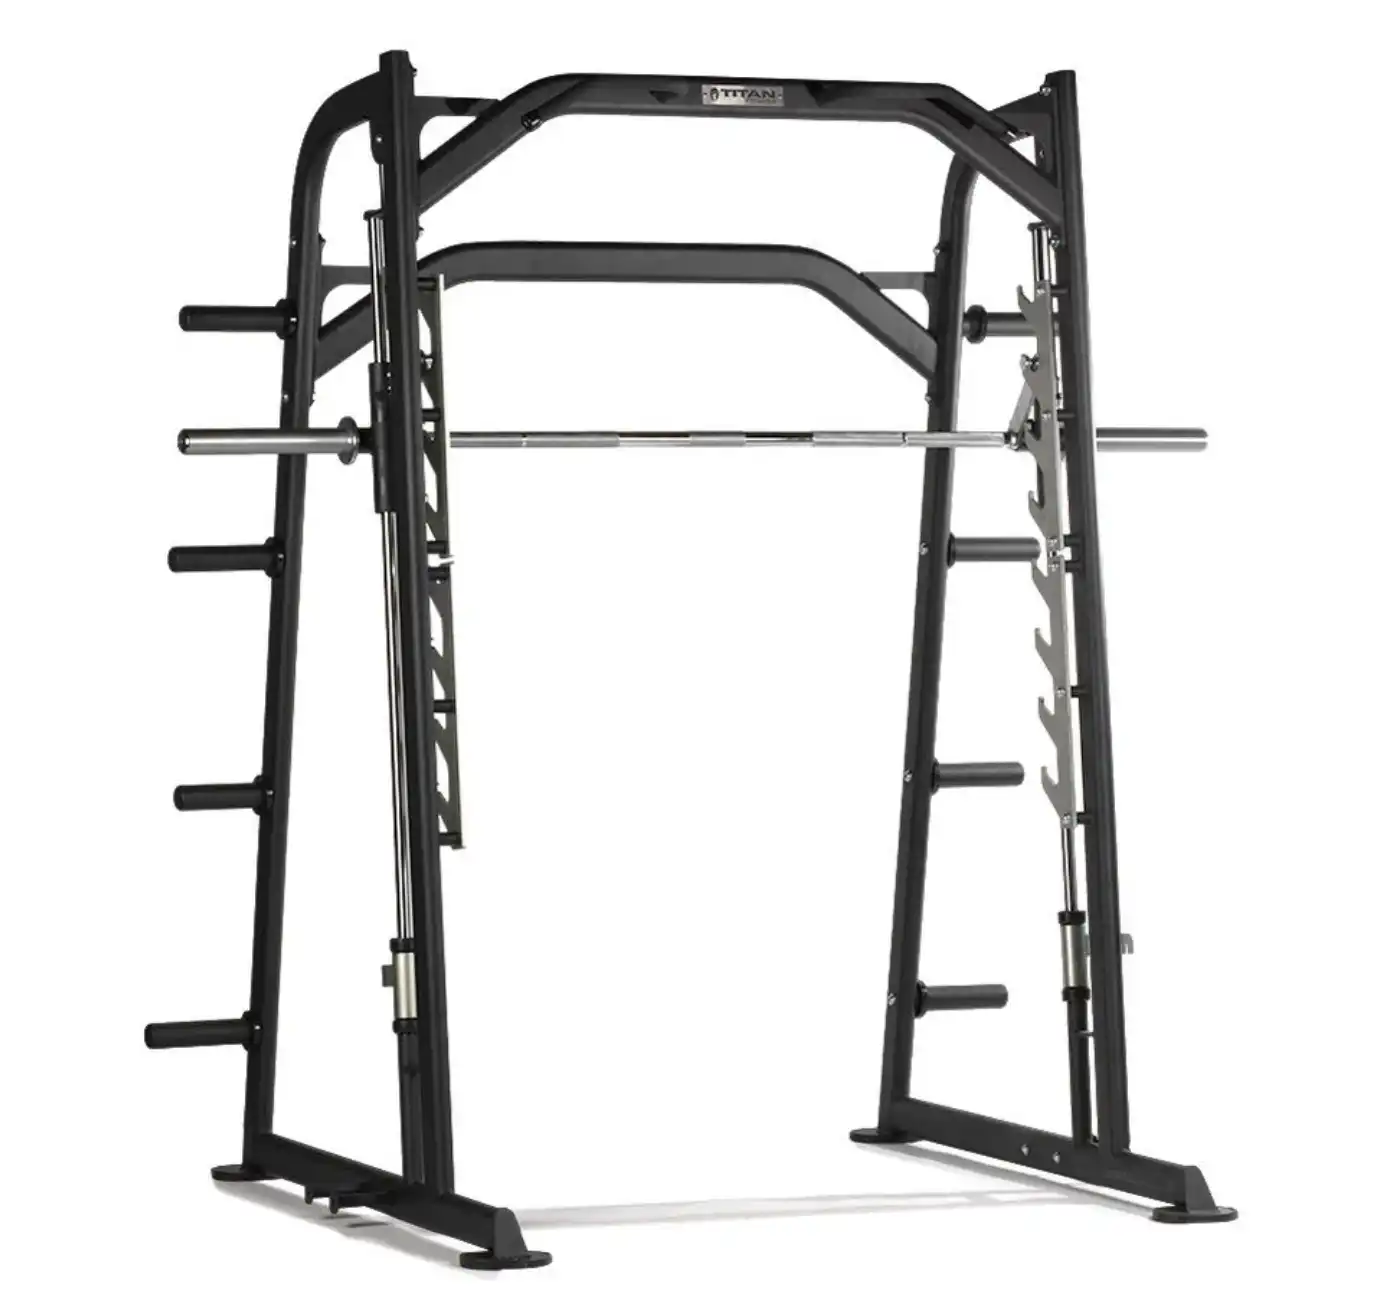
A power rack, sometimes called a power cage, is an investment in your long-term fitness. Its design inherently addresses some of the biggest challenges in strength training: safety, progression, and versatility.
Safety First: The Unseen Spotter
Perhaps the most compelling reason to embrace a power rack is the unparalleled safety it offers. For anyone training solo, especially with heavy loads, the fear of failing a lift can be a significant barrier to progress. This is where the power rack shines.
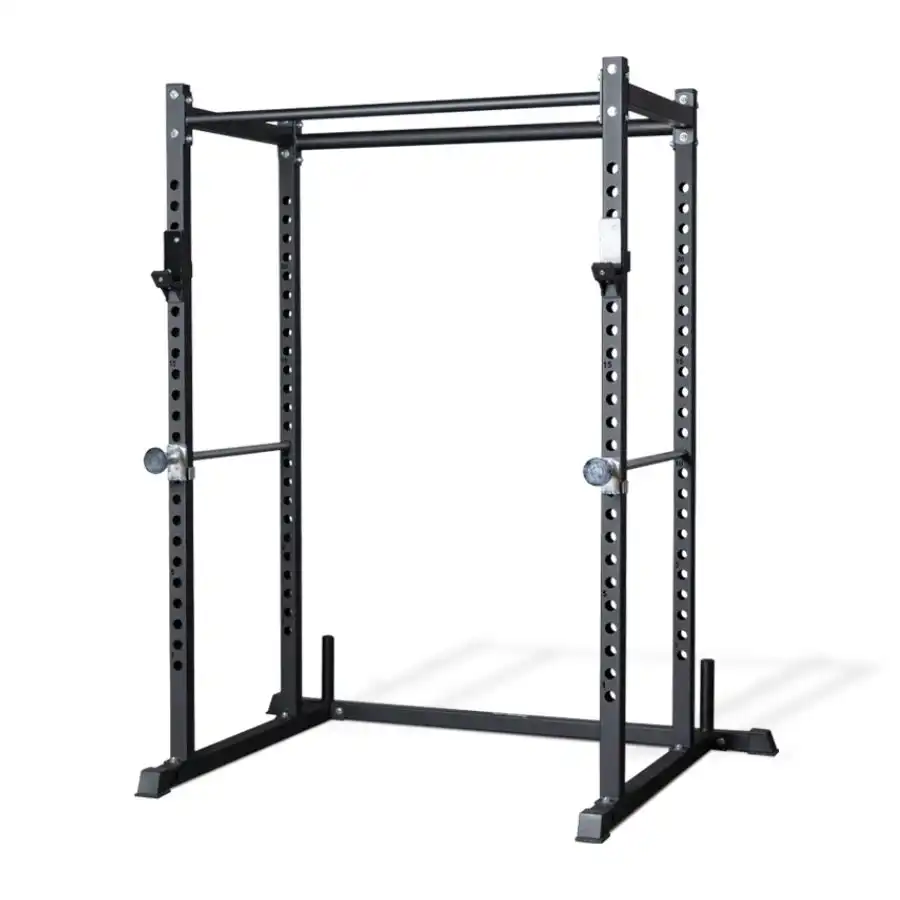
- Integrated Safety Mechanisms: The core of a power rack’s safety lies in its adjustable horizontal safety pins, straps, or spotter arms. These are set just below the lowest point of your intended range of motion for exercises like squats or bench presses. If you fail a lift, the barbell safely rests on these supports, preventing it from pinning you or causing injury.
- Confidence to Push Limits: Knowing that a safety net is in place allows you to approach your heaviest sets with greater confidence. This psychological edge is invaluable, enabling you to truly challenge your muscles without the constant worry of catastrophic failure.
- Controlled Bailouts: In the event of a failed rep, the power rack facilitates a controlled bailout. You simply lower the weight onto the safeties, step away, and reset. This is far safer than attempting to ditch weights or being forced into an awkward, potentially injurious position.
Unlocking Progressive Overload
Progressive overload – the gradual increase in stress placed on the body during training – is the fundamental principle for building strength and muscle. A power rack is an ideal environment for systematically applying this principle.
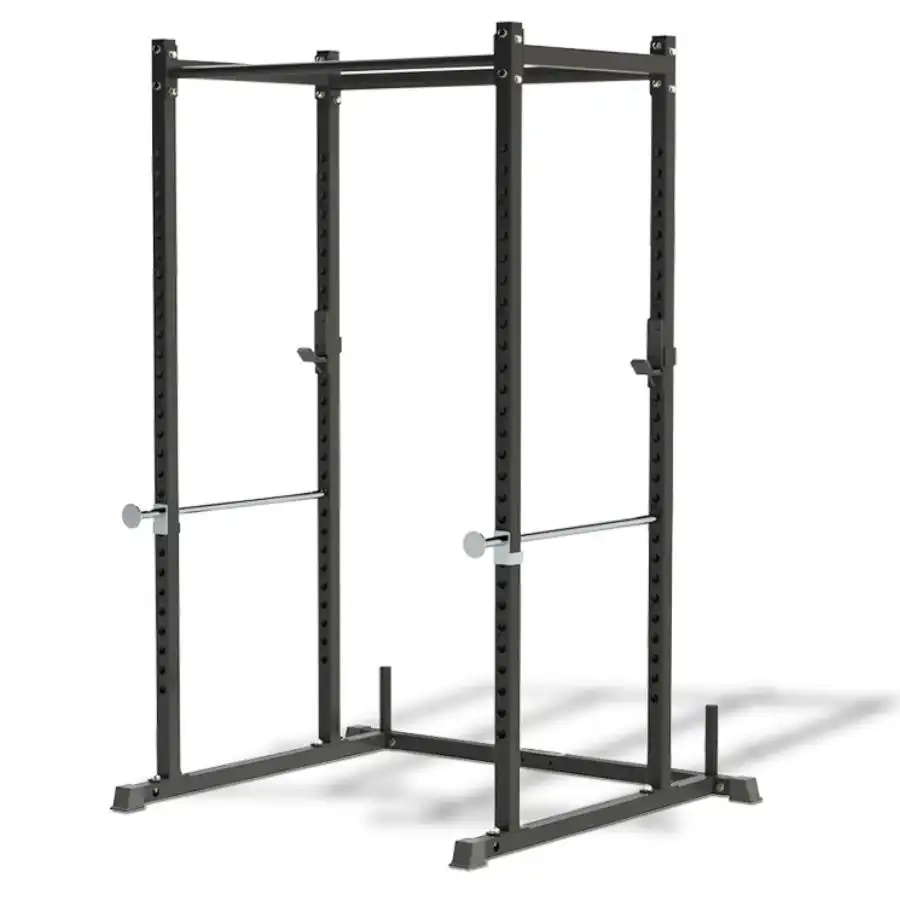
- Consistent Barbell Positioning: The uprights with numerous holes allow for precise and repeatable placement of J-hooks (barbell cradles) and safety mechanisms. This consistency ensures that each workout starts from the same, optimal position, making it easier to track progress and maintain proper form.
- Targeted Strength Development: Beyond standard lifts, a power rack allows for variations that target specific strength weaknesses.
- Pin Presses: Setting the safeties at different heights for bench presses or overhead presses allows you to work specific portions of a lift, helping to break through sticking points.
- Rack Pulls: Performing deadlifts from pins set above the floor can help build strength in the upper range of the deadlift or reduce strain on the lower back for those with mobility limitations.
- Isolation and Focus: By providing a stable, enclosed environment, a power rack minimizes extraneous movement, allowing you to focus purely on the muscular effort required for the lift.
Versatility Beyond Expectations
While often associated with compound barbell movements, a power rack is a highly versatile piece of equipment that can support a wide array of exercises, offering a full-body workout.
- Core Barbell Lifts:
- Squats: Back squats, front squats, overhead squats.
- Bench Press: Flat, incline, decline (with an adjustable bench).
- Overhead Press: Standing or seated shoulder presses.
- Rows: Barbell rows, inverted rows (using the safeties).
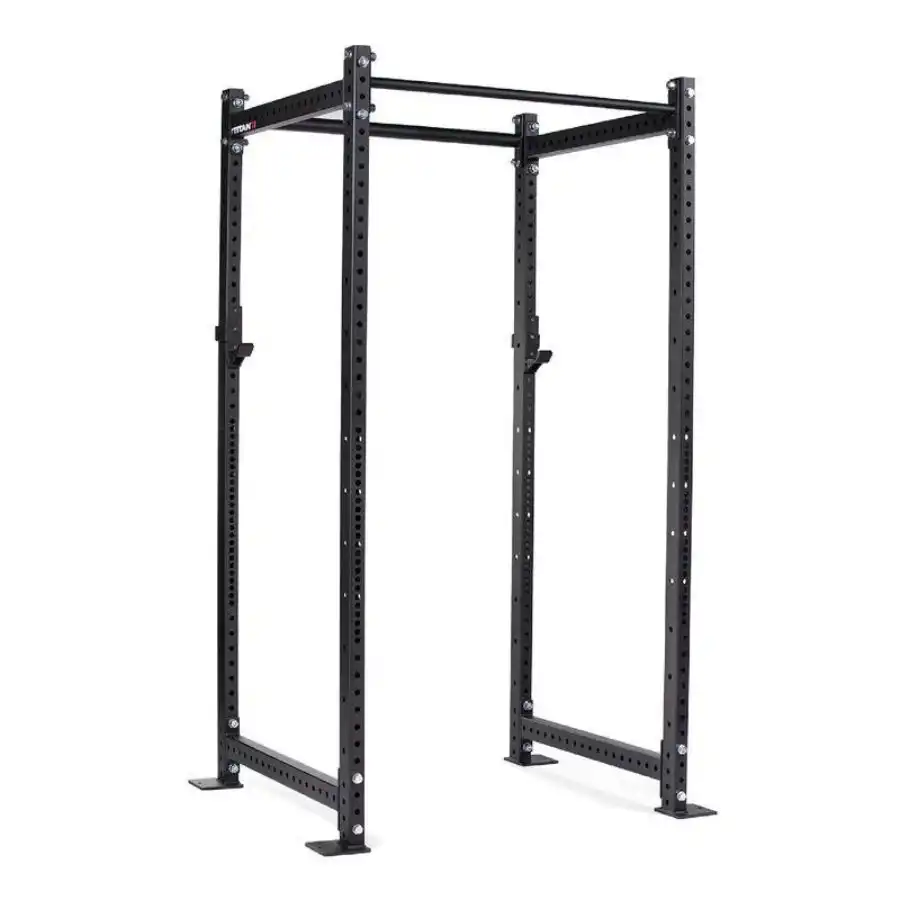
- Bodyweight Exercises: Many power racks include an integrated pull-up bar, opening up exercises like:
- Pull-ups (various grips)
- Chin-ups
- Hanging leg raises
- Toes-to-bar
- Some can accommodate dip attachments for triceps and chest work.
- Resistance Band Training: Built-in pegs or attachment points allow you to use resistance bands for accommodating resistance (where the resistance increases as the muscle contracts), dynamic warm-ups, or assistance with bodyweight exercises.
- Cable Attachments: Some advanced power racks can integrate cable pulley systems for lat pulldowns, cable rows, triceps pushdowns, and more, significantly expanding training options.
Building a Home Gym Foundation
For those creating a home gym, a power rack is arguably the most critical piece of equipment to acquire after a barbell and weight plates. It forms the central hub around which all other training revolves, providing a dedicated, safe space for heavy lifting without needing a commercial gym membership. Its compact footprint relative to the array of exercises it supports makes it an efficient use of space.
Navigating Your Power Rack Journey: From Novice to Next Level
Integrating a power rack into your routine requires understanding how to maximize its potential for your fitness level.
Setting Up for Success: Essential Considerations
Before your first lift, a proper setup is crucial for safety and effectiveness.
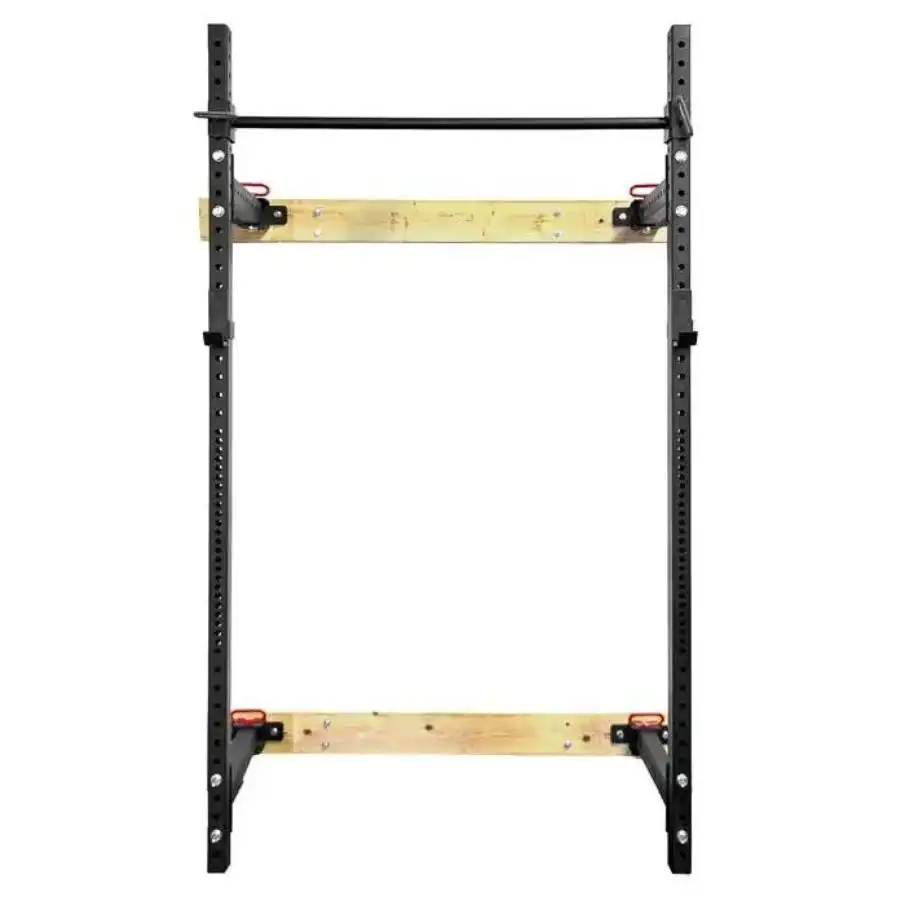
- Space and Ceiling Height: Carefully measure your available space. Consider not just the rack’s footprint, but also the clearance needed for barbell loading, movement around the rack, and overhead space for exercises like pull-ups or overhead presses. If you have low ceilings (e.g., in a basement or garage), look for shorter rack options.
- Stability and Bolting: While many power racks are freestanding and stable for moderate loads, bolting your rack to the floor can significantly enhance stability, especially for heavier lifting or dynamic movements like kipping pull-ups. Always follow the manufacturer’s instructions for assembly and anchoring. If bolting isn’t an option, consider adding weight plate storage to the rack’s base for increased stability.
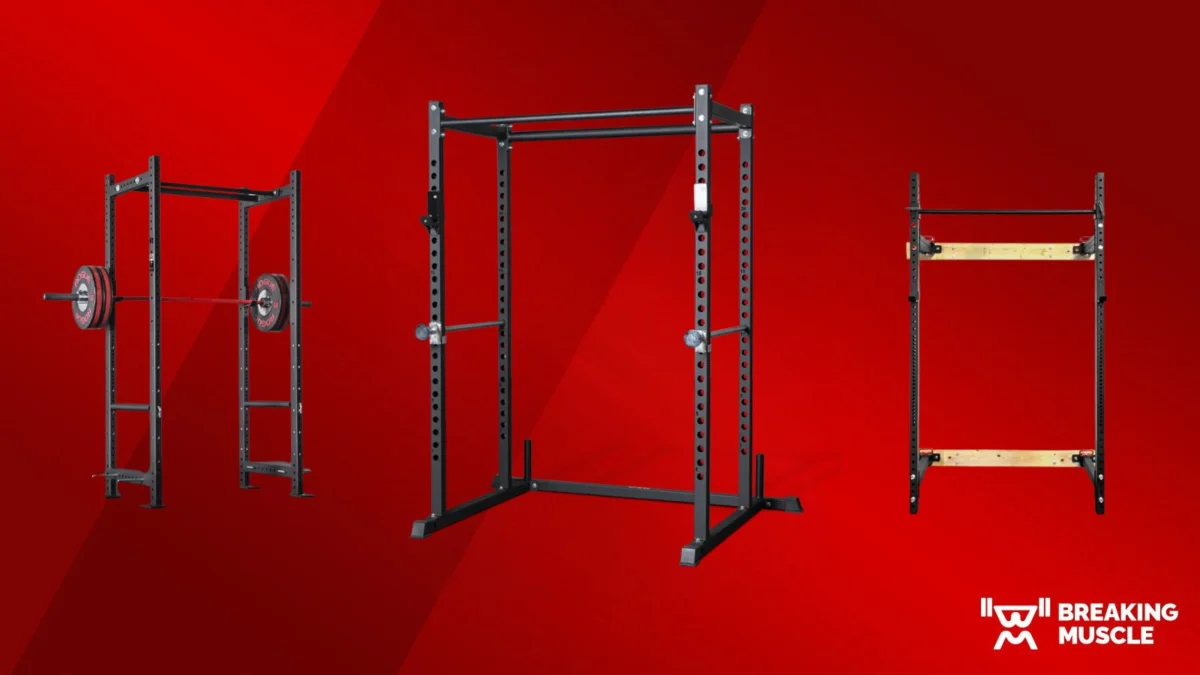
- Understanding Steel Gauge and Weight Capacity: The strength and durability of a power rack are largely determined by the gauge of its steel tubing. Lower gauge numbers (e.g., 11-gauge) indicate thicker, stronger steel, typically found in commercial-grade or heavy-duty home racks. Higher gauges (e.g., 14-gauge) are thinner and lighter, suitable for beginners or those lifting lighter weights. Always ensure the rack’s stated weight capacity (for the frame, J-hooks, and safeties) significantly exceeds your maximum lifting goals.
Mastering the Core Lifts: Your Power Rack Playbook
Let’s break down how to execute foundational strength movements safely and effectively within your power rack.
- Squats (Back Squat, Front Squat):
- Setup: Position your J-hooks so the barbell is just below shoulder height when standing tall. This allows you to unrack the weight with a slight upward push and step back without tiptoeing.
- Safety Pins: Set the safety pins or straps about 1-2 inches below your deepest comfortable squat position. To find this, perform an unweighted squat to your maximum depth, then adjust the safeties accordingly.
- Execution: Step under the bar, unrack it, take 1-2 steps back to center yourself within the rack. Perform your squat, ensuring your hips descend below your knees. If you fail, simply lower the bar onto the safeties.
- Bench Press:
- Setup: Position your adjustable bench centrally within the rack. Set the J-hooks so the barbell is easily reachable with straight arms, but not so high that you struggle to unrack it.
- Spotter Arms: This is critical. Set the safety pins/straps at a height that allows a full range of motion for your chest, but will catch the bar if it collapses onto your chest. A good rule of thumb is to set them just above your chest when lying flat and fully exhaled.
- Execution: Lie on the bench, feet flat on the floor, grip the bar. Unrack the weight, lower it slowly and with control towards your chest, then press it back up. If you can’t complete a rep, gently lower the bar onto the safeties.
- Overhead Press (Standing):
- Setup: Set the J-hooks so the barbell is at upper chest/shoulder height. You should be able to unrack it with a slight knee bend and press.
- Safety: While less common to fail catastrophically than a squat or bench, having safeties set at chest height can provide peace of mind.
- Execution: Unrack the bar, step back slightly. Brace your core, press the bar directly overhead, locking out your elbows. Lower with control.
- Deadlifts (Rack Pulls):
- Setup: For rack pulls, set the safety pins at your desired starting height (e.g., just below the knee, mid-shin). This allows you to pull from an elevated position.
- Execution: Load the bar on the pins. Approach the bar with a flat back, chest up, engage your lats, and lift by driving through your heels and extending your hips. Lower with control back to the pins. This is excellent for building lockout strength or reducing spinal loading if full deadlifts are challenging.
Expanding Your Horizons: Beyond the Barbell
Don’t limit yourself to just barbell work. Your power rack offers more:
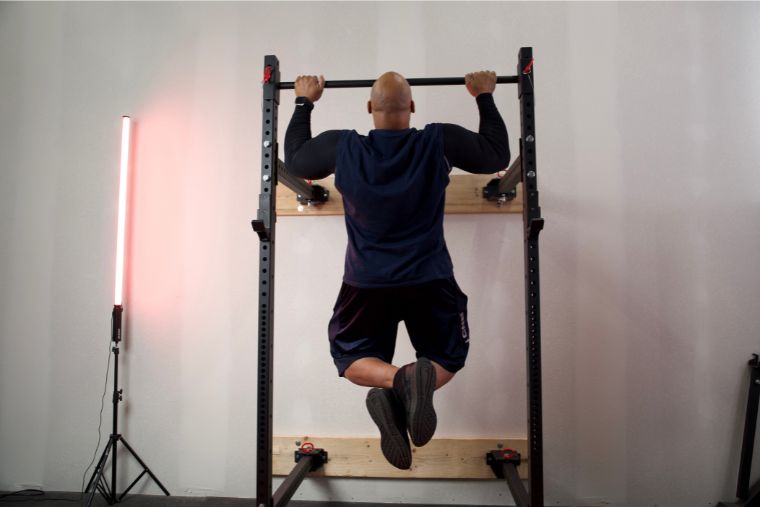
- Pull-ups/Chin-ups: Most racks come with a pull-up bar. Vary your grip (wide, narrow, neutral, overhand, underhand) to target different muscle groups. If you’re new to pull-ups, use resistance bands for assistance or perform negatives (jumping to the top and slowly lowering).
- Dips: If your rack supports a dip attachment, these are fantastic for building triceps and chest strength. Focus on controlled movement and full range of motion.
- Resistance Band Work: Attach bands to the base or top cross-members of the rack for various exercises:
- Assisted exercises: Loop a band around the pull-up bar and place your knee/foot in it for assistance.
- Accommodating resistance: Loop bands from the base of the rack to the ends of your barbell for squats or bench presses, making the lift harder at the top.
- Band rows, presses, or pulls: Use bands for standalone exercises targeting different muscle groups.
- Core Work: Use the pull-up bar for hanging leg raises or knee raises, excellent for developing abdominal and hip flexor strength. Ab slings can also be attached for added comfort and support.
Optimizing Your Training: Practical Tips for Every Session
To truly thrive with your power rack, integrate these foundational principles into your routine.
Warm-up and Cool-down: Non-Negotiables
- Dynamic Warm-up (5-10 minutes): Before touching heavy weights, prepare your body. Include light cardio (jumping jacks, high knees) and dynamic stretches that mimic your workout movements (arm circles, leg swings, bodyweight squats, cat-cow stretches). This increases blood flow, mobility, and activates target muscles.
- Static Cool-down (5-10 minutes): After your workout, dedicate time to static stretching, holding each stretch for 20-30 seconds. Focus on the muscles you’ve worked. This aids recovery, improves flexibility, and can prevent stiffness.
Form Over Everything
This cannot be stressed enough, especially for beginners.
- Start Light: Prioritize mastering the movement pattern with light weights or even just the barbell. Perfect form is your shield against injury and your pathway to efficient strength gains.
- Watch and Learn: Utilize resources like reputable fitness channels or certified coaches for demonstrations of proper technique. Consider filming yourself to review your form.
- Engage Your Core: For almost all compound lifts, a strong, braced core is paramount for stability and transferring force. Learn how to properly brace your core before each rep.
The Art of Progressive Overload
Consistency is key, but progression is the engine of growth.
- Systematic Increases: Once you can comfortably complete your target reps and sets with good form, it’s time to increase the challenge. This could mean:
- Adding a small amount of weight (e.g., 2.5-5 lbs).
- Increasing the number of repetitions.
- Adding an extra set.
- Decreasing rest time between sets.
- Increasing the frequency of training a particular muscle group.
- Periodization: For intermediate lifters, consider structured training cycles (periodization) where you vary intensity and volume over time to prevent plateaus and maximize long-term gains.
Listening to Your Body
Your body provides constant feedback; learn to interpret it.
- Prioritize Recovery: Strength is built during recovery, not just in the gym. Ensure adequate sleep (7-9 hours), manage stress, and incorporate active recovery (light walks, foam rolling).
- Distinguish Soreness from Pain: Muscle soreness (DOMS) is normal after a challenging workout. Sharp, localized pain that doesn’t subside or worsens with movement is a warning sign. Don’t push through pain.
- Take Deload Weeks: Every 4-8 weeks, consider a deload week where you significantly reduce your training volume and/or intensity. This allows your body to fully recover, adapt, and come back stronger.
Nutrition and Hydration: Fueling Your Progress
What you put into your body directly impacts your performance and recovery.
- Protein for Repair and Growth: Aim for adequate protein intake (e.g., 0.7-1 gram per pound of body weight) to support muscle repair and growth.
- Carbohydrates for Energy: Complex carbohydrates fuel your workouts and replenish glycogen stores.
- Healthy Fats for Hormonal Balance: Essential fats play a crucial role in hormone production and overall health.
- Stay Hydrated: Water is vital for all bodily functions, including muscle performance and nutrient transport. Drink plenty of water throughout the day, especially around your workouts.
Choosing Your Ideal Power Rack: A Buyer’s Guide (General Principles)
When considering a power rack, focus on what features align with your training goals and environment, rather than getting caught up in specific brands.
Assessing Your Needs
- Primary Exercises: Will you primarily perform squats and bench presses, or do you want to integrate pull-ups, dips, and potentially cable work?
- Weight Expectations: How much weight do you realistically anticipate lifting? This will dictate the required weight capacity and steel gauge.
- Future Expansion: Do you foresee adding attachments later (e.g., a lat pulldown, monolift attachments)? Ensure the rack is designed for expandability.
Key Features to Look For
- Steel Gauge:
- 11-gauge: Heavy-duty, robust, ideal for serious lifters and high weight capacities.
- 12-gauge: Strong and durable, suitable for most intermediate lifters.
- 14-gauge: Lighter duty, budget-friendly, often sufficient for beginners or those lifting moderate weights.
- Hole Spacing:
- 2-inch spacing: Standard and adequate for most exercises.
- 1-inch "Westside" spacing: Offers finer adjustments, particularly beneficial for precise J-hook and safety placement for bench press and pin work.
- Safety Mechanisms:
- Pin-and-Pipe Safeties: Traditional, robust, and reliable.
- Strap Safeties: Offer a gentler catch, reducing wear on barbells and potentially noise, often preferred for dynamic lifts.
- J-Cups: Look for J-hooks that are lined with protective material (e.g., UHMW plastic) to prevent scratching and damage to your barbell’s knurling.
- Integrated Attachments: Many racks come with a pull-up bar. Some offer built-in weight plate storage, which also adds stability. Consider if you want these integrated or prefer to add them later.
- Expandability: Check if the manufacturer offers a range of compatible attachments (dip handles, landmine attachments, spotter arms, multi-grip pull-up bars) that can be purchased separately to grow with your training.
Budgeting for Your Investment
Power racks vary significantly in price. Consider your budget against the features and durability you require. A higher initial investment in a quality rack can often save money in the long run by providing a safer, more versatile, and longer-lasting piece of equipment. Remember to factor in shipping costs and any additional accessories you might need (e.g., a weight bench, barbell, plates).
Final Thoughts
Your fitness journey is a marathon, not a sprint. It’s about consistent effort, smart training, and the relentless pursuit of self-improvement. A power rack, far from being just a piece of metal, is a powerful partner in this journey. It’s an enabler of ambition, a guardian of safety, and a catalyst for growth.
By understanding its capabilities and integrating it thoughtfully into your training, you’re not just buying equipment; you’re investing in a future where you can confidently challenge your limits, build enduring strength, and sculpt the physique and resilience you desire. Step into your strength sanctuary, embrace the process, and watch as your commitment transforms into tangible, empowering results. The bar is waiting. What will you lift today?