The pursuit of strength is a timeless human endeavor, a journey that builds not just muscle but also resilience, discipline, and profound self-confidence. For many, this journey begins or finds its true home within the confines of a personal gym. And at the heart of nearly every serious home gym stands an undisputed king: the power rack. More than just a piece of equipment, a power rack is a commitment to consistent growth, a sanctuary for heavy lifts, and a fortress for your safety.
Imagine the freedom of training on your schedule, without the wait for equipment or the distractions of a crowded commercial gym. Picture yourself pushing past personal bests, knowing that a robust safety system has your back, even when training alone. This isn’t just a dream; it’s the reality a well-utilized power rack provides.
Whether you’re taking your first steps into serious strength training or are an intermediate lifter looking to break through plateaus, understanding the power rack is paramount. This comprehensive guide will equip you with the knowledge to harness its full potential, from selecting the right model for your space to mastering fundamental lifts and advanced techniques, all while prioritizing safety and maximizing your gains. Let’s unlock the power of this essential strength training tool and transform your home gym into a powerhouse of personal achievement.
The Unrivaled Core of Your Home Gym: Why a Power Rack is Essential
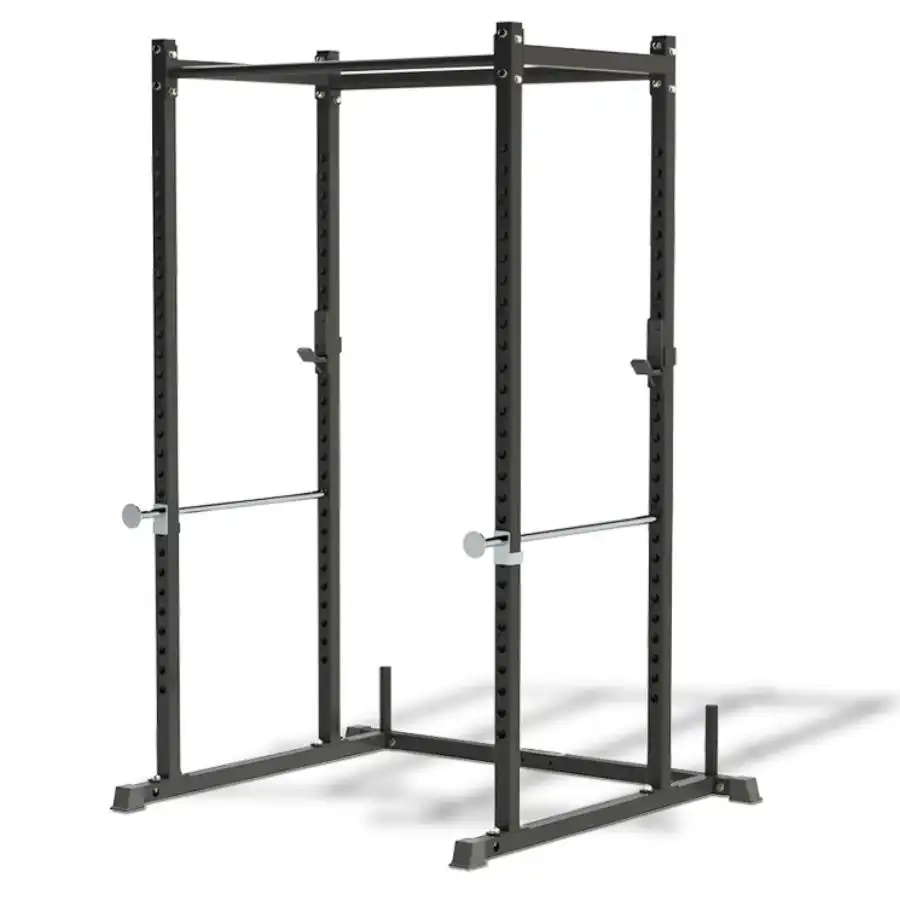
A power rack, often referred to as a power cage or squat cage, is much more than a metal frame. It’s a foundational piece of equipment that unlocks a spectrum of strength-building possibilities, offering benefits that extend far beyond simply holding a barbell.
Safety First: Your Built-In Spotter
Perhaps the most compelling reason to invest in a power rack is the unparalleled safety it provides. For anyone training alone, especially with heavy weights, the risk of injury from a failed lift is a constant concern. This is where the power rack truly shines.
- Integrated Safety System: Power racks come equipped with adjustable safety pins, straps, or spotter arms. These are set at a predetermined height below your lowest point in a lift (like a squat or bench press).
- Preventing Catastrophic Failure: If you hit a point where you can’t complete a repetition, you can simply lower the barbell onto these safeties. This prevents the weight from pinning you, allowing you to safely exit from underneath the bar without assistance.
- Boosting Confidence: Knowing that you have a reliable safety net allows you to push harder, try new personal records, and train to muscular failure with greater confidence. This psychological edge can be a powerful catalyst for progress.
Real-Life Example: Imagine you’re attempting a new personal best on the bench press. You’ve un-racked the weight, lowered it, and now you’re pushing with all your might, but the bar just won’t budge past a certain point. Instead of panicking or attempting a dangerous roll-of-shame, you simply lower the barbell onto the pre-set safety pins, allowing you to slide out from under it safely. Without the rack, this scenario could lead to serious injury.
Versatility Unleashed: A Multi-Functional Strength Station
While often associated with squats and bench presses, the power rack’s utility stretches far beyond these core movements. Its modular design and compatibility with various attachments transform it into a comprehensive strength training hub.
- Core Barbell Lifts: Safely execute squats (back, front, overhead), bench presses (flat, incline, decline with an adjustable bench), overhead presses, and rack pulls.
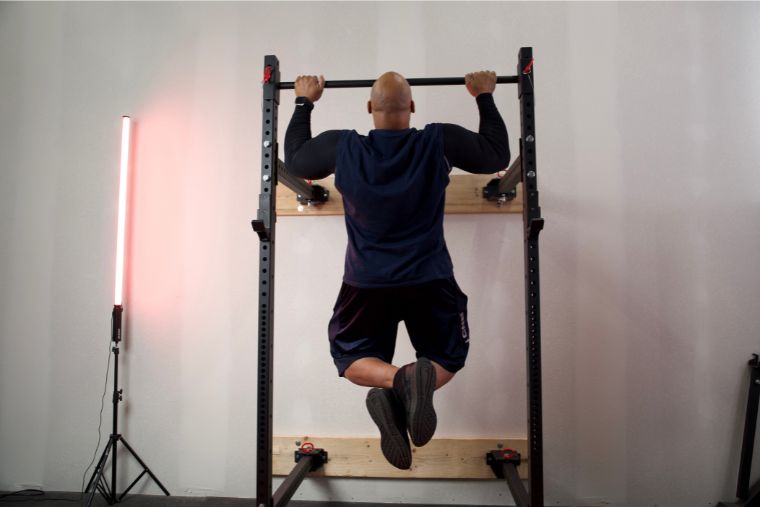
- Bodyweight Mastery: Most racks include a pull-up bar, allowing for a wide range of upper body and core exercises like pull-ups, chin-ups, muscle-ups (for advanced users), and hanging knee raises.
- Accessory Work: With optional attachments (often sold separately), you can perform dips, landmine exercises (rotational movements, presses, rows), resistance band training, and even cable movements (if a pulley system is integrated or added).
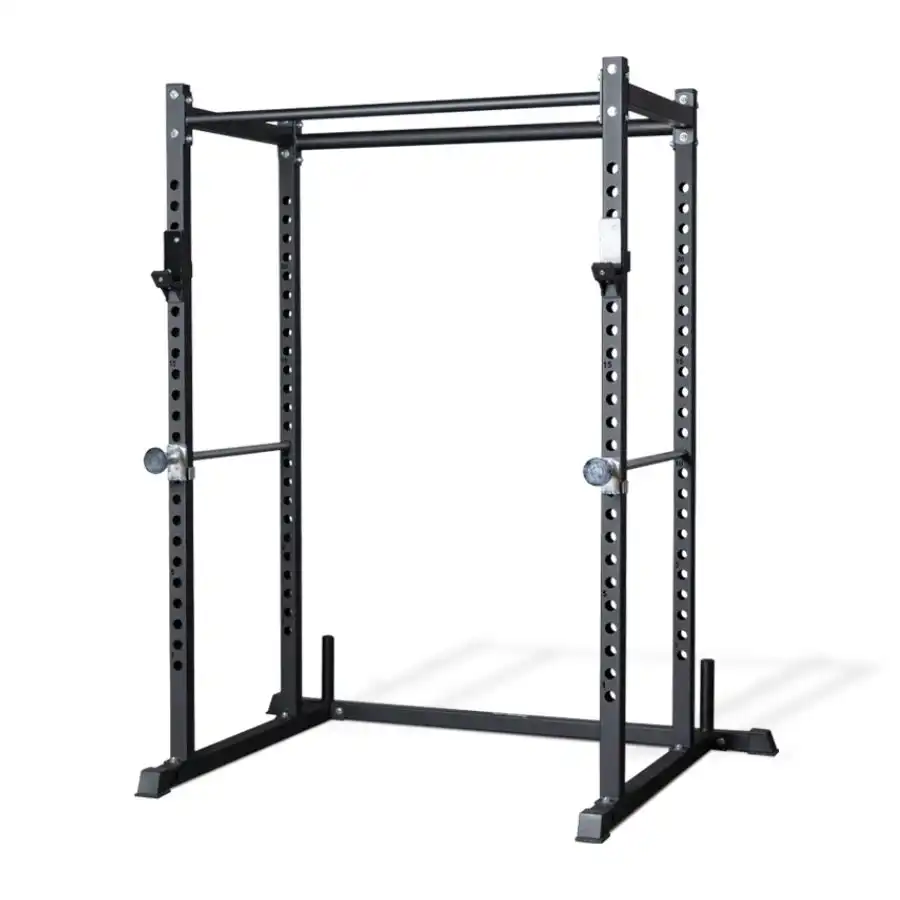
- Adjustable Start/End Points: The numerous holes along the uprights allow you to customize the starting and ending positions for various exercises, targeting specific ranges of motion or accommodating different body types.
This adaptability means you can train your entire body effectively within a compact footprint, maximizing the return on your investment and keeping your workouts varied and engaging.
Facilitating Progressive Overload: The Path to Consistent Gains
Progressive overload – the gradual increase in stress placed on the body during training – is the fundamental principle for building strength and muscle. A power rack is an invaluable tool for implementing this principle consistently and effectively.
- Structured Heavy Lifting: The stability and safety of the rack enable you to comfortably load heavier weights for compound movements, which are crucial for strength development.
- Tracking and Incremental Progress: With clearly numbered uprights, you can precisely track your bar placement and safety settings, ensuring consistency between sessions. This makes it easier to add small increments of weight or reps, driving continuous improvement.
- Overcoming Plateaus: Rack pulls, partial reps, and isometric holds (pushing against immovable pins) can be performed safely within the rack to strengthen sticking points in your lifts, helping you break through plateaus.
By providing a stable and secure environment for challenging your muscles, the power rack becomes an indispensable ally in your quest for stronger, more resilient physique.
Privacy and Convenience: Train on Your Own Terms
The allure of a home gym is undeniable, and the power rack epitomizes the advantages of training in your personal space.
- No Crowds, No Waiting: Say goodbye to waiting for equipment or dealing with peak gym hours. Your rack is always available when you are.
- Flexible Schedule: Train whenever inspiration strikes, whether it’s early morning, late night, or a quick session during a lunch break.
- Comfort and Control: Enjoy your own music, wear what you want, and maintain a hygiene standard that suits you. The environment is entirely yours to control.
- Reduced Commute: Save time and money on travel, dedicating more of your day to actual training and recovery.
This blend of convenience, control, and privacy often leads to greater consistency in training, which is a cornerstone of long-term fitness success.
Decoding the Power Rack: Key Features and Considerations
Choosing the right power rack for your home gym involves understanding its fundamental components and how they align with your training goals and available space. It’s an investment, and making an informed decision will serve your strength journey for years to come.
Size and Footprint: Measuring Your Ambition
Before you even begin browsing, the tape measure is your best friend. The dimensions of your available space will dictate the type and size of rack you can accommodate.
- Overall Dimensions: Measure the length, width, and most critically, the height of your intended training area. Remember to account for the depth required to load barbells and move comfortably around the rack.
- Ceiling Height: If you plan on doing pull-ups, ensure you have sufficient overhead clearance. A standard power rack is often around 80-90 inches tall (6.5 to 7.5 feet), but some short racks are available for low ceilings (e.g., basements, garages). Add at least 12-18 inches above the pull-up bar for comfortable head clearance during pull-ups.
- Rack Types:
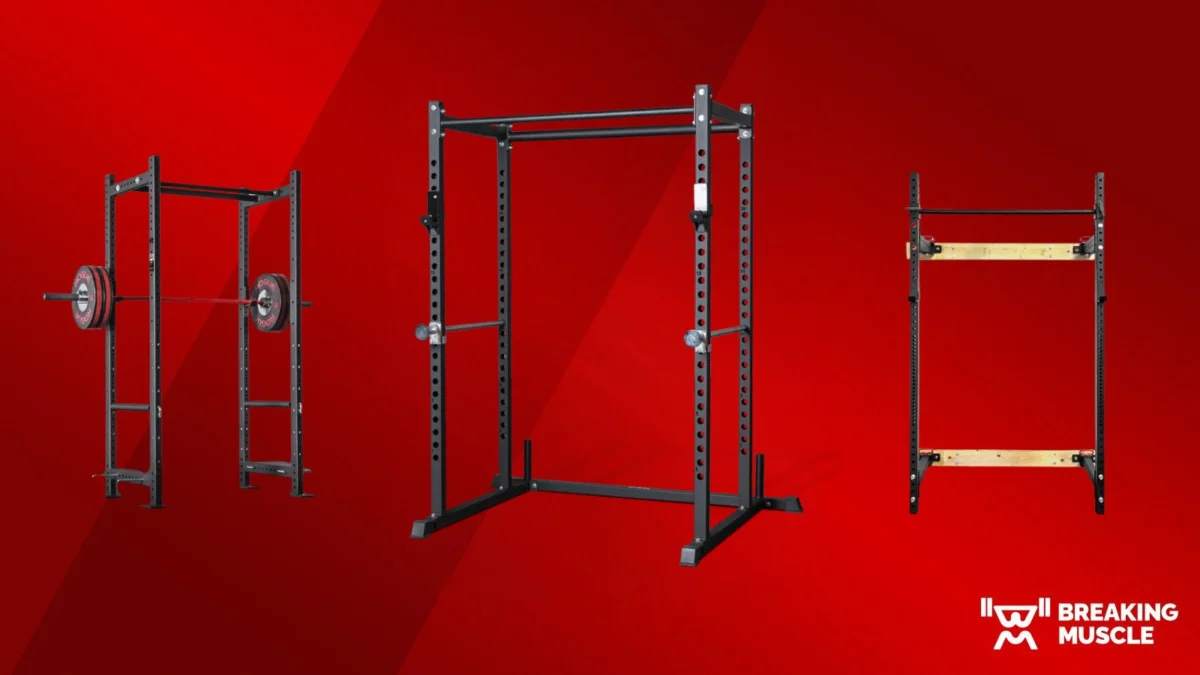
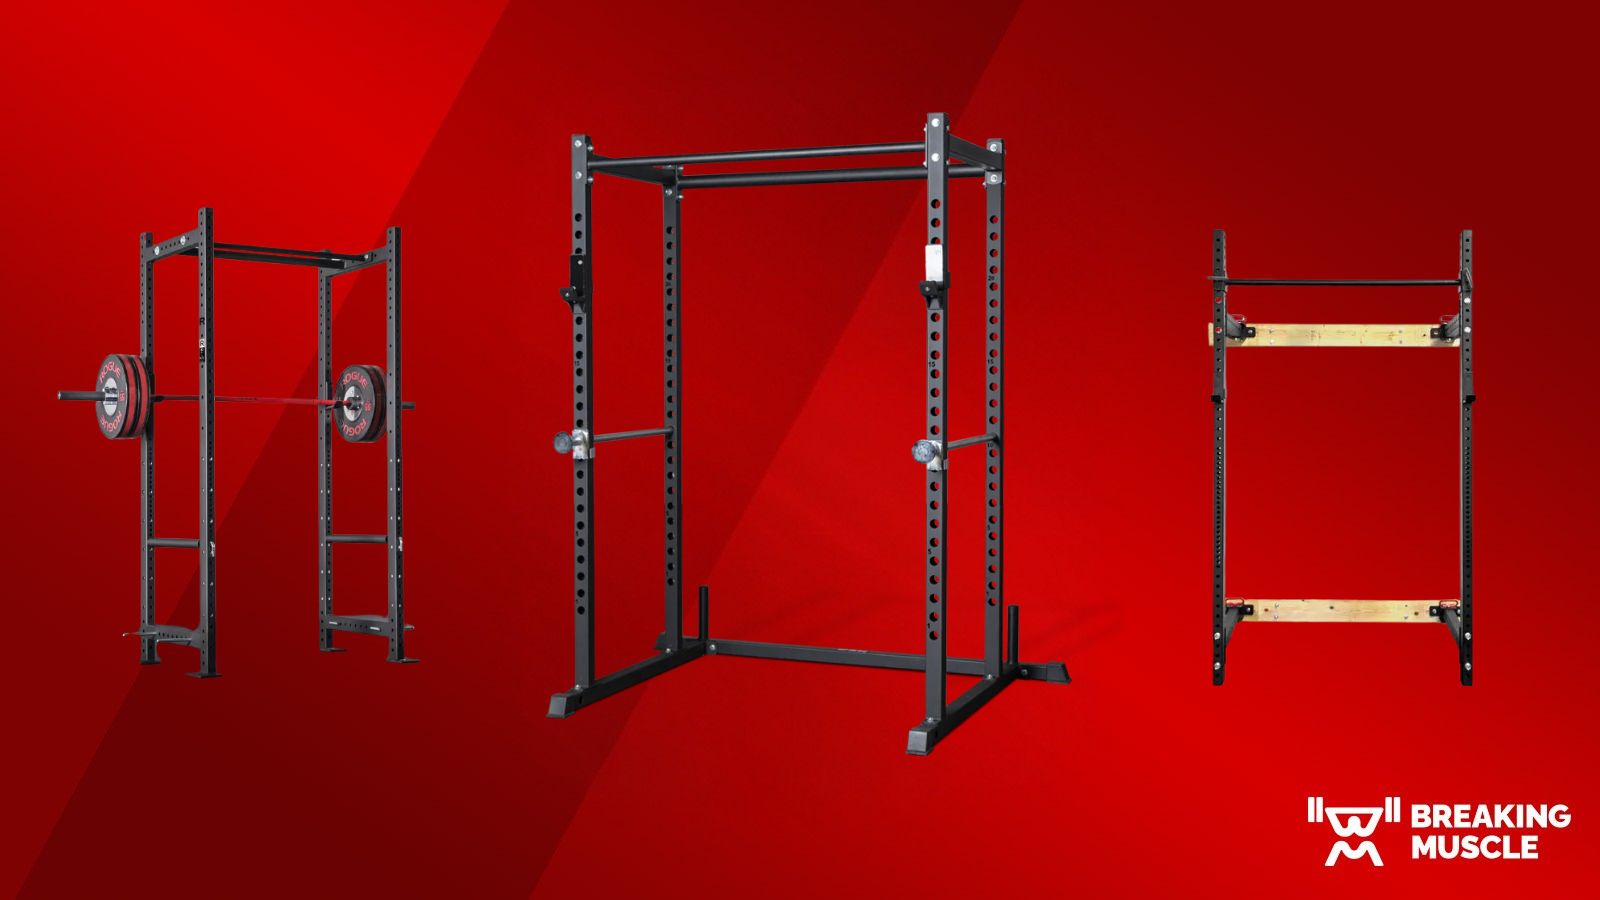
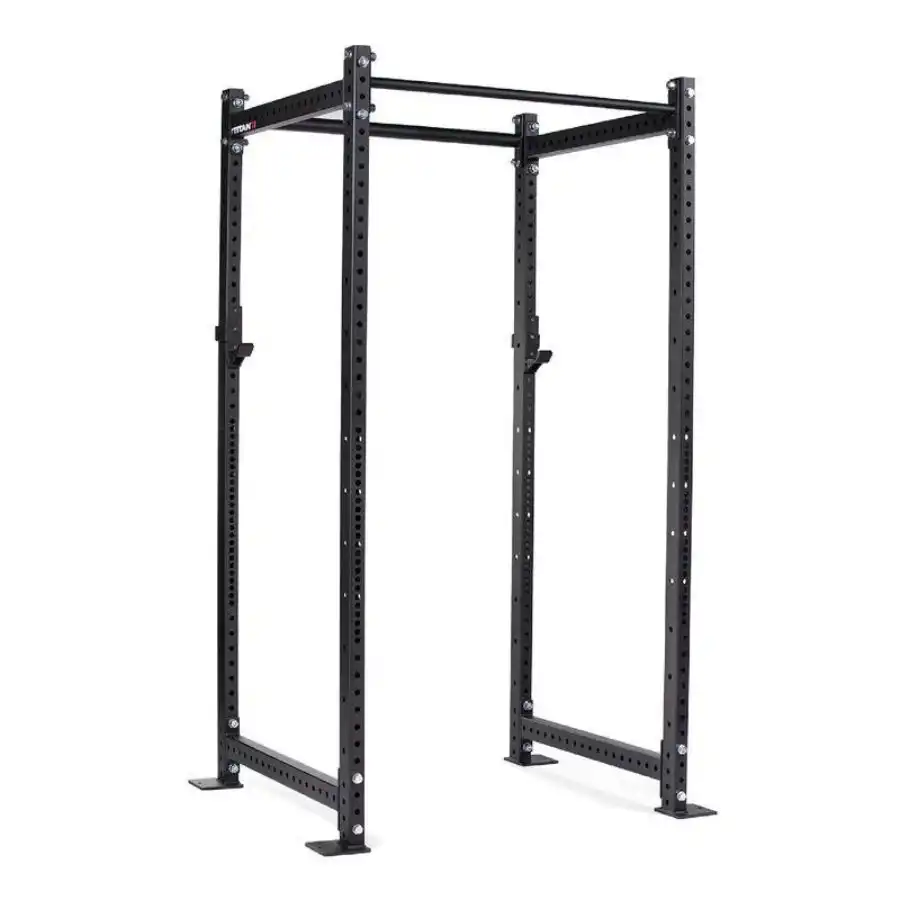
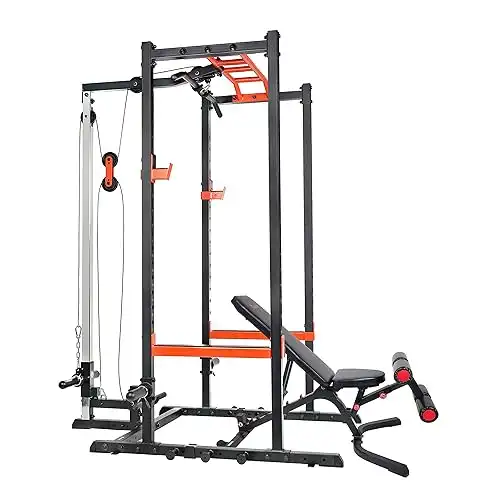
- Full Power Rack/Cage: Four uprights connected by crossmembers, forming a full enclosure. Offers maximum safety and versatility.
- Half Rack: Two uprights, typically with a pull-up bar and weight storage. More compact but requires you to lift outside the main frame, relying more on spotter arms.
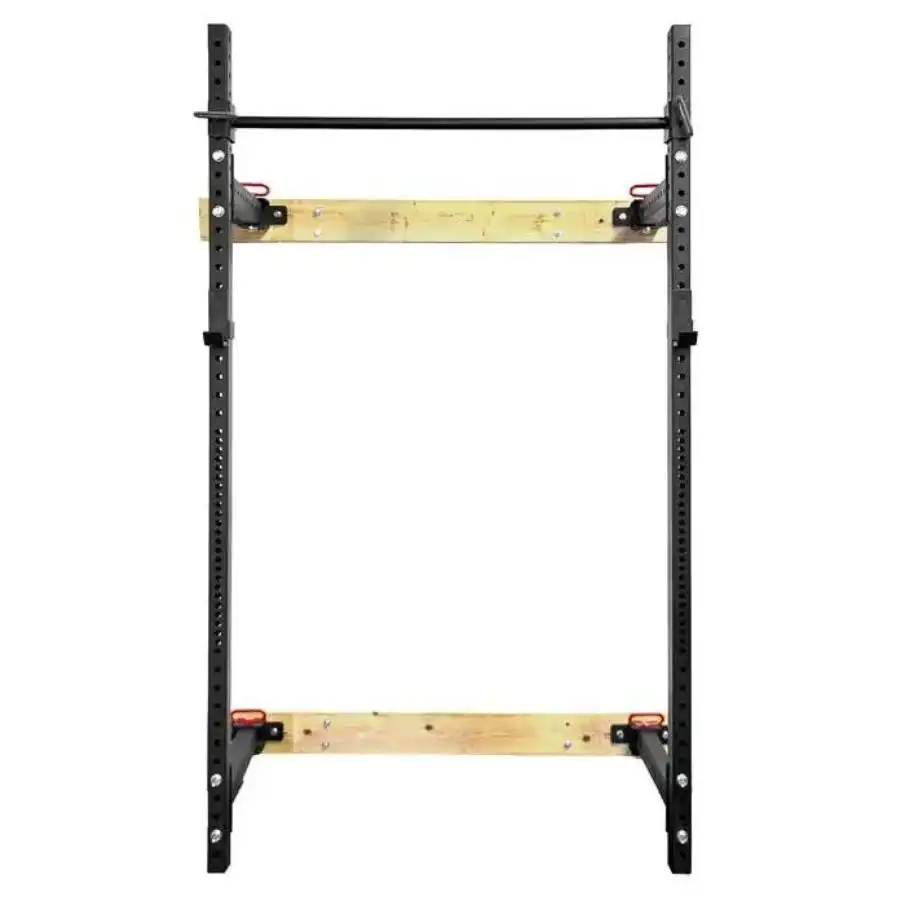
- Folding Rack: Wall-mounted racks that fold inward or outward when not in use, ideal for extremely tight spaces like single-car garages. They require secure wall mounting.
- Working Space: Don’t forget the space needed around the rack. You’ll need room for a bench, to load plates, and to perform exercises like deadlifts or rows if your rack doesn’t have a dedicated pull-out area.
Construction and Material: The Foundation of Durability
The quality of construction directly impacts the rack’s stability, safety, and longevity.
- Steel Gauge: This refers to the thickness of the steel tubing. Lower numbers indicate thicker steel, which means greater strength and durability.
- 11-gauge steel: Extremely robust, typically found in commercial gyms and high-end home racks. Ideal for heavy lifting and maximum stability.
- 12-gauge steel: Very strong and suitable for most intermediate lifters. A good balance of strength and cost.
- 14-gauge steel: Thinner, more budget-friendly. Suitable for beginners and lighter loads, but may exhibit more sway with very heavy weights.
- Tubing Size: Common sizes are 2×2 inch, 2×3 inch, and 3×3 inch uprights. Larger tubing generally means more rigidity and a higher weight capacity. It also influences accessory compatibility, as attachments are typically designed for specific tubing sizes.
- Bolted vs. Welded: Most home racks are bolted together, allowing for easier assembly and disassembly. Some higher-end racks may feature welded components for increased rigidity, though this can make shipping and setup more complex.
Weight Capacity: Matching Your Strength Journey
Every power rack has a maximum weight capacity, typically listed for the rack itself and sometimes separately for individual components like J-hooks or safety bars.
- Rack Capacity: This is the maximum weight the entire structure can safely hold. For beginners and intermediate lifters, capacities ranging from 700 to 1,000 pounds are generally more than sufficient. Advanced lifters or those anticipating very heavy loads might opt for capacities exceeding 1,000 pounds.
- Attachment Capacity: Pay attention to the individual weight limits of J-hooks, safeties, and pull-up bars, as these can sometimes be lower than the rack’s overall capacity.
- Future Proofing: Consider your long-term strength goals. It’s often wise to choose a rack with a capacity that slightly exceeds your current lifting maximums to accommodate future progress.
Hole Spacing: Precision for Performance
The spacing of the holes along the uprights is a detail that significantly impacts comfort and effectiveness, especially for critical lifts.
- Standard Spacing: Typically 2 inches between holes. This is common and functional for most movements.
- Closer Hole Spacing (e.g., "Westside" spacing): Features 1-inch (or even 5/8-inch) spacing in the critical bench press and squat zones. This allows for much finer adjustments of J-hooks and safeties.
- Benefit for Bench Press: Enables you to set the bar height precisely for optimal handoff and re-rack, as well as position safeties exactly where needed for a safe bail-out without limiting your range of motion.
- Benefit for Squats: Allows for precise adjustment of J-hooks for a comfortable un-rack, and safeties for the deepest possible squat without interference.
Finer hole spacing can make a significant difference in comfort, safety, and ultimately, your lifting performance.
J-Hooks and Safeties: Protecting Your Bar and You
These are the direct points of contact for your barbell and your last line of defense.
- J-Hooks: These hold the barbell when racked. Look for J-hooks that are lined with a protective material, such as UHMW (ultra-high molecular weight polyethylene) plastic. This material prevents metal-on-metal contact, protecting the knurling (grip) of your barbell from scratches and wear over time.
- Safeties (Pin-Pipe vs. Strap):
- Pin-Pipe Safeties: Traditional, robust metal pins that slide through the uprights. Extremely durable and reliable.
- Strap Safeties: Heavy-duty nylon straps that loop between two uprights. They offer a slightly softer landing for the bar, reducing noise and potentially protecting the barbell and floor from impact damage. They are also generally easier to adjust.
- Both options are highly effective; the choice often comes down to personal preference for noise, feel, and ease of adjustment.
Maximizing Your Power Rack: Essential Training Strategies
Once you have your power rack set up, the real work begins. To truly unlock its potential, you need to understand how to leverage it for a wide range of exercises and integrate safe, effective training principles into your routine.
The Big Lifts: Mastering the Fundamentals
These compound movements are the bedrock of any strength training program. The power rack provides the perfect environment to execute them safely and progressively.
- Squats (Back, Front, Overhead):
- Actionable Advice: Always set your safety pins/straps to catch the bar just below your deepest comfortable squat position. This ensures you can bail out safely without having to dump the bar. Practice unracking and re-racking with an empty bar to establish your foot position and grip. Focus on maintaining a tight core and pushing your knees out throughout the movement.
- Real-Life Example: For a back squat, load the bar, step under it, position it on your upper back (traps), un-rack by standing tall, take two small steps back, then perform your squats. If you feel yourself losing balance or strength mid-rep, simply lower yourself into the bottom position, allowing the bar to rest on the safeties.
- Bench Press (Flat, Incline, Decline):
- Actionable Advice: Use an adjustable bench within the rack. Set safeties just above your chest at the bottom of your range of motion. This prevents the bar from crushing you if you fail but still allows for a full range of movement. Maintain a slight arch in your lower back, keep your feet firmly planted, and drive through your legs.
- Real-Life Example: Position the bench so the barbell is directly over your eyes when lying down. Un-rack the bar with a stable grip, lower it to your chest with control, and press it back up. If you can’t complete the press, simply lower the bar onto the safeties, then slide off the bench.
- Overhead Press (Standing/Seated):
- Actionable Advice: Set J-hooks at shoulder height for an easy un-rack. Ensure you have ample overhead clearance. Brace your core tightly, keep your elbows slightly forward, and press the bar directly overhead, locking out your arms.
- Rack Pulls:
- Actionable Advice: Set the safeties or J-hooks at a height that allows you to start the pull from mid-shin or just below the knees. This variation emphasizes the top portion of the deadlift, allowing you to train with heavier loads and strengthen your posterior chain without the full range of motion. It’s excellent for building grip strength and lockout power.
Expanding Your Repertoire: Beyond the Barbell
The power rack’s versatility shines when you incorporate bodyweight and accessory movements.
- Pull-ups/Chin-ups:
- Actionable Advice: Experiment with different grip widths (wide, neutral, narrow) and hand positions (pronated for pull-ups, supinated for chin-ups) to target different muscle groups. For beginners, use resistance bands looped over the bar for assistance or perform negative pull-ups (jump to the top, lower slowly).
- Dips:
- Actionable Advice: If your rack has a dip attachment, use it! Keep your chest up and lean slightly forward to emphasize chest, or stay more upright to target triceps. For added resistance, hold a dumbbell between your feet or use a dip belt.
- Resistance Band Training:
- Actionable Advice: Loop resistance bands around the bottom crossmembers or dedicated band pegs. Use them for dynamic resistance during squats (attaching to the bar) or for exercises like band pull-aparts, monster walks, or face pulls.
- Landmine Attachments:
- Actionable Advice: A landmine attachment (where one end of the barbell pivots) opens up a world of exercises. Perform landmine presses, rows, rotational movements, and squats. These are excellent for developing core stability and unique strength patterns.
Setting Your Safeties Correctly: A Non-Negotiable Step
This is the single most critical aspect of safe solo training in a power rack. Do not skip or rush this.
- For Squats:
- Place an unloaded barbell on your back (as if you were about to squat).
- Squat down to your absolute deepest, comfortable position.
- The safety pins/straps should be set approximately one notch (or 1-2 inches) below this lowest point. This ensures they catch the bar if you fail but don’t interfere with your full range of motion.
- For Bench Press:
- Lie on your bench within the rack, as if you were about to bench press.
- Lower an unloaded barbell to your chest.
- The safety pins/straps should be set one notch (or 1-2 inches) above your chest, but still allowing your arms to fully extend at the top of the lift. They should clear your chest by a small margin but catch the bar before it pins you.
- Practice: Always do a practice run with an empty bar to confirm the safety settings before loading heavy weight. This small step can prevent major injury.
Programming for Progress: The Science of Gains
A power rack is a tool; a smart program is the blueprint.
- Structured Approach: Follow a well-designed program that incorporates progressive overload. This means gradually increasing weight, repetitions, sets, or decreasing rest times over weeks and months.
- Compound Movements First: Prioritize exercises like squats, bench press, and overhead press early in your workout when you have the most energy.
- Periodization (for Intermediate Lifters): Consider cycling through different phases of training (e.g., strength, hypertrophy, endurance) to avoid plateaus and promote continuous adaptation.
- Warm-ups and Cool-downs: Always begin with a dynamic warm-up (light cardio, mobility drills) to prepare your body and end with a cool-down (static stretching) to aid recovery.
Building Your Personal Strength Sanctuary: Practical Tips for Home Gym Owners
Creating an effective home gym environment with your power rack goes beyond just assembly. Thoughtful planning and smart accessory choices can significantly enhance your training experience.
Space Optimization: Making Every Inch Count
Even with a dedicated power rack, maximizing your space ensures a functional and enjoyable training area.
- Layout: Position your rack strategically, considering door swings, windows, and electrical outlets. Allow ample space in front of and behind the rack for loading plates and performing lunges or other accessory work.
- Storage Solutions: Clutter can be a safety hazard and a mental drain. Invest in plate trees, barbell hangers, and accessory trays to keep your weights, barbells, and attachments organized and easily accessible. Many racks offer integrated plate storage pegs.
- Flooring: Protect your floor and reduce noise with heavy-duty rubber mats or interlocking gym tiles. This also provides a more stable and forgiving surface for lifting.
- Mirrors: A large mirror can be invaluable for checking form, especially for squats and bench press. Position it where you can easily see your movements.
Essential Accessories to Elevate Your Training
While the power rack is the centerpiece, a few key accessories are crucial for a complete strength training setup.
- Barbell: A good quality, straight barbell is non-negotiable. Look for one with appropriate weight capacity, good knurling, and smooth-spinning sleeves.
- Weight Plates: A variety of weight plates (bumper plates or iron plates) are essential. Start with a selection of smaller plates (2.5, 5, 10 lbs) for incremental progress, along with larger ones.
- Adjustable Weight Bench: A sturdy, adjustable bench allows you to perform flat, incline, and decline presses, as well as various dumbbell exercises.
- Barbell Collars: Essential for securing weight plates on the barbell, preventing them from sliding off and causing injury.
- Resistance Bands: A versatile and inexpensive tool for warm-ups, mobility, assistance with pull-ups, or adding dynamic resistance to lifts.
- Optional Enhancements: Consider a dip station attachment, a landmine attachment, or a set of dumbbells to further expand your exercise options.
Maintenance and Longevity: Protecting Your Investment
A power rack is built to last, but a little care goes a long way in ensuring its safety and extending its lifespan.
- Regular Bolt Checks: Periodically inspect all bolts and nuts to ensure they are tight. Heavy lifting can cause vibrations that loosen fasteners over time.
- Cleanliness: Wipe down your rack and attachments regularly to remove sweat, dust, and chalk. This prevents rust and keeps your gym looking inviting.
- Inspect J-Hooks and Safeties: Check the protective lining on J-hooks and safeties for wear and tear. Replace them if they become damaged to continue protecting your barbell.
- Floor Protection: Ensure your flooring is intact and providing adequate protection. Address any worn spots promptly.
By following these practical tips, you’ll not only maintain a safe and effective training environment but also cultivate a space that inspires you to consistently show up and push your limits.
Conclusion: Forge Your Future, One Rep at a Time
The journey to building strength is a marathon, not a sprint, and your power rack is your steadfast companion on this transformative path. We’ve explored how this robust piece of equipment serves as the unrivaled core of your home gym, offering an unparalleled blend of safety, versatility, and convenience. From its inherent capacity to protect you during challenging lifts to its adaptability in accommodating a vast array of exercises, the power rack empowers you to train harder, smarter, and with greater confidence than ever before.
By understanding the critical features – from steel gauge and hole spacing to the nuances of J-hooks and safeties – you can make an informed choice that aligns with your ambitions. More importantly, by adopting intelligent training strategies, mastering fundamental movements, and setting your safeties correctly, you transform a collection of steel into a powerful engine for personal growth.
Remember, every rep is a step forward, every failed lift caught by the safeties is a lesson learned, and every consistent session in your personal strength sanctuary builds not only a more powerful physique but also an indomitable spirit. Embrace the discipline, celebrate the small victories, and commit to the process. Your ultimate strength hub awaits, ready to help you forge unstoppable progress and achieve unwavering confidence, one rep at a time. Go forth and lift with purpose!